Tag Archive for 'Arcade'

NAOMI/Net City VMU Mount

As you may know the Sega NAOMI hardware is based on the Sega Dreamcast console. along with this it also shares the “Maple Bus” which is what the Dreamcast used for controller ports. A handful of NAOMI games actually support the use of Dreamcast Controllers and/or VMUs (what the Dreamcast called it’s very cool memory cards).

Continue reading ‘NAOMI/Net City VMU Mount’

Super Contra Repair and Single Board Conversion

I’ve been looking to add more Konami PCBs to my collection it’s one of the few areas I’m lacking and a few weeks ago I saw a Super Contra for sale on eBay, the board looked dirty but ok, and there were pictures of the game running. I didn’t really pay close enough attention and I think I was distracted at the buy it now or best offer price about $100 below what I normally see them listed at. I made an offer for another $25 lower and it was accepted.


Only later did I realize that the ad was tagged as having “Graphics issues”.

Continue reading ‘Super Contra Repair and Single Board Conversion’

Konami M2 Troubleshooting

I recently picked up 2 “non-working” Konami M2 boards. I’ve since managed to get both of them working. This hardware is actually fairly robust and it took minimal effort to get mine working but a long the way I learned a lot about how the hardware works and some common problems you might run into.

Continue reading ‘Konami M2 Troubleshooting’

Everything you’d want to know about Sega Type II IR Light Guns. Part 4: The Gun Sense Board

In Part 2 I broke down the details of the LED board, in Part 3 I broke down the details of the Sega/IR Sensor Board. Here in Part 4 I’m going to cover the Gun Sense Board and Protection Board

Continue reading ‘Everything you’d want to know about Sega Type II IR Light Guns. Part 4: The Gun Sense Board’

Everything you’d want to know about Sega Type II IR Light Guns. Part 3: IR Sensors

In Part 2 I started breaking down the technical details with the Sega/OHMIC IR LED boards. Here in Part 3 I’m going to continue breaking down the technical details.

Continue reading ‘Everything you’d want to know about Sega Type II IR Light Guns. Part 3: IR Sensors’

Everything you’d want to know about Sega Type II IR Light Guns. Part 1: Overview

In 1997 Sega released Jurassic Park The Lost World Arcade; a Light Gun Shooter on the Model 3 Arcade hardware. This was the first game to use Sega’s new IR gun technology, a system that they’ve used for nearly every light gun game they’ve produced since.

Continue reading ‘Everything you’d want to know about Sega Type II IR Light Guns. Part 1: Overview’

Virtual On Oratorio Tangram Arcade Stick Tear Down

This is an actual arcade stick from a Japanese Virtual On Oratorio Tangram (VOOT) arcade machine. I believe these are also used on Outrigger arcade machines and the sticks used on Virtual On Force are very similar, only differing in color and the style of the thumb button. These are completely different than the home-use sticks for Saturn, Dreamcast, PC and even the newer Hori twins-sticks which use Sanwa Parts.

If you or anyone you know owns one or more of these sticks, or even just parts and are willing to sell please get in contact with me.

Killer Instinct 2 machine is done… for now

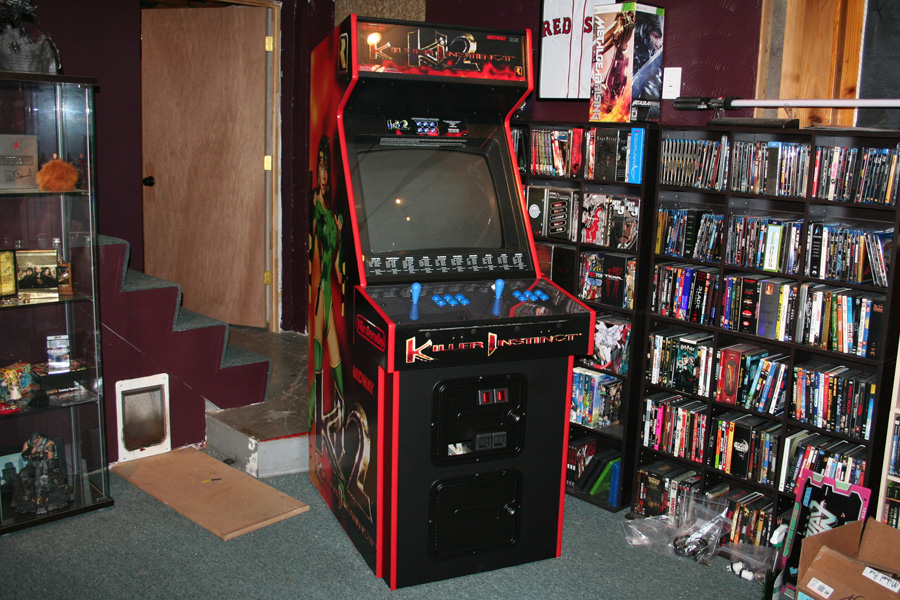
So I finally “finished” my killer instinct 2 arcade machine de-conversion.

Here are the changes I’ve made since the last update…

1. Tuned the monitor. The convergence on the monitor was way out of whack because the yoke was lose (missing a few wedges) I replaced the wedges aligned the monitor and build some homemade convergence strips to improve the image. I couldn’t get the convergence perfect but it’s better than it was and everything is secured properly now so it wont be falling out of adjustment again. I also manually degaussed the monitor because it needed it badly.

2. Added a light shield above the monitor glass, it bugged me that the marquee light was leaking into the monitor glass, a small strip of poster-board and some staples fixed that easily.

light_blocker

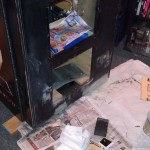
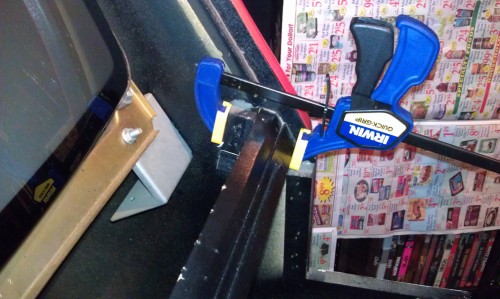
3. Repaired some of the structural wood that was lose, this picture is of the monitor bezel and glass support, it was coming lose and twisting so I pulled it, put fresh nails in it one size larger and then glued it in place. Now the bezel even lines up with the monitor better than it did before.

ki2_monitor_glass_support

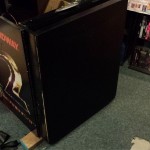
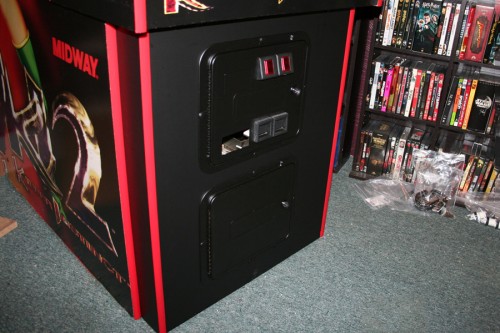
4. Kick panel fill, smooth and wrap. I glued wooden dowels into the holes left from a lock bar, then I bondoed them smooth and filled some rough edges along the bottom. Sanded that and the black portion of the sides smooth. Once everything was dry and smooth I wrapped it in Matte-Black 3M Di-Noc Vinyl (the same stuff they use to wrap cars).

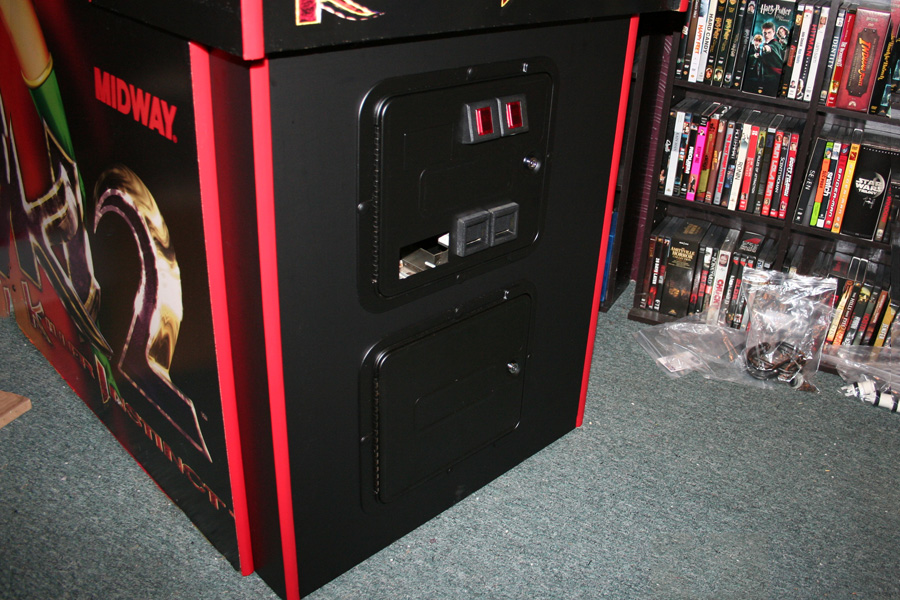
5. Coin doors were powder coated, all the parts cleaned and rebuilt, even put some fresh bulbs and new locks in there.

ki2_kick_panel_4

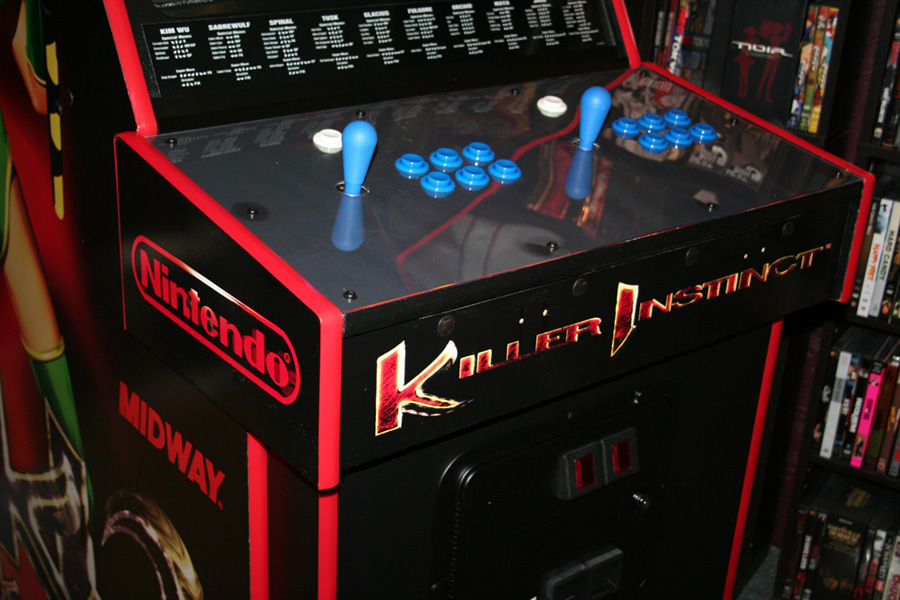
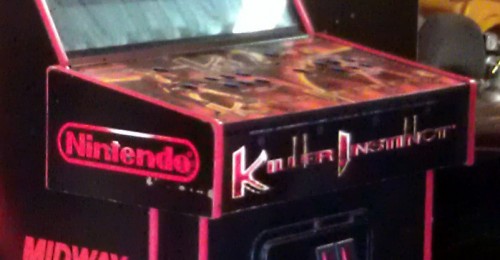
6. Touched up paint on the control panel box and some scuffs in the side art.

ki2_touch_up_paint_2

for reference here is what it looks like before the touch up paint:

ki2_before_touch_up_paint

7. All new fresh T-Molding

ki2_t-molding


There are a few things that still need to be done but I can’t do them until I find the parts…

  1. I need a coin door blank to fill in the bill validator slot
  2. I need a control panel overlay to replace the matte black placeholder I have there now
  3. I need a midway 120mm fan mount for the cooling fan
  4. Not needed but I’d like new graphics for the control panel box front and sides

Sadly none of those parts are readily available so I’ll simply have to keep an eye out and buy them if and when I see them pop up for sale.