So I finally “finished” my killer instinct 2 arcade machine de-conversion.
Here are the changes I’ve made since the last update…
1. Tuned the monitor. The convergence on the monitor was way out of whack because the yoke was lose (missing a few wedges) I replaced the wedges aligned the monitor and build some homemade convergence strips to improve the image. I couldn’t get the convergence perfect but it’s better than it was and everything is secured properly now so it wont be falling out of adjustment again. I also manually degaussed the monitor because it needed it badly.
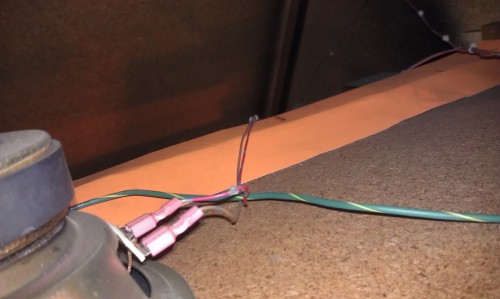
2. Added a light shield above the monitor glass, it bugged me that the marquee light was leaking into the monitor glass, a small strip of poster-board and some staples fixed that easily.
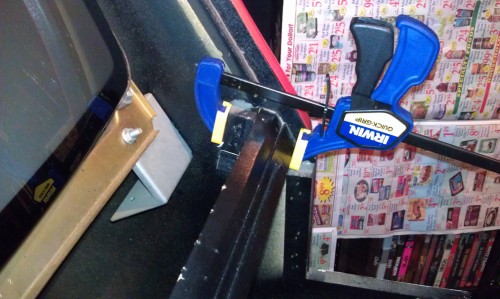
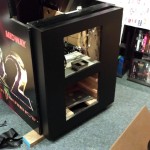
3. Repaired some of the structural wood that was lose, this picture is of the monitor bezel and glass support, it was coming lose and twisting so I pulled it, put fresh nails in it one size larger and then glued it in place. Now the bezel even lines up with the monitor better than it did before.
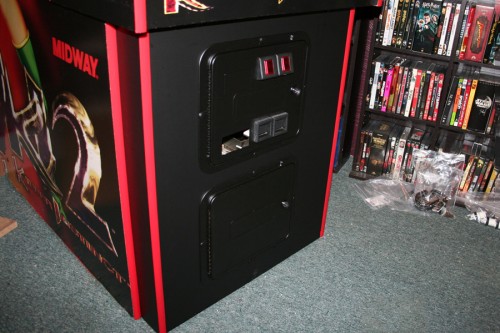
4. Kick panel fill, smooth and wrap. I glued wooden dowels into the holes left from a lock bar, then I bondoed them smooth and filled some rough edges along the bottom. Sanded that and the black portion of the sides smooth. Once everything was dry and smooth I wrapped it in Matte-Black 3M Di-Noc Vinyl (the same stuff they use to wrap cars).
5. Coin doors were powder coated, all the parts cleaned and rebuilt, even put some fresh bulbs and new locks in there.
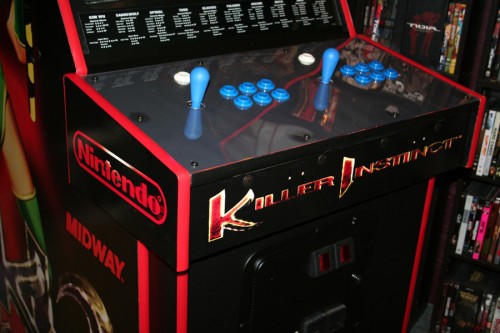
6. Touched up paint on the control panel box and some scuffs in the side art.
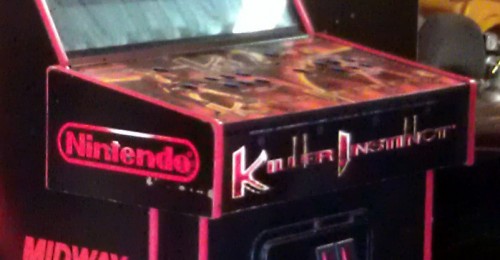
for reference here is what it looks like before the touch up paint:
7. All new fresh T-Molding
There are a few things that still need to be done but I can’t do them until I find the parts…
- I need a coin door blank to fill in the bill validator slot
- I need a control panel overlay to replace the matte black placeholder I have there now
- I need a midway 120mm fan mount for the cooling fan
- Not needed but I’d like new graphics for the control panel box front and sides
Sadly none of those parts are readily available so I’ll simply have to keep an eye out and buy them if and when I see them pop up for sale.
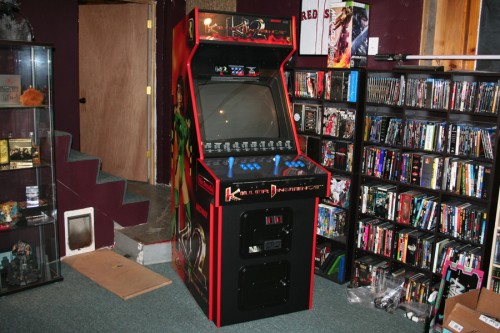
Hi,
Im from the UK and just about to start on my KI1 and 2 Restore and using your blog for reference and ideas as its such a good job.
Can you answer the following for me?
1. The Matte-Black 3M Di-Noc Vinyl you used. How close a match it it to the original finish? its hard to tell from the pictures.
2. What type / colour / finish of paint did you use to touch up the black? My cabinet is damaged and chipped along the bottom of the side art but its orange and yellow so hard to paint back after filling and repairing the wood.
3. The T-Moulding looks different to mine. More rounded with no texture. Is it the same as the original? again its hard to tell. could you provide a link to the T-Moulding you bought.
Really appreciate you answering theses questions. Fantastic work on the restore 🙂
Sorry for the delayed reply.
I’d say the Vinyl wrap on the kick panel has a slightly more dull finish than the original but I honestly like it better.
For all the touch up paint I used Elmers Paint Pens from Walmart. I think you can buy individual pens or sets of 5, and they come in different thicknesses. they actually work exceptionally well.
The T-Molding on these cabs should not be textured, if yours is textured then it’s not original. I bought mine at T-Molding.com and the color match and curvature was spot on. it looks a little brighter only because the original stuff was so dingy.