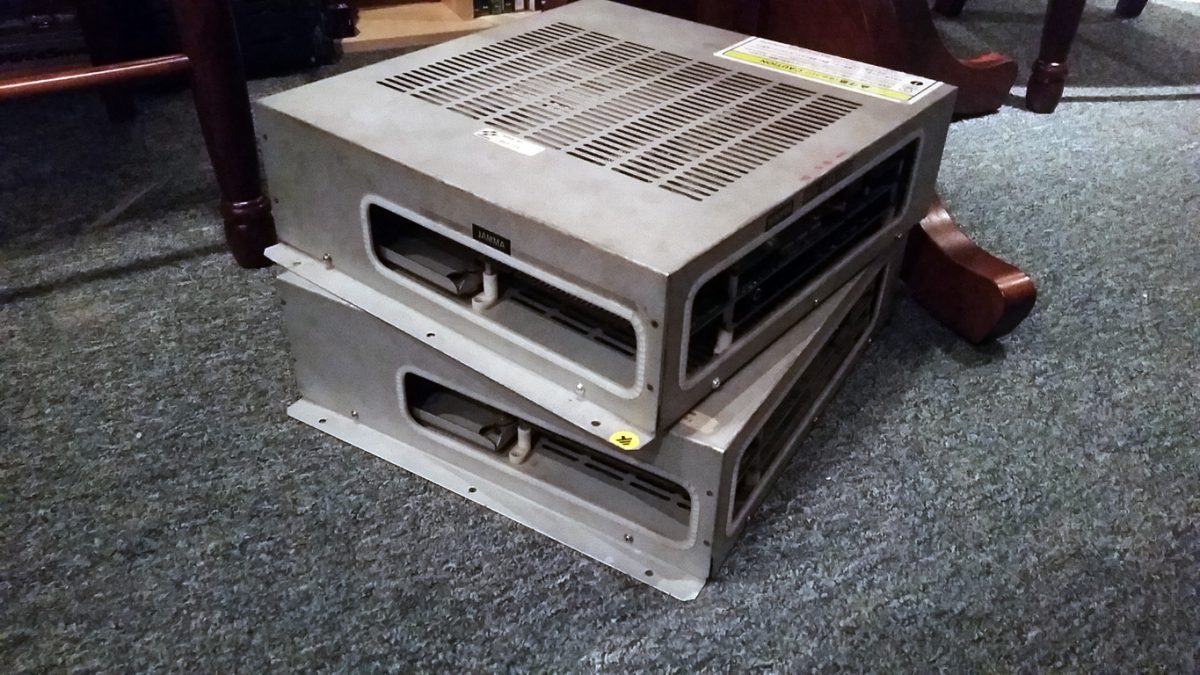
I recently picked up 2 “non-working” Konami M2 boards. I’ve since managed to get both of them working. This hardware is actually fairly robust and it took minimal effort to get mine working but a long the way I learned a lot about how the hardware works and some common problems you might run into.
Below are some of the issues I ran into, how I resolved them, and I even went out of my way to “Break” certain things just to see what the error state looked like. If you have any other error states and known causes that you can contribute please do!
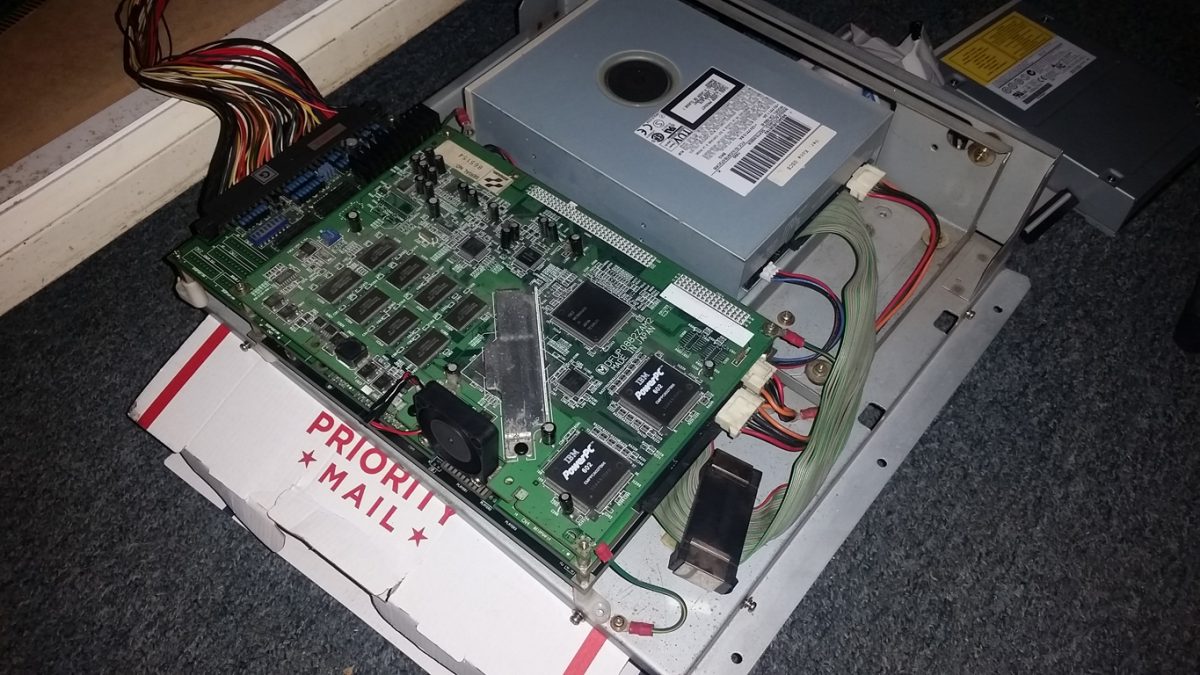
First, Determine What you’ve got
First make sure you’re using the right BIOS chip and sub-board for the game you’re trying to run. The BIOS chip is the large socketed chip on the middle board (the board with the JAMMA edge on it). Total Vice and PolyStars need the older “623B01” BIOS chip, all other games need the “636A01” BIOS chip. PolyStars and Total Vice don’t use an RTC chip so they should boot with any Sub board. But the rest of the game will need one of the Sub Boards that includes an RTC chip. I’ve created a spread sheet that shows which BIOS and which sub-board goes with which game disc.
M2’s Security
It’s also important to note that there is a code embedded in the EEPROM and the RTC that must match the disc or it will not boot. AWBacon from Video Game Esoterica has a great video on how to make custom discs to get around the security (as well as many other great Konami M2 related videos). I highly recommend checking out his channel.
Bypassing the M2 security is a topic on it’s own this article is only interested getting your M2 system running.
Failure Modes
Below is a list of common “failure modes” you might experience with the M2 hardware and what they mean. These are based on my own experimentation, if you have additional detail or other failure modes not listed here please let me know
Scrambled graphics on screen on initial boot:
The M2 supports both 15kHz Standard Resolution and 24kHz Medium resolution. On the upper PCB, you’ll see a small 2-dip bank. This controls resolution, set it to match your cabinet DIP2 Off=15kHz On=24kHz
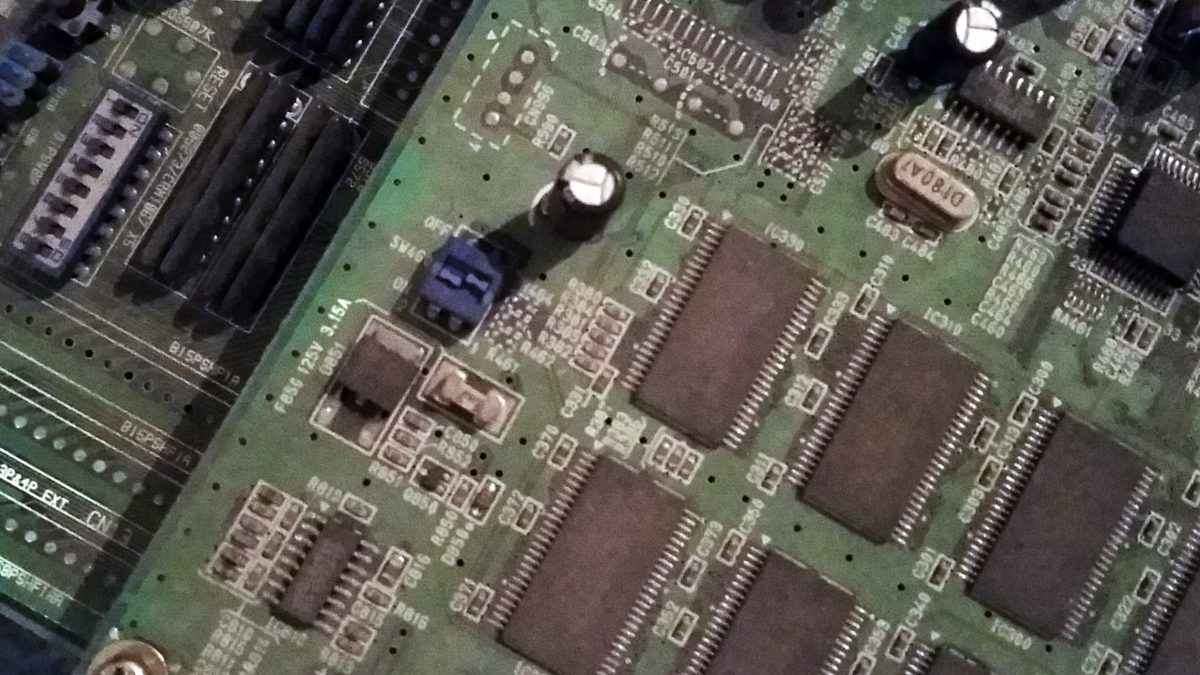
DIP2 set to 24kHz mode.
Boot loop going between the copyright screen and a black screen:
This is an indication that the disc cannot be read. This could be an improperly burned disc, a badly scratched up disc, a bad CD drive, or maybe the drive is simply unplugged. Some simple things to try include booting up with the disc in drive, and also try inserting the disc while on the copyright screen. If you’re using a burned disc it’s possible that it’s a bad burn, but if you’re using an original disc and having this problem I’d recommend replacing the ribbon cable and or Disc Drive.
On Boot you see the copyright screen while the disc spins up but doesn’t leave the copyright screen:
I’ve found this occurs when using the “623B01” BIOS when attempting to boot a game that requires the “636A01” BIOS.
On Boot you see the copyright screen, the Disc Spins up and the screen goes black and STAYS black (without rebooting):
This is an indication that the game does not support the resolution you’re set to. PolyStars, Battle Tryst and Heat of 11 are 15kHz Games. Evil Night and Total Vice are sometimes 15kHz and sometimes 24kHz depending on the disc used. See my M2 spreadsheet to determine which resolution your game is.
Game begins to perform self check but throws a “Hardware Error”:
Generally this means that the security key in the disc does not match the security key in the EEPROM and or the security key in the RTC chip. To determine which one it failed at it’s important to know the order in which the chips are checked:
1: “Device Check” 11K (Konami Custom)
2: “RTC Check” (this is not used by PolyStars or Total Vice so it is skipped on those games)
3: “EEPROM Check” 7K
4: “MASK ROM CHECK” 8Q (BIOS Chip)
So for instance if you’re playing Battle Tryst and it passes “11K OK” and then gives hardware error, it means that your problem is the RTC, since that is the next check. However if it gives “RTC OK” then gives hardware error it means that your error is the EEPROM.
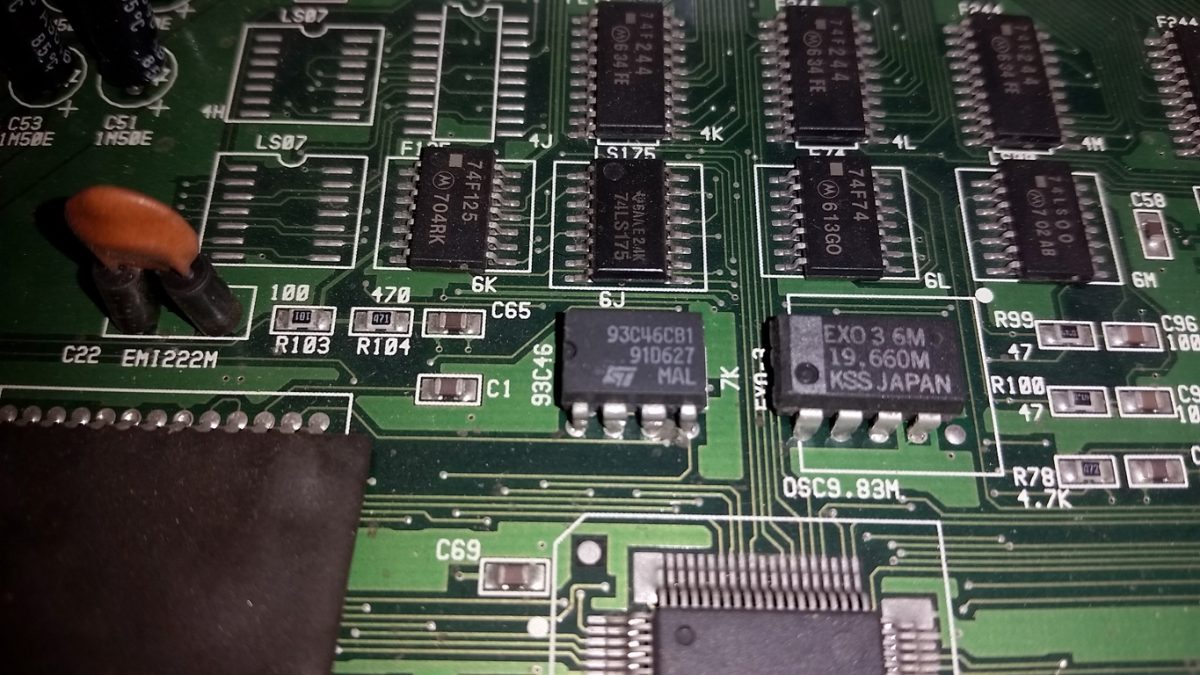
The 7K EEPROM
If you get “Hardware Error” instead of “RTC OK” it’s likely that the RTC Chip is not present, or that it’s internal battery is dead. I’ve heard it suggested that holding down the test button can temporarily bypass a dead RTC chip but that didn’t work in my experience. For me I bought a new RTC chip, and programmed it using a dump from MAME after I manually edited the security code to match my EEPROM’s security code.
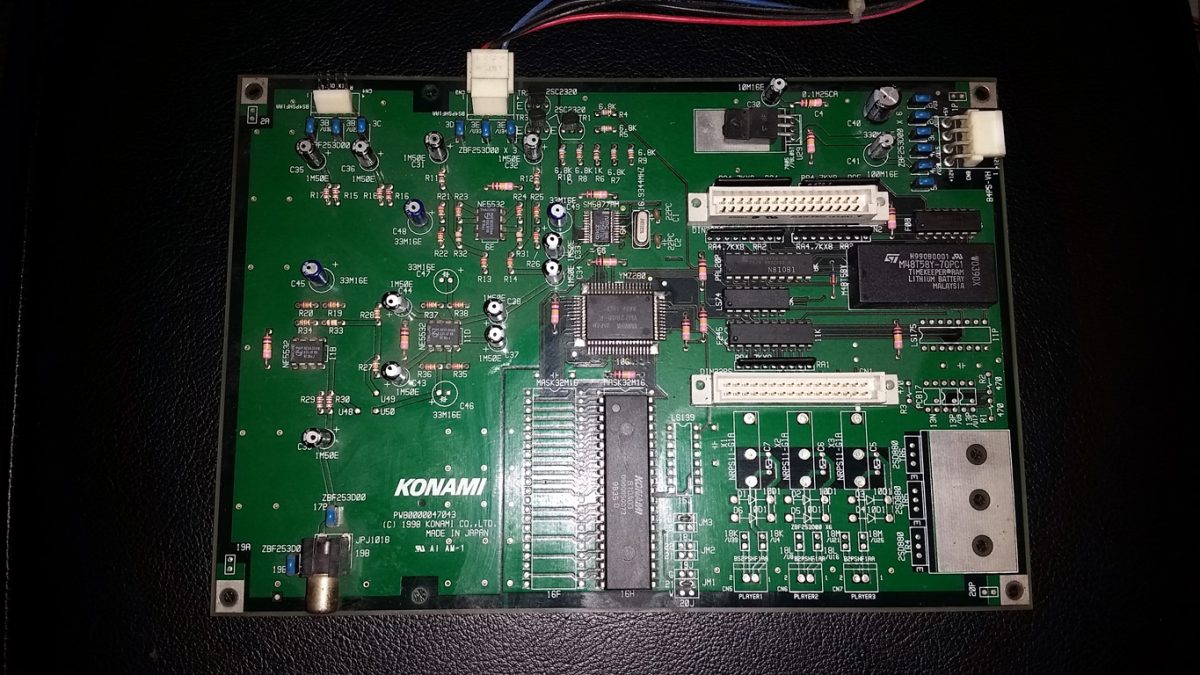
A Hell Night Sub-board with an ST M48T58Y RTC Chip.
If you get “Hardware Error” instead of “EEPROM 7K OK” the security code programmed on your game disc does not match the security region in your EEPROM.
Game begins to perform self check but throws an “EEPROM 7K BAD”:
This means that the game region of the EEPROM is corrupt. Game Specific settings and high scores are stored in the game region of the EEPROM so when changing games you may need to hold down the TEST button during the self check to re-initialize the game region of the EEPROM.
Game beings to perform self check but throws a “MASK ROM 8Q BAD”:
This means that the checksum of the BIOS doesn’t match what the game is expecting. It could mean that your BIOS is corrupt but I’ve found this occurs when using the “636A01” BIOS when attempting to boot a game that requires the “623B01” BIOS. So double check that you’re using the correct bios for the game you’re trying to run.
The game boots and passes all self checks but you get a Hardware Error during gameplay:
This is usually an indication that it lost communication with the CD Drive. Most likely a bad or damaged portion of the disc or a flaky connector on the CD drive. It could also be a failing drive.
A Note on The cooling Fan and Heat Sync
One of my first concerns with buying a “non-working” M2 system was BGA mounted “Bulldog” GPU on the top board. this chip is essentially non-serviceable so it was my biggest concern. Having spoken with AWBacon about it he noted that there is no fan or heat sync on the consumer version of the M2 and the that cooling setup on the Arcade hardware was overkill. Indeed one of my M2 systems had a dead fan and running the hardware without the fan I could feel the chip get slightly warm but it never got “hot”, with the fan running it was always cold to the touch.
If you’re like me and had a dead fan that you’d like to replace anyway it’s a 2-pin 40mmx10mm fan. The originally equipped fan is a 12V but interestingly the power connector is wired directly the 5V input on the JAMMA connector. As such, on mine I used a 5V fan. The connector is a very small JST Style connector (I believe it’s a ZH series, though I’m not 100% sure)
I hope this guide is useful to those looking to get their M2 System running. If you’ve run into scenarios other than the ones I’ve listed here, or have other relevant information on getting an M2 System running please let me know.
0 Responses to “Konami M2 Troubleshooting”