I’ve had a few requests to put together a guide on my PCB bubble wrapping technique. There’s a lot of text here because I wanted to provide insights into why I chose this method and do it the way that I do. But if you just want to know how to wrap, scroll down and follow the pictures. I tried to make it good enough that you could follow this guide without reading any text…
The Problem
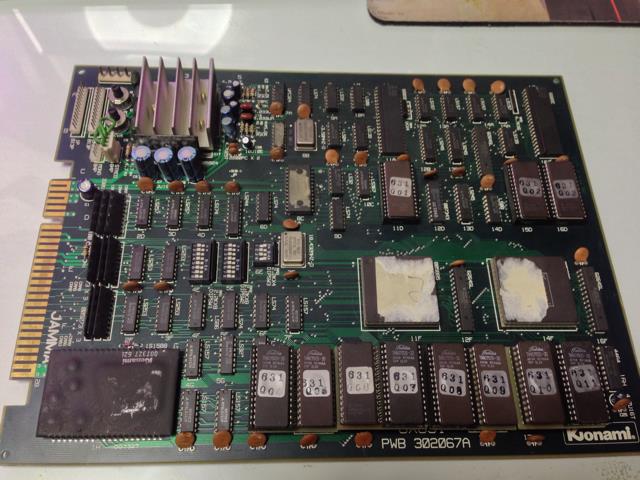
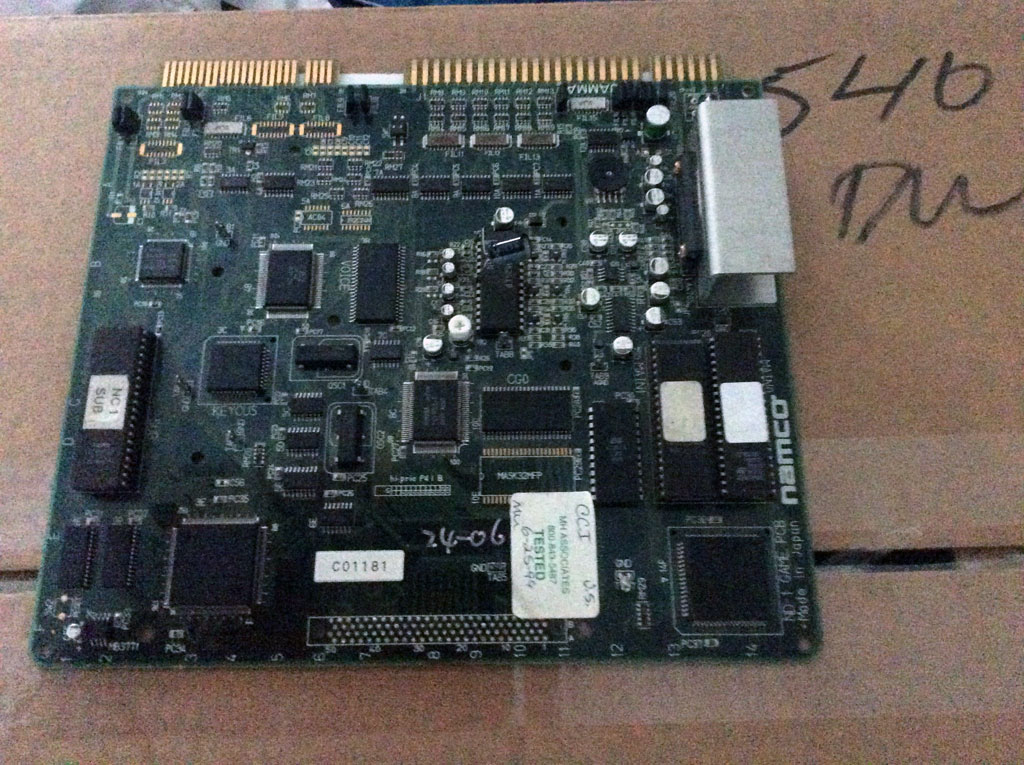
I’ve got a lot of arcade PCBs, over 500 at last count. Storage has always been an issue. How do you keep them safe and dry, dust free, and static free while also keeping them compact and a solution that works for tiny boards like a Cave CV1K all the way up to an old SNK Triple Z80 3-board stack, and something that’s not going to cause me to go broke implementing it x500?
Continue reading ‘twisted’s PCB Bubble Wrapping Guide’