Archive for the 'Hacks' Category

Page 2 of 4

SteamBox Build

I haven’t been a PC gamer for years. I spend all day at work sitting a computer desk, I spend a lot of time at home sitting at a computer desk working (to keep my various websites running) so when I need some down-time I’d rather sit on my couch and play games then spend even more time at a computer desk…

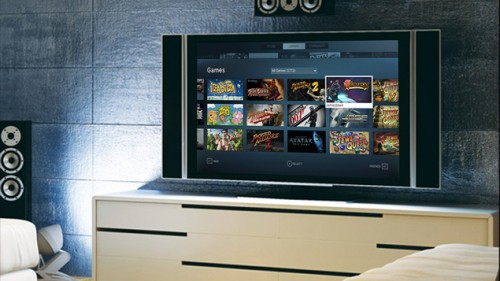
steam-big-picture-mode

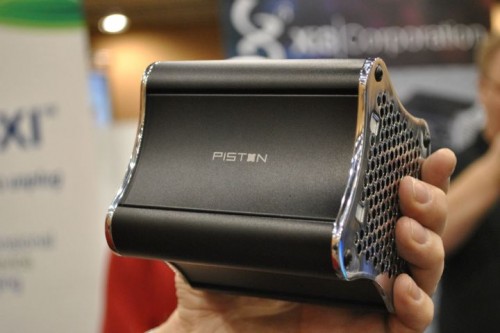
A few months ago Valve introduced “Big Picture Mode” for Steam. This mode basically adjusts the Steam menu system for HDTVs and controller based navigation. Rumors started flying that they were going to make their own console to compete with Playstation and Xbox. More recently those rumors were somewhat confirmed when Valve announced that they will be making a “SteamBox” spec for what this Living Room PC should be, essentially allowing any hardware manufacturer to make their own variation of the SteamBox and at the same time help standardize the PC; the first of which is the Xi3 Piston.

xi3piston

This obviously intrigued me since there are a number of PC games I’d love to play but not wanting to drop $1000+ for a gaming PC and then spend even more time in my office playing it. So I set out to build my own budget SteamBox. The SteamBox “spec”  hasn’t been released, though chances are it would be out of my price range anyway so I was just going to see if I could get the job done for under $300 (what I’d expect to pay for a console) leveraging the piles and piles of old PCs I had laying around.

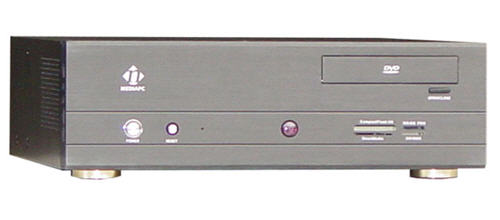
nmedia_htpc_600bar

The first PC I was sacrificing was an old HTPC/DVR I built, after looking at the equipment inside I quickly determined that the only thing worth salvaging was the case itself and the disc-drive. The case was an nMedia HTPC 600BAR. It’s a nice black steel chassis that supports a full-sized ATX Motherboard with a real brushed aluminum front, an integrated IR window, as well as flash media ports right on the front and a decorative disc tray door. (it’s also got USB, Firewire, and audio ports on the side right near the front). The DVD R/W drive is nothing special but it’s compact, quite and supports SATA.

The second PC I salvaged was one that my brother gave to me. I had built it for him 2 years ago for HD Video editing. it was blue-screening on him every-time it booted up and he got frustrated and just bought a new PC and gave me his old one since I had built it. This had an Asus P5N-D motherboard which is setup for gaming with overclocking features, it had a Intel Core 2 Quad (Q6600) processor 3GB of DDR2 memory across two sticks, and a two Seagate Barracuda 320GB 7200RPM SATA drives setup in a RAID array. It had a really nice Rosewill 550W power supply and a good-for it’s time but now dated ATi graphics card along with various other bits of essentially uninteresting hardware.

Comparing the specs of the Q6600 to an Intel i3 I found them to be fairly comparable CPUs, the i3 was more efficient and slightly better for gaming tasks, but the Q6600 was a slightly better performer for non-gaming tasks. So I considered this a good-enough platform for my needs… I don’t need a graphics powerhouse and my projector is only 720P so as long as I can run games above 30FPS at 1280×720 with decent AA and textures I’ll be happy with the results. Sure an i3 would be a bit better and an i5 would be a big step up… but the Q6600 was free and that would give me a lot of room to work with the rest of it.

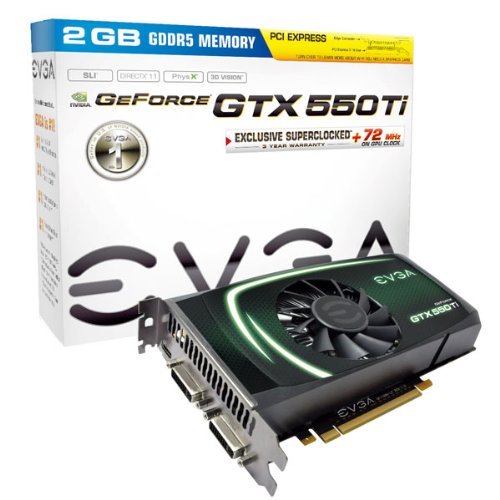
nvidia_gtx_550_it_superclocked

Since I was short-changing myself slightly on the processor side I wanted to get the beefiest graphics card (I could afford) that was compatible with the somewhat dated motherboard. the P5N-D includes 2 16x PCI-e 2.0 slots (3.x is the current new standard) looking around there were a few $400+ cards that still supported the v2.0 slot but the GTX550 seemed to fit my needs, it has an HDMI port (an absolute must for a TV build) and I found a used “superclocked” variant with 2GB of on-board memory for $120, I probably could have found. The next step up used  v3.0 and the 2GB variant of that was prohibitively expensive so this seemed like a good choice. I also picked up two used 2GB sticks of matching DDR2 memory for $25 to max out the motherboard supported of  8GB of memory.

If you’re keeping track at home I’ve spent $145 including shipping and my PC specs are:

  • nMedia 600BAR HTPC Case
  • Asus P5N-D Motherboard
  • Intel Core 2 Quad Q6600 processor
  • 8GB Corsair DDR2 memory
  • nVidia GTX 550 Ti 2GB Superclocked
  • Seagate Barracuda 320GB 7200RPM HDD in RAID array
  • Rosewill 550W Power Supply
  • Lite-On DVD R/W drive
  • integrated flash media slots

Now came the came the part where I’d need to chose an operating system. Ideally I’d run Ubuntu but that’s not really an option for gaming. Rumor has it the official Valve SteamBox will run Linux, which is great and I’m sure that will vastly improve linux gaming support, but the market is just not there yet. I like Win 7 but I’ve heard that Win 8 is a little lighter and runs a little faster, not to mention the Metro UI while loathed by traditional PC gamers seems the perfect interface for a HTPC Gaming machine… Win 8 was the easy choice.

sanoxy_pc_remote

The Last piece of the puzzle is the peripherals, I have a wireless keyboard and mouse that I bought so I could use the keyboard with my Xbox 360 before they released the “chat pad”… it’s USB based with it’s own 2.4GHz transmitter. Keyboard and mouse are a necessary evil but I really don’t want to be using that very often, especially not from the couch. after some research I found there are these generic chinese IR remotes sold under a dozen different names that emulate a keyboard and mouse. The one above I bought on Amazon for $7.50 shipped. It’s pretty slick you can move the mouse pointer around using the big directional button and most of the other buttons are mapped to standard keyboard shortcuts. The best part is that the Harmony Remote supports this protocol so anything you can do via keyboard I can do via my harmony remote.

The first one I received had a defective IR receiver, but the Amazon seller sent me another one without any hesitation. I had to rig up a custom mounting bracket to hide the receive behind the IR window in the front of the case and I even had a USB pin header adapter so I’m not even snaking the cable out to an external port… nice and clean.

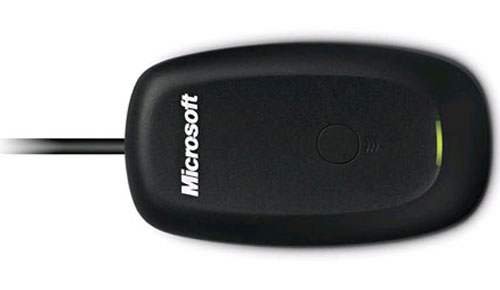
wireless_gaming_receiver

The last peripheral bit was to pickup an official Microsoft “Wireless Gaming Receiver” a small USB dongle that allows you to use any wireless Xbox 360 controller on a PC. Sadly I wont be able to easily mount this inside of the case as I will need access to the sync button. I considered doing something clever like cracking it open and re-appropriating the case’s reset button for sync but then I might still run into problems with the metal chassis interfering with the signal… so outside the case it will stay, I may make up a custom mount to keep it at the back of the case.

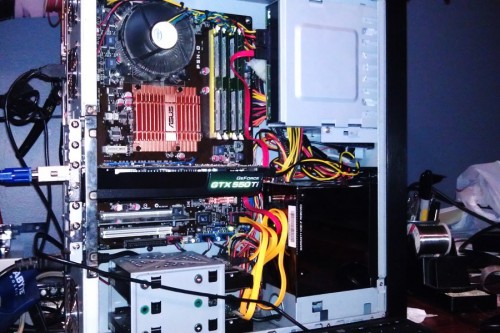
steam_box

You may notice that there is another PCI card in there, this is simply a second network card. The reason being is that I had been using another old PC as a hardware firewall for my Xbox 360, this allowed me to force block people on Xbox Live, I’d remote into that PC and identify the IP of the person I didn’t want to play with and add them to the block list. I’d then never connect to them in-game again. It also worked the other way where I could set a white list so I would only connect to my friends, keeping randoms out or forcing myself onto a specific Xbox Live server. Now that I’ll have a PC in the same room as my Xbox I can use this for the firewall tasks and simply switch inputs on my receiver instead of involving my laptop to remote into the old firewall PC.

I haven’t tested it out yet (two of the fans in the case seems to be on their last leg so I want to replace those before I put it through it’s paces… I’m pretty happy with it so far and will be interested to see how my sub $300 SteamBox works out.
Euro S14 Cluster

I received my S14 Kouki cluster from the UK in today. The European clusters are nice because the gauges have a lot cleaner look to them Instead of E and F on the fuel gauge there is just a red line at empty. The temp gauge is similarly styled. They’re clusters also went up to a higher speed and the UK is of course in MPH which is nice.

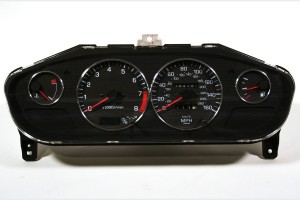
S14 UKDM Euro cluster with Aluminum Trim.

I found a set of Aluminum trim rings for the gauges which I think really improves the look of the cluster. These rings are made of polished aluminum. I’m not 100% sold on the shiny look  I’m tempted to go over the rings with some steel wool to give them a brushed look… I’ll see how I like it polished for a while first.
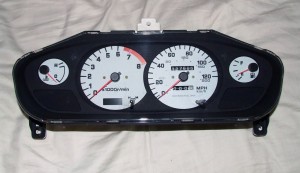
For reference (not my cluster, but exactly like it) this is what my current cluster looks like:

S14 Zenki Cluster

…I’d say the new setup is way more classy.
I also noticed that the Euro cluster has the interior brightness adjustment right on the cluster, this means I’ll be able to remove the button in my dash which is quite nice since I was considering relocating it so that I could use the spot to mount the ambient temp sensor for the Digital Climate Control system.

If you want something done right…

>rear drum brakes had problems.
>rather than replace them I decide to upgrade to disc brakes.
>disc brakes don’t support an e-brake.
>I buy disc brake parts (a couple hundred bucks).
>I buy the disc brake adapter kit (a couple hundred bucks).
>and I buy a transfer case mounted e-brake kit (a couple hundred bucks).
>e-brake kit doesn’t support my transfer case (even though specs said it was compatible).
>decide I’ll have to throw out most of the kit and build custom to make it work.
>remove old drums destroying them in the process.
>calipers and rotors need to be modified to work (this is normal; part of the installation).
>install disc brake adapters and hardware.
>everything seems to be going well.
>surprise, the calipers wont fit under my wheels (even though the specs said they would).
>calipers wont even fit under the larger wheels I have.
>decide this is bullshit so I start taking measurements and doing research.
>buy completely different disc brake parts based on my research (a couple hundred bucks).
>mock up install and wheels have clearance for days.
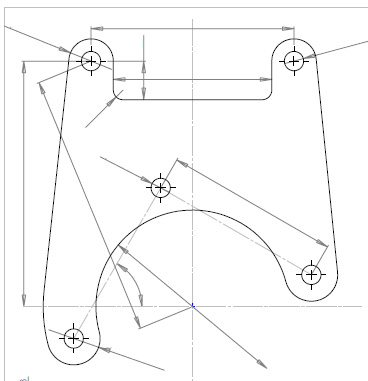
>take additional measurements and design my own adapter kit.
>my design would be cheaper to manufacture.
>my design will be easier to install.
>my design requires less expensive brake parts.
>my design doesn’t require modification of the brake parts.
>my design is more appropriately proportioned for the truck.
>oh yeah, and my design clears the wheels with room to spare.
>this isn’t the first time I’ve spent over a grand buying specialized parts to save myself time and engineering.
>I sent my LS1 engine mount kit back 4 times before I finally gave up and just modified it to work.
>this time I didn’t even bother trying to send it back.
>apparently I can’t trust people design these things properly.
>if you want something done properly you have to do it yourself.

Dimensionless Caliper Bracket Drawing

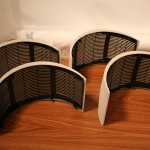
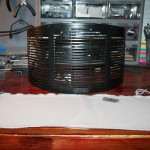
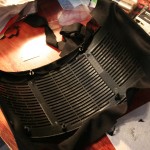
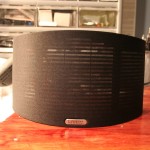
Speaker Color Change White to Black

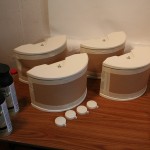
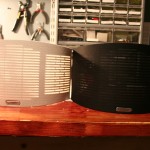
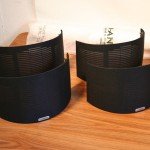
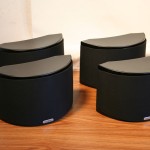
3 Years ago I got a deal on some Cambridge SoundWorks S305s to help round out my 7.1 surround sound system. Normally they sold for $300 a pair but I got them for $100 a pair on clearance. Part of the reason they were so cheap was due to the fact that they were the less desirable white color.

They’ve been sitting in the box since… I finally go around to painting them and re-upholstering the grills.

Arcade Control Panel

So recently it was announced that they’re releasing a Tournament Edition of the new Mortal Kombat game due out next year.

As a long time Mortal Kombat fan this is obviously something I’m excited for, I’m even more excited since it’s an all new developer making the game and they seem to be making it a true sequel to the original 2D trilogy as opposed to continuing with the 3D mess that the MK series had become.

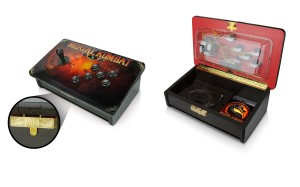
The Tournament Edition has me really excited because, well it’s a CE, which I love, but it’s also going to be limited to only 20,000 copies. The biggest thing about this CE is that it includes a Joystick as the main bonus item.  I’m making this post because it seems that a lot of people fail to realize how much of the “real deal” this included joystick is.  Allow me to demonstrate.

Here is a photograph showing the joystick included with the Tournament Edition:

Take a close look at the controls, that is a Happ Ultimate Joystick and Happ arcade buttons with Cherry micro-switches. I worked in arcade repair for several years, nearly ever arcade machine from the 2D Mortal Kombat era uses these joysticks and these buttons…

Need further proof? Take a look at these pictures:

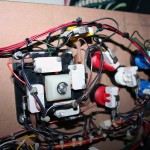
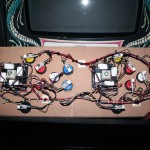
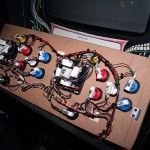
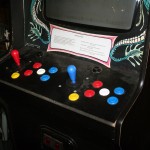
That is an actual Ultimate Mortal Kombat 3 arcade control panel, it’s a conversion machine but those are the buttons and sticks included with the kit from Midway. I wired this control panel myself, and this machine is sitting in my game room, and those are two Happ Ultimate joysticks and Happ buttons with cherry microswitches way back from 1995.

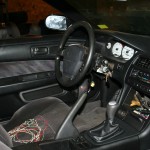
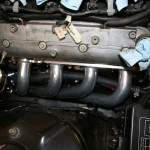
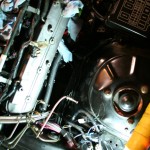
S14 LS1 Work Photodump

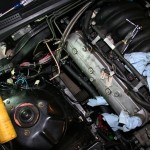
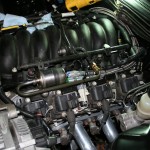
Over the last few weeks I’ve been spending time here and there just tying up lose ends on the S14… basically just going over every litt inch of the engine bay with a fine tooth comb making sure everything is put together correctly and tucked out of the way.

I started on the drivers side and I’m working my way across the engine bay. the passer’s side still has a few days worth of work left in it before I’ll be happy with it.

SR5 Cluster

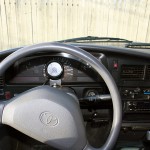
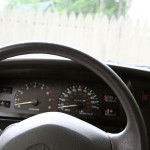
The battery kept dying in the pickup, I determined it was from the aftermarket tach installed by the previous owner so I decided to install the SR5 cluster I purchased.

Installation was tricky because I had to swap odometers with my old cluster so that the mileage remained correct, Also this new cluster was out of a vehicle originally equipped with a V6 and my truck has an I4. This mean that the tachometer needed to be re-calibrated, thankfully I could use the aftermarket tach to “tune” the new one.

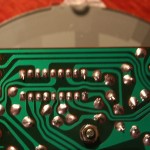
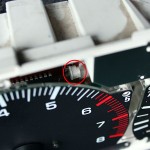
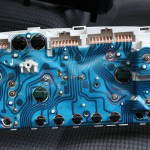
Above, you can see the adjustment potentiometer. No one else (to my knowlege) has ever published the adjustment value for the I4 engine, I found lots of people asking online but no answers. So after I adjusted mine I was kind enough to pull out the gauge and measure the appropriate calibration value.

The 3 circled screws on the left image need to be removed, once that’s done the the two locations on the right can be measured for resistance. The original V6 was tuned to 44.9K ohm, and I tuned the I4 to 63.8K ohm. It will likely vary  from vehicle to vehicle but the most important take away is that it’s a difference of ~19K ohm.

crappy pics I know but I think it’s a big improvement.

Only thing left to do is swap over the oil pressure circuit I got a new sensor since the old one was just an on/off switch for the idiot light. the new cluster has a pressure gauge. I bought a new sensor too but the electrical connector is different so I’ll need to swap that too before the gauge will work.

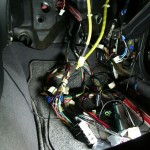
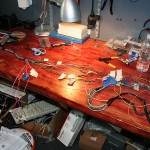
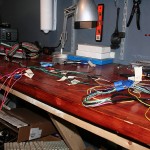
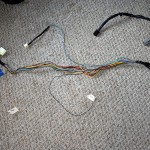
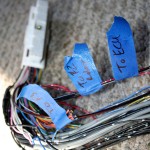
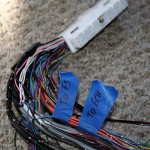
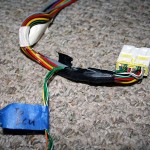
LS1 S14 Wiring

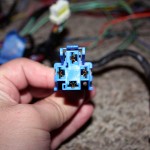
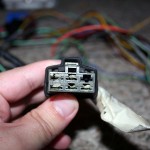
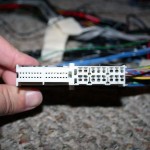
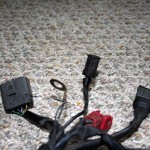
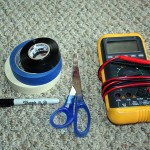
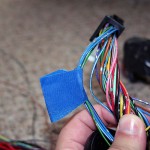
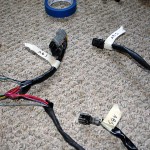
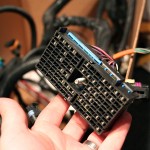
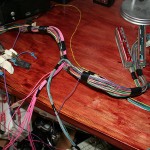
Here are a bunch of photos for the wiring harness conversion, it’s a lot more simple than it looks, if you can wire a car-stereo than you can do an engine harness, there are just a lot more wires and you need to do a bit more digging to determine what goes where.

MT Parts

wooo… got my 5 speed brake pedal in today.

I must have found the only person on the planet doing an AUTO swap and he traded me all of my auto parts for all of his S15 5-speed parts… the only thing I still needed at this point was the brake pedal but the rest of it is handy to have around.

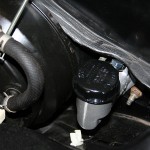
I spent time time bolting up the new brake pedal, and the swapping the push-rod on the master cylinder and bolting up the clutch pedal.

it’s small but it’s something

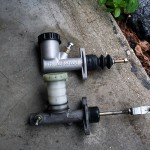
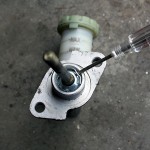
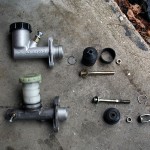
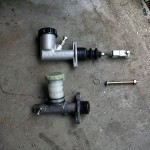
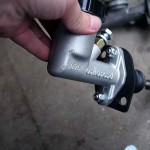
I took some pictures documenting how I prepped the Willwood CMC

LS1 and S14 Harness Integration

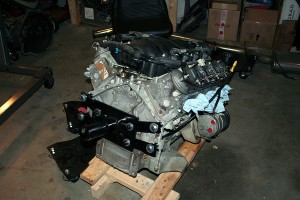
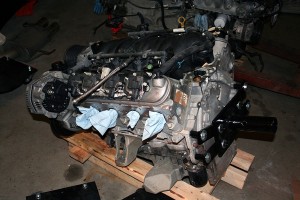
A minor update on the LS1 swap. I finished removing the LS1 engine harness as well as some other unnecessary stuff. I also got some new tools as well as a proper engine stand (though the motor isn’t up on it yet). The Fujii boys also stopped by briefly last weekend and pulled the starter motor, the Auto flywheel and the headders off… looks like a totally different motor now.

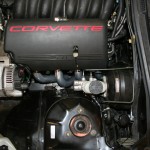
Corvette LS1 Corvette LS1

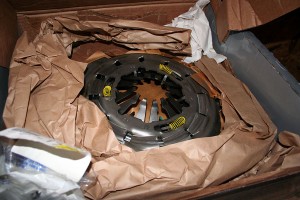
Next time I have a 2nd set of hands to help me I’ll throw it up on the stand (I don’t trust my ghetto-ass cherry picker to do it myself) then I can swap out the oil pan then drop it back down and throw on the new LS6 clutch… yummy

LS6 Clutch

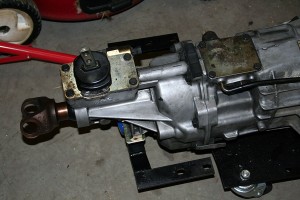
I also spent some time pulling off a bunch of unneeded brackets and other crap from the transmission and cleaned it up a bit while I was at it and mocked up the new transmission cross member.

T-56 with Daft Innovations Transmission Mount and Crossmember

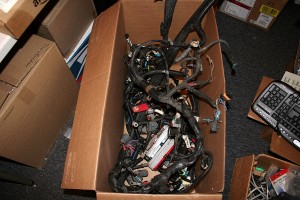
My main attention now will be on the harness, I dumped all of the harnesses that I need to tie together into a big box and brought it into my office… looks kind of overwhelming.

LS1 engine and tramssion Harness and S14 Engine Control Harness

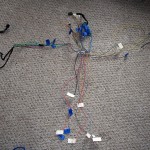
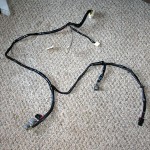
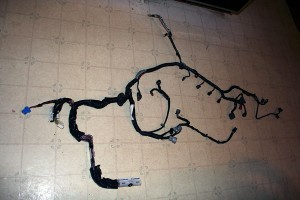
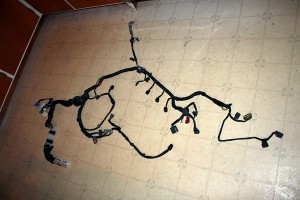
Though spreading the KA harness out on the floor so you can see the whole thing all at once it doesn’t look so bad. Trimming off the KA bits will be the easy part… the hard part will be weeding through what is and isn’t needed on the LS1 harness.

Nissan 240sx S14 Engine Control Harness

Nissan 240sx S14 Engine Control Harness