Tag Archive for '240SX'

Rake

Rene wasn’t the only one upgrading their suspension today…

Thanks to Rudy I got a new torque wrench and was able to finally install my Nismo suspension. it took longer than expected since I decided to sand and paint all the hardware and mounting brackets with a rust inhibitor. Also I discovered that the brake line bracket on the Silvia is backwards from the 240sx so I had to make a small modification to the brake-line  to make it mount to the bottom of the strut housing.

I only did the front, so I’ve got a nice rake going on… I’m not sure if I’m going to do the rear too or just leave it like this.

I F*CKING HATE MICE…

This is the bird seed and insulation “nests” I pulled out of the headliner and side panels of my car today…

at least I had new seats to put in front and rear.

More Kouki than Zenki

The conversion is nearly complete, I’m waiting for a couple of brackets (which will hopefully arrive by Thursday). then I can install the bumper. The only other thing I’ll need to do is convert the headlight wiring

if you’re wondering, this is what the car used to look like:

S14 Exaust

Long Tube Headers with 4-1 3″ collector’s, slip fit to 3″ hi-flow cats, to triple weave flex-joints, into a Flowmaster dual 3″ to 3.5″ Y-pipe, into a 3.5″ Flomaster Hushpower Pro short Muffler with a custom tip.

…built by Fuji SPL

First Drive of the Corvette Powered 240SX

So I got my PCM back from Pinocio Joe on Tuesday Night. (I can’t say enough good things about this guy for PCM re-flashing).  Last night I went down to Fujii SPL with the new PCM in tow with plans to start the car up for the first time… and hopefully have it run more than 5 seconds.

We pushed the car out of the garage,  bolted up the PCM, turn the key and it fired right up and ran… and didn’t shut off. Success!

Have no brake fluid in the car since it’s got a brake leak, but the clutch master was full so I decided to drive it a little bit… taking it slow since I only had the e-brake to stop me.  At first I thought maybe the clutch was slipping, then I realized for whatever reason it wouldn’t rev past 1000RPM, the car just limped around and after doing a lap around the building I parked it back where I started.

I popped the hood and we poked around, there was a small leak on one of the heater hoses where the clamp wasn’t tight enough but everything else seemed in order. We unplugged the MAF and it made no difference, plugged it back in and unplugged the MAP and the idle got rought but it stayed running, then we unplugged MAF again (so both the MAP and MAF were unplugged) and the engine died… which is good because it meant both sensors were running.

Plugging them back in and trying to start it just cranked without firing… James decided to disconnect and reconnect the battery to reset the PCM, doing this  worked and the car started again, but still wasn’t revving.

While running we pulled off the intake (and disconnected the MAF and IAT) and discovered that the throttle wasn’t opening when we pushed on the gas (it’s an electronic throttle not cable). Pushing the throttle open by hand the engine revved up no problem… we did this a couple of times but it still wouldn’t work with the pedal.

With the intake still off we shut the car off, disconnected and reconnected the battery  and started it again, it was idling MUCH better this time. So Joe got in and stepped on the pedal and the engine roared to life…  The thing ran flawlessly after that. We put the intake back on, hooked up the MAF shut it off and restarted a few more times without any issue.

After all that I drove it back into the garage under it’s own power.

I was a little worried when it wasn’t revving but I’m guessing it was just a stuck throttle or the PCM needed to relearn some of the sensors, or both.

Tony shot a video of the whole thing but it doesn’t seem to be up on youtube yet. I’ll post a link once it’s up.

Silvia front Convertible

Nissan 240SX Convertible with an S13 Silvia Q's Dual Projector Front End

Nissan 240SX Convertible with an S13 Silvia Q's Dual Projector Front End

Nissan 240SX Convertible with an S13 Silvia Q's Dual Projector Front End

MT Parts

wooo… got my 5 speed brake pedal in today.

I must have found the only person on the planet doing an AUTO swap and he traded me all of my auto parts for all of his S15 5-speed parts… the only thing I still needed at this point was the brake pedal but the rest of it is handy to have around.

I spent time time bolting up the new brake pedal, and the swapping the push-rod on the master cylinder and bolting up the clutch pedal.

it’s small but it’s something

I took some pictures documenting how I prepped the Willwood CMC

Engine In

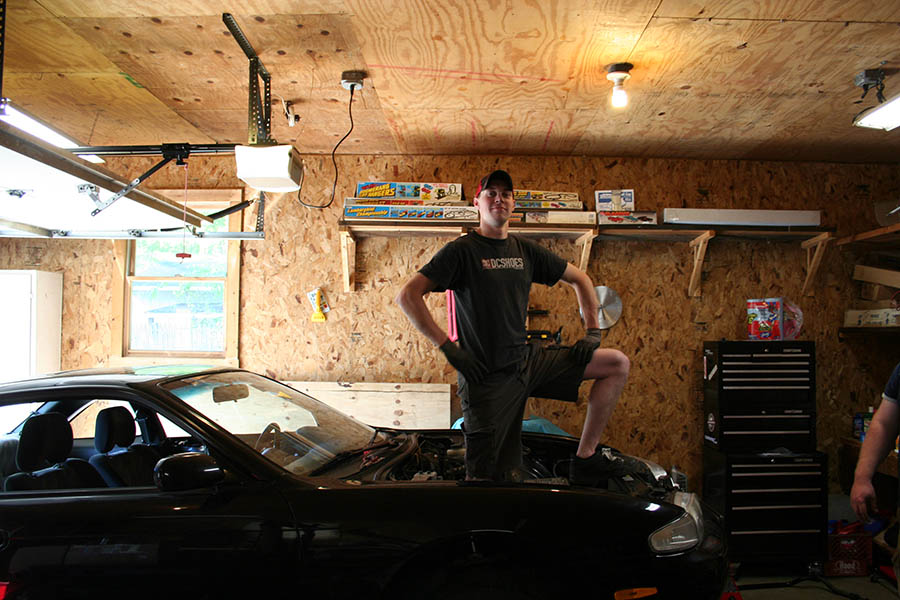
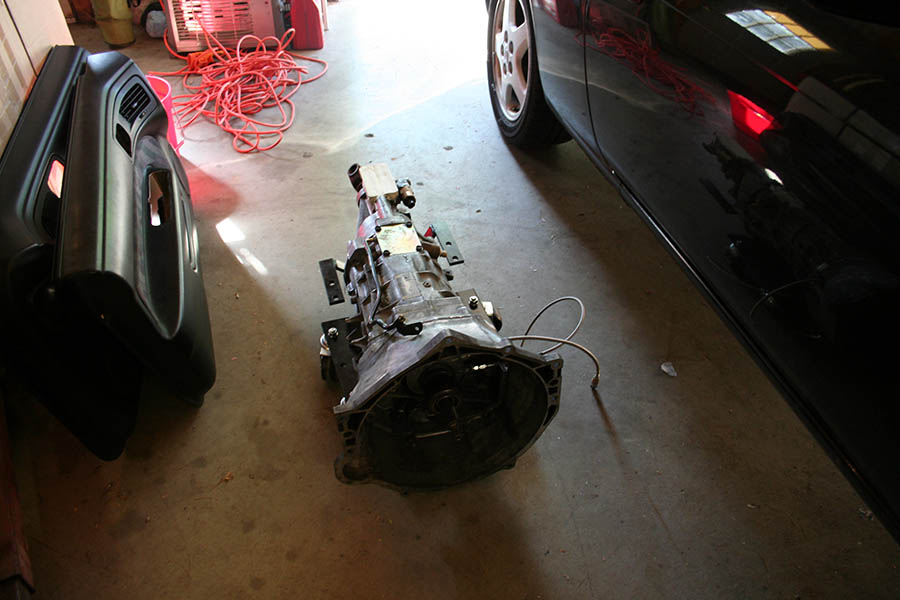
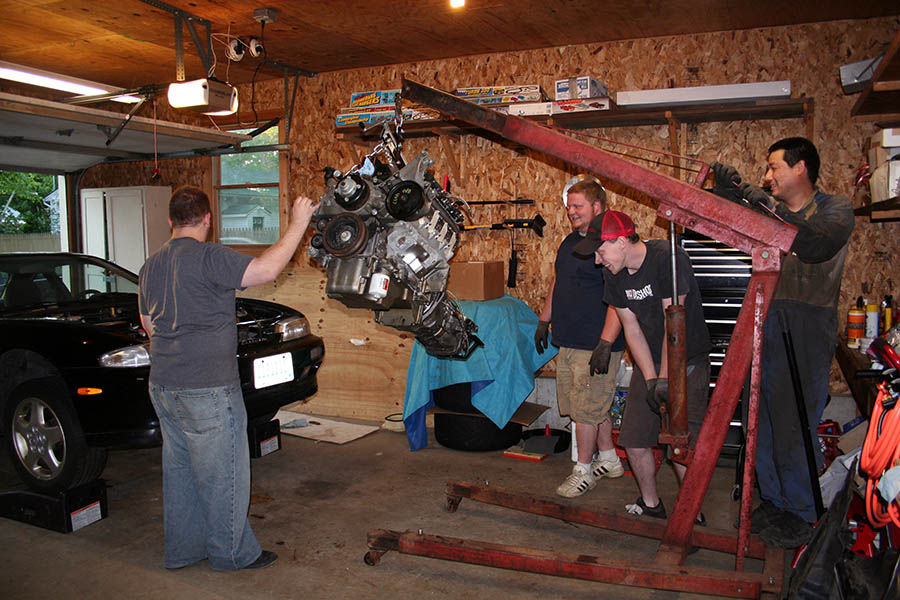
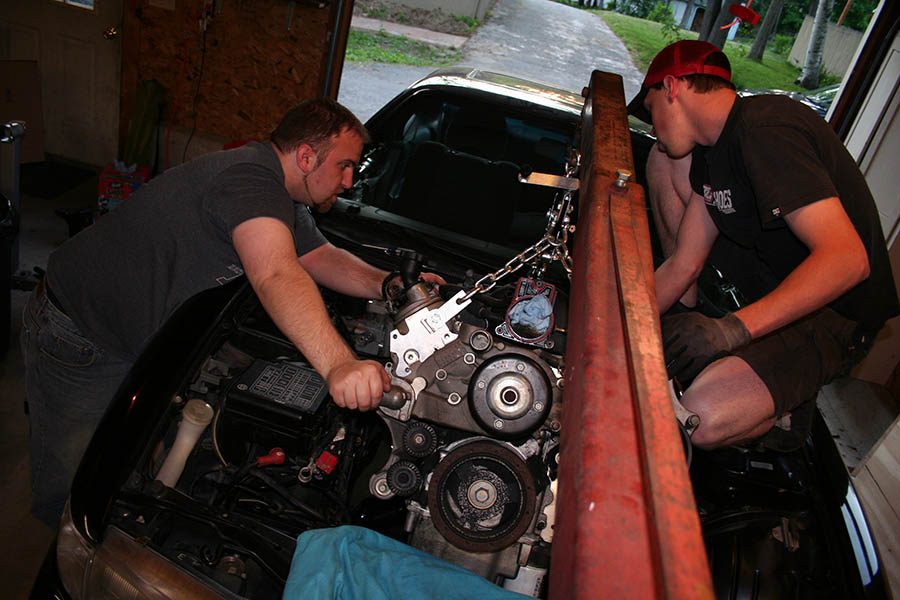
So Monday I finally got everything ready to drop the engine in: engine prepped, engine bay stripped, transmission tunnel hammered out, oil pan swapped, notched engine cross member installed, transmission installed on the engine,etc. The friends I had come over own a well respected local shop called [url=http://fujiispl.com/]Fujii SPL[/url], one of the guys we had here is from Japan and has at dozens of s-chassis engine swaps under his belt, at least 2 of them own swapped S13s.

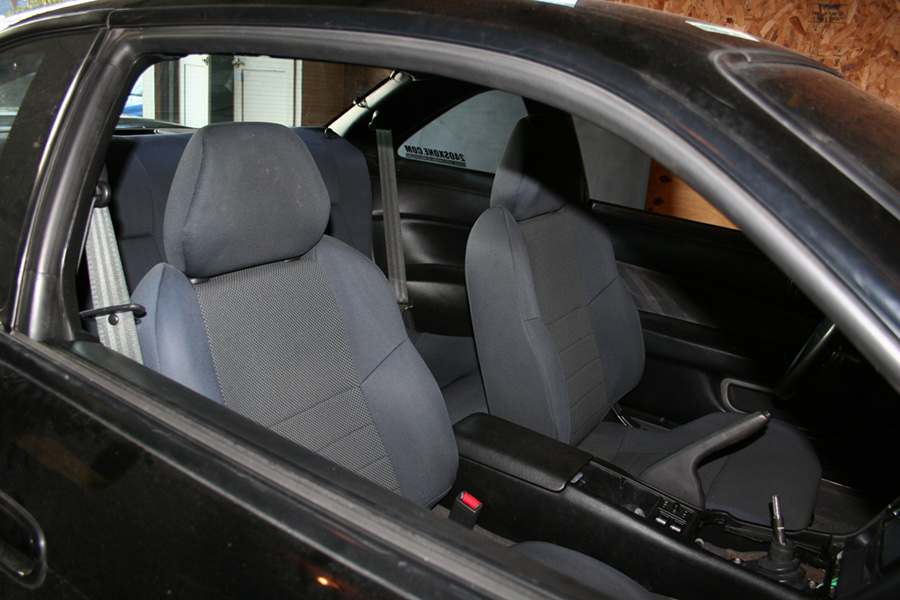
engine bay cleared out

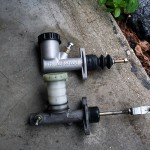
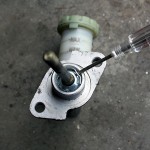
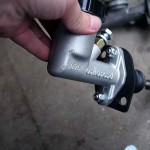
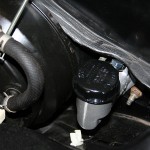
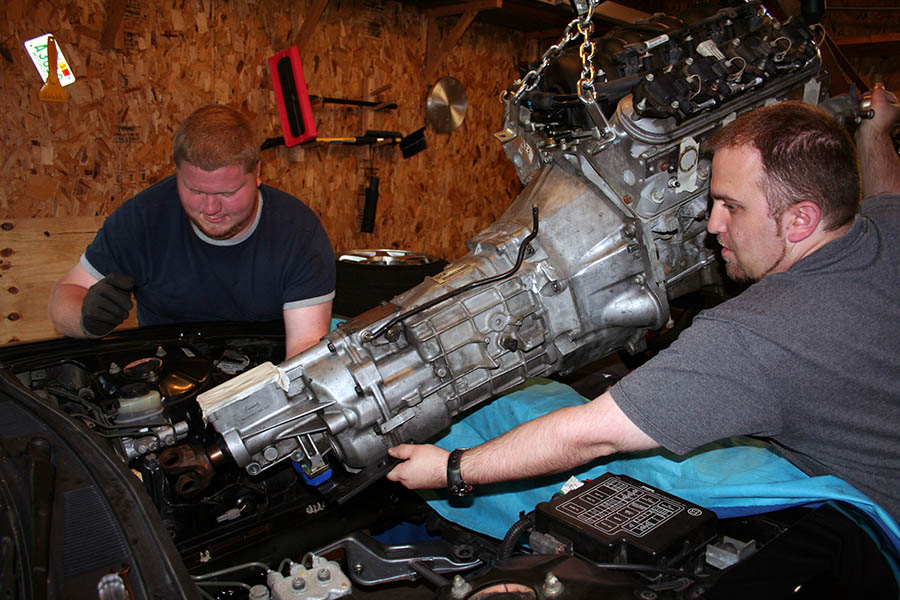
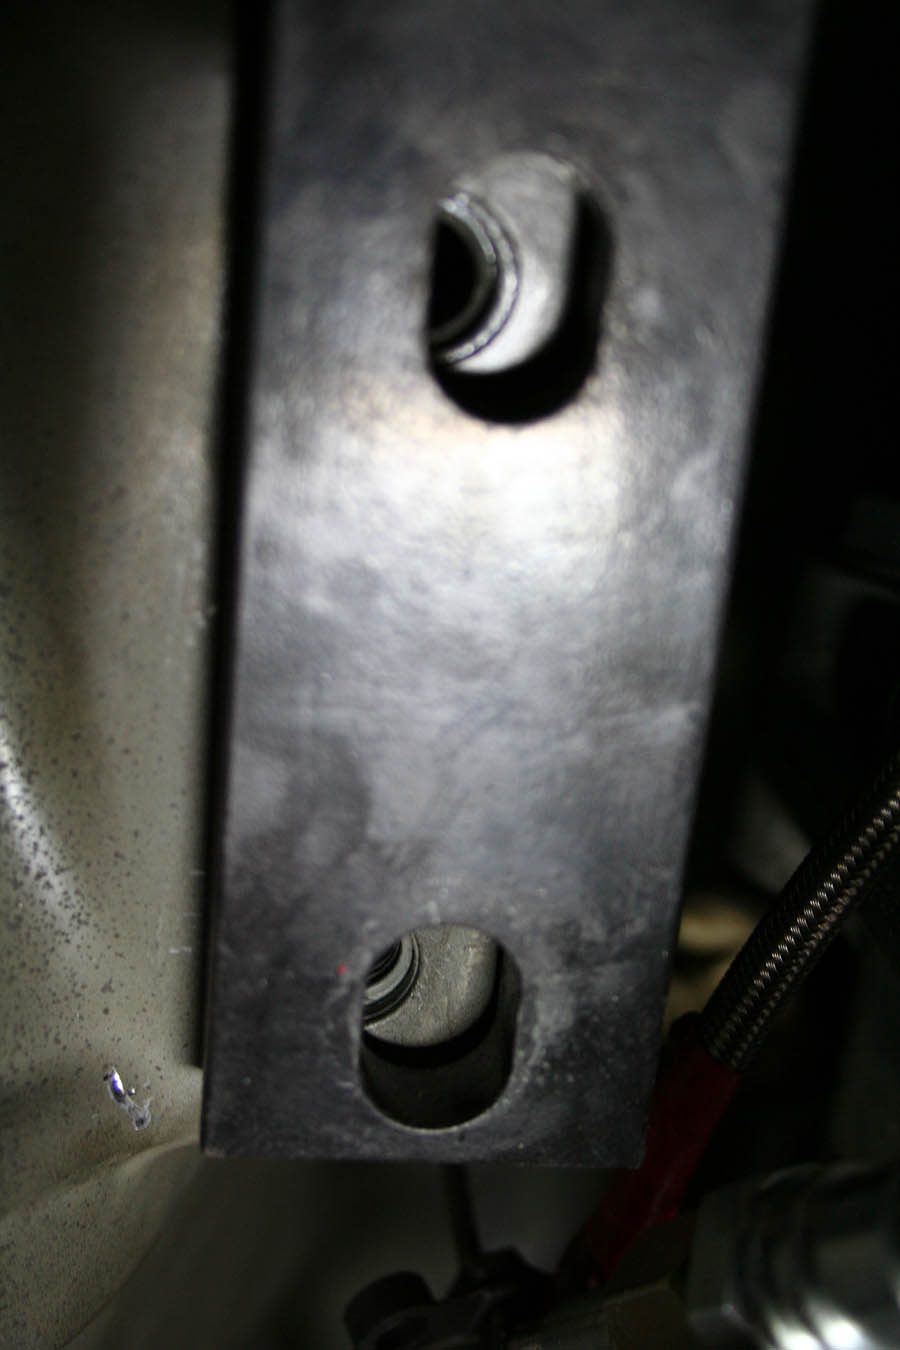
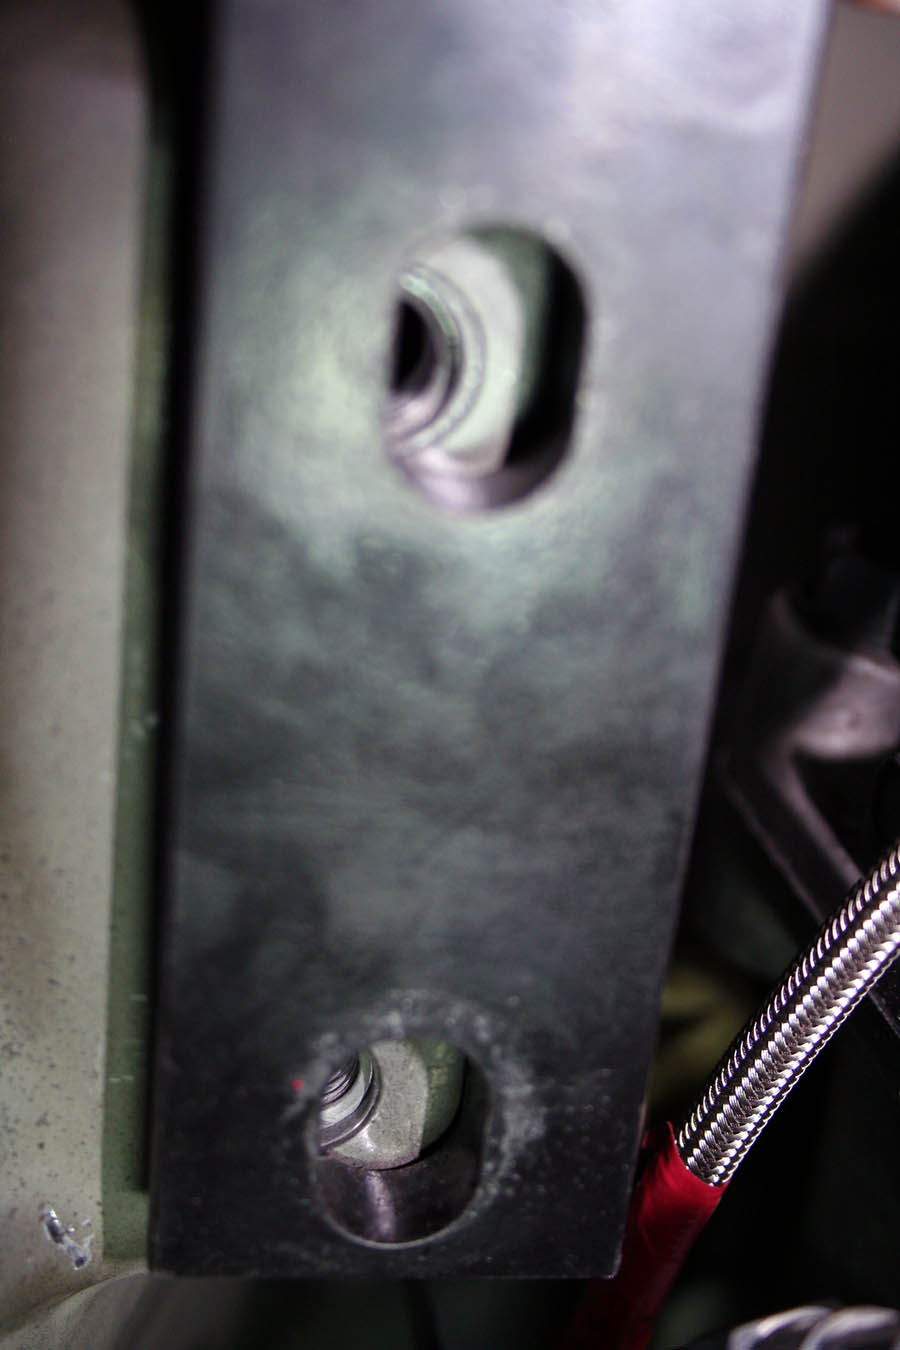
clutch lines installed and all unnecessary hardware removed

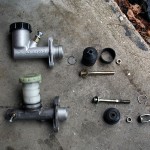
The torque wrench wasn’t working right so we had to use an old-school torque wrench to install the clutch hardware. Also the bolts for the the flywheel that I bought were the wrong size (and I somehow got 2 bags of those) we were also short 2 bell housing bolts… Aggravating. Thankfully the flywheel bolts from the original automatic flywheel worked on the new flywheel and we found some bolts that worked with the bell housing for the time being… placed those on the bottom so they can be swapped out later.

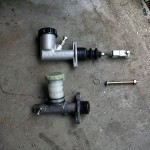
once the transmission was mounted up we set the clutch master in a vice and tested the lines for leaks… I didn’t want to have to pull the whole thing back out of the car to fix the lines if there was a problem. It was kind of ridiculous but it worked well and the lines held up beautifully

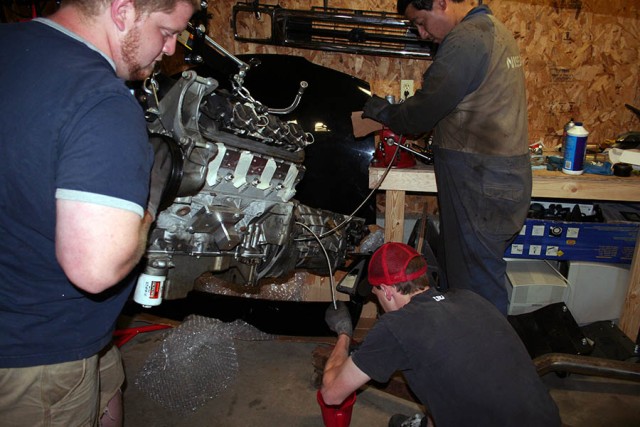
dropping in the engine:


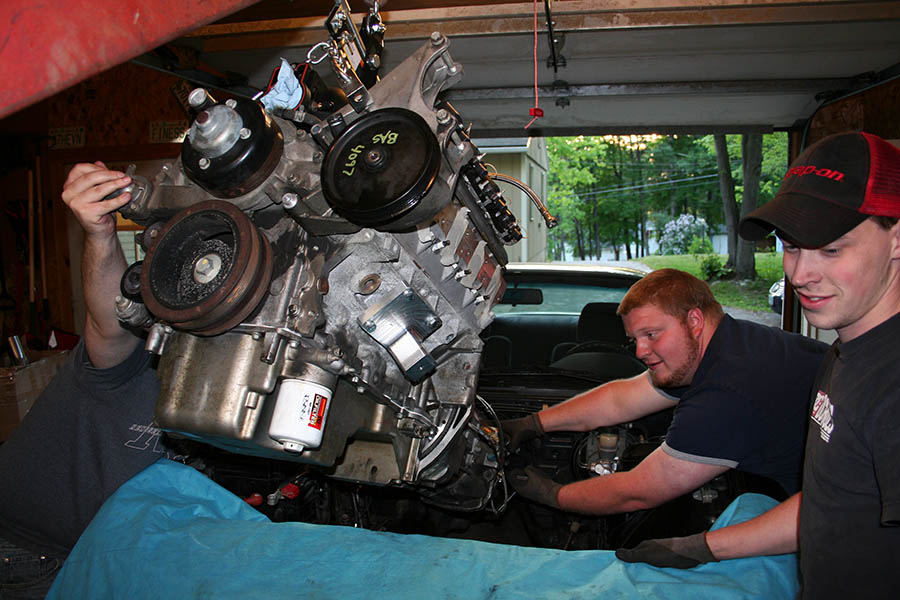
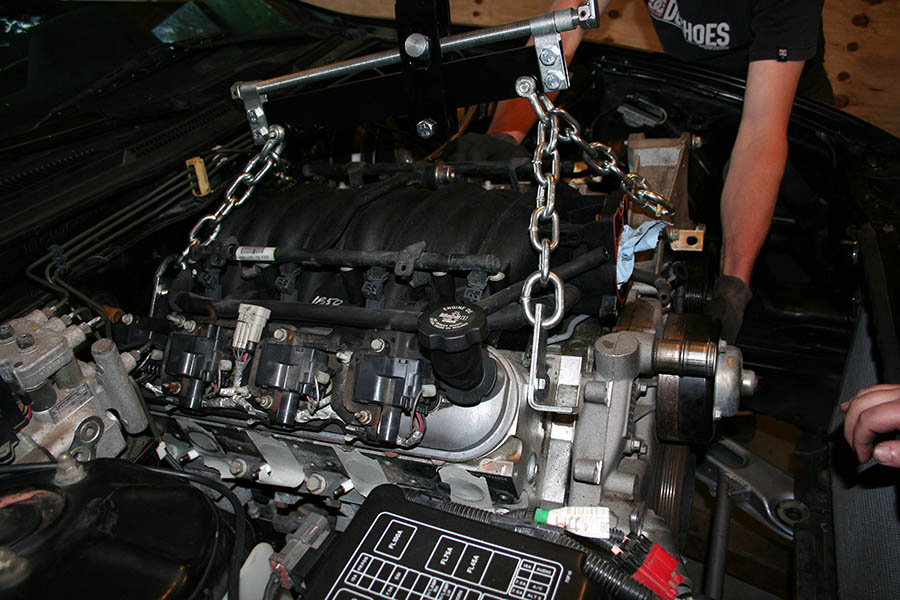
Once the engine was in and we attempted to bold it up we ran into some major fitment issues. It’s sitting in the car right now but we’re going to have to pull it back out to figure out how to get everything to fit. We didn’t have time to test-fit the headers but a quick attempt showed that it wouldn’t be easy and I’m concerned about their fitment as well.

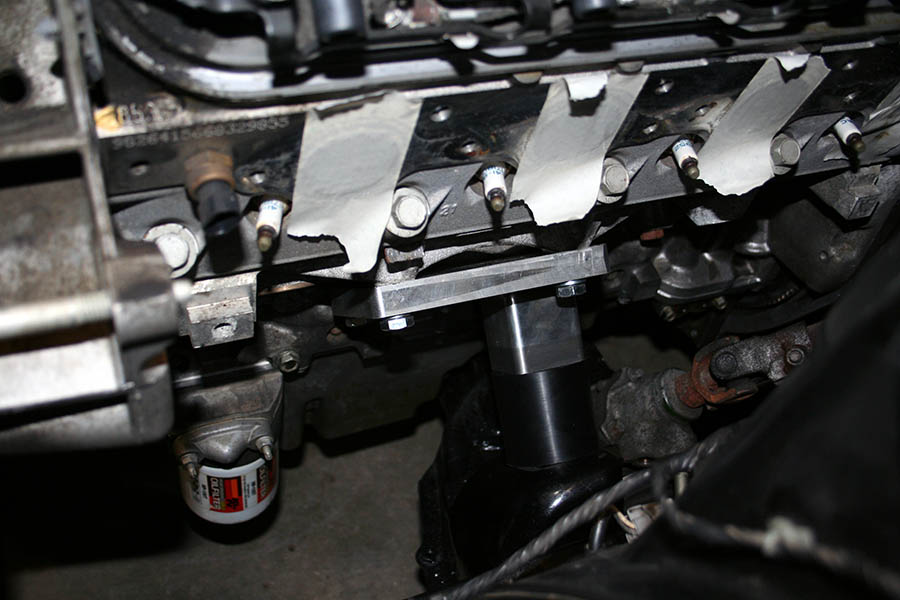
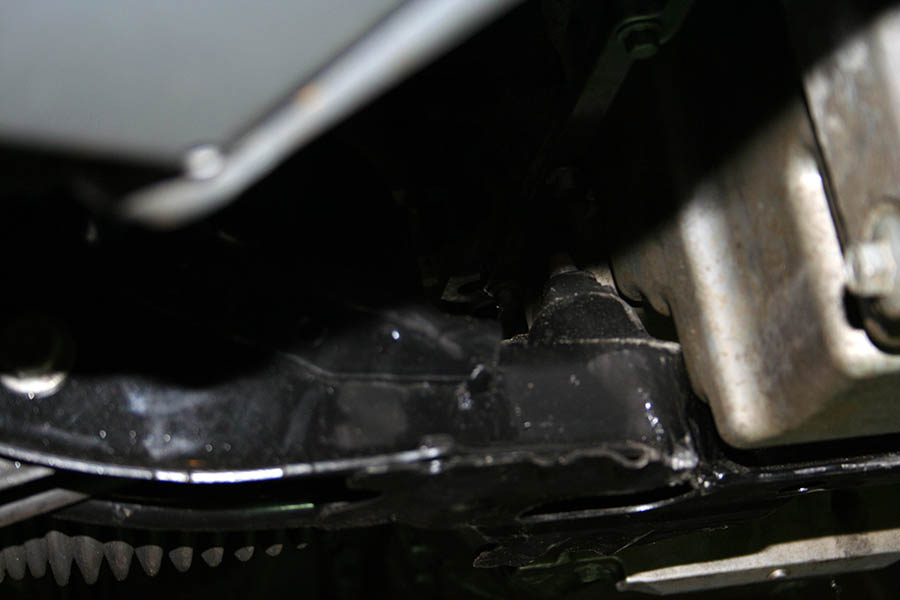
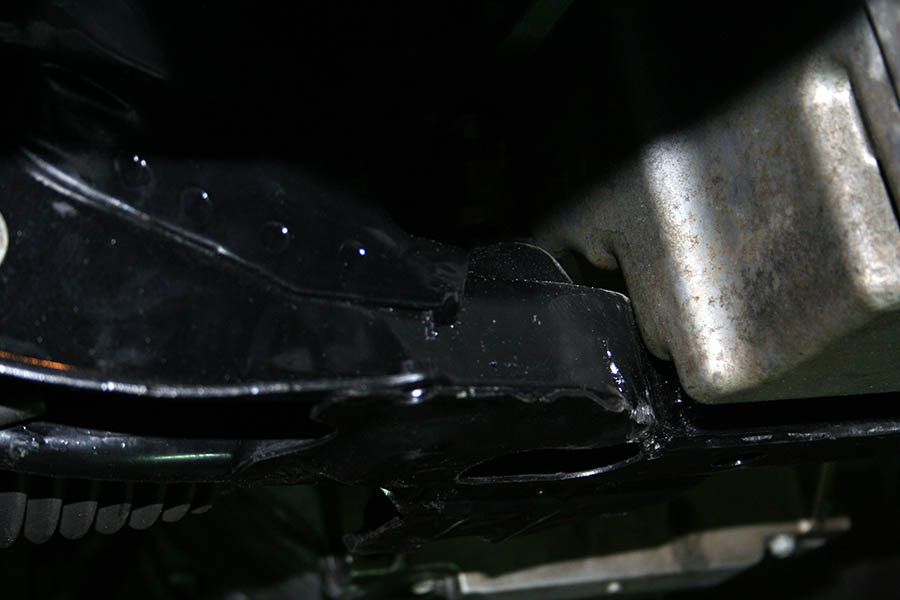
First thing we noticed was that the transmission cross member didn’t fit, we had major alignment issue with it but after we took out the mount and tried to bolt in the cross member alone (without it even touching the transmission) the bolt holes didn’t even line up… with the passenger side bolts lightly threaded in, this is what the driver’s side looked like:

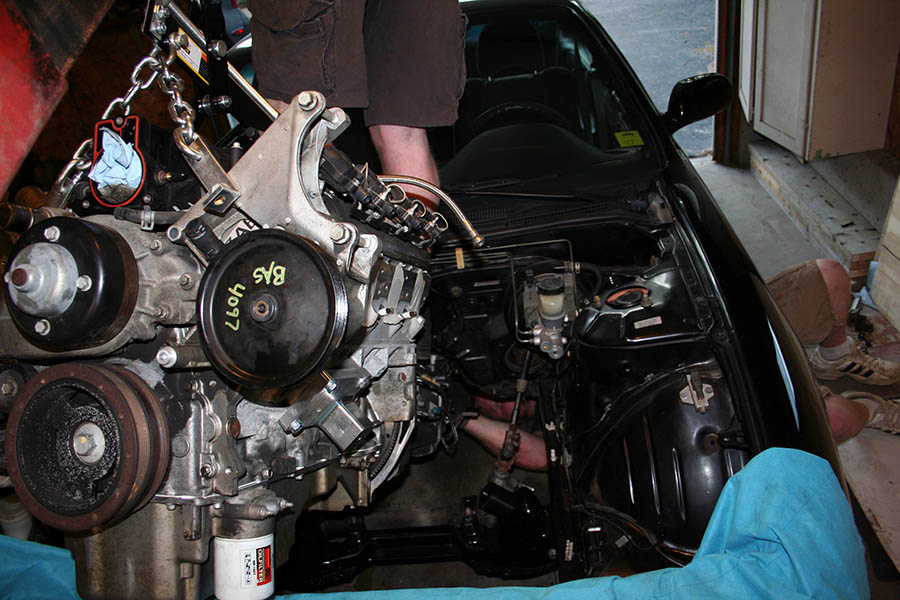
The engine was IN and the mounts were bolted up and sitting flush the trans x-member was only bolted in on one side but sitting flush against the bottom of the car.

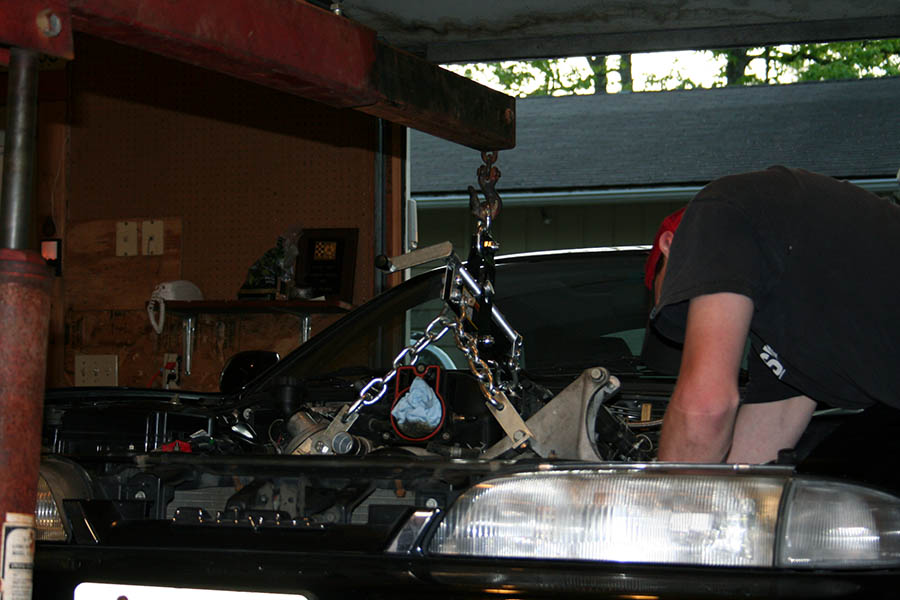
…but even still the engine sits slightly towards the passenger’s side, and it’s tilted slightly with the passenger’s side HIGHER than the driver’s side.

Checking the bottom we noticed that there seemed to be plenty of clearance of the driver’s side but the oil pan was actually rubbing on the x-member in 2 spots on the passenger’s side:

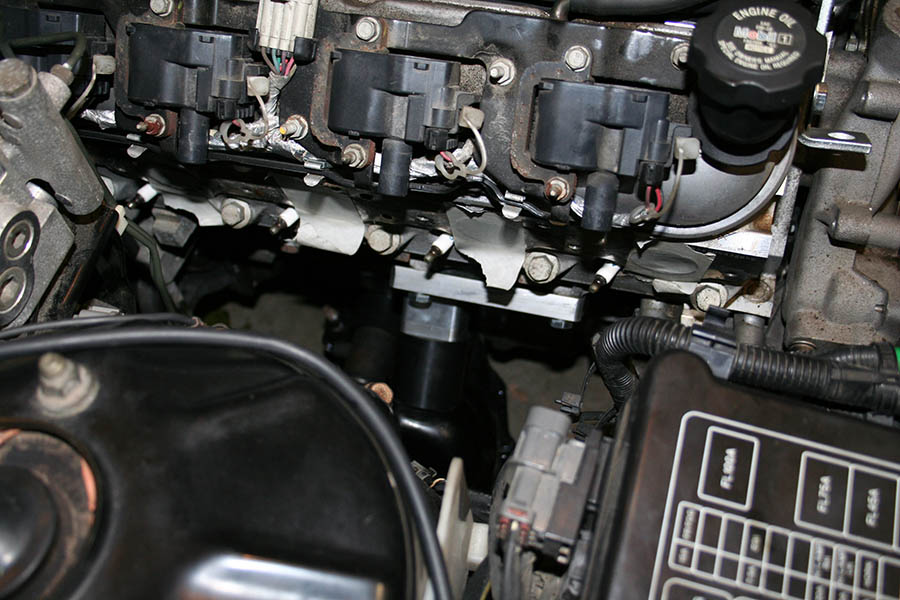
Also the hood clearance isn’t happening either: as you can see the hood wont even be close to clearing the throttle body, not to mention the engine is tilted with the front way higher than the rear, which I’m worried will cause issues with the drive shaft.

The alternator isn’t bolted on at the moment but it sits parallel with the throttle body and where it’s off to the side I would imagine there will be clearance issues with that also.

the S14 heater valve was removed before we put the engine in, but attempted to test fit showed that the engine is tilted far enough back that it passenger’s side rear coil pack will collide with the heater valve making it impossible to re-install. I’d considered trying to modify the system to use an in-cabin valve like the S13 but I’d rather not do that if I don’t have to, and there are plenty of people with S14s using the external valve (sikky’s kit even has you leave it on the firewall when doing the swap)

The Fujii SPL guys had some suggestions for modifying the kit for better fitment but if it came down to that I would rather have them fabricate completely custom mounts and not use the kit I bought at all.

It’s daft innovations “new” kit with CNC mounts, and a notched S14 cross member. the header I have are daft innovations as well (cnc bent) and I’m worried how they’ll fit.

I’ve sent an email to rich and hopefully he’ll get back to me soon so I can figure out what to do next.

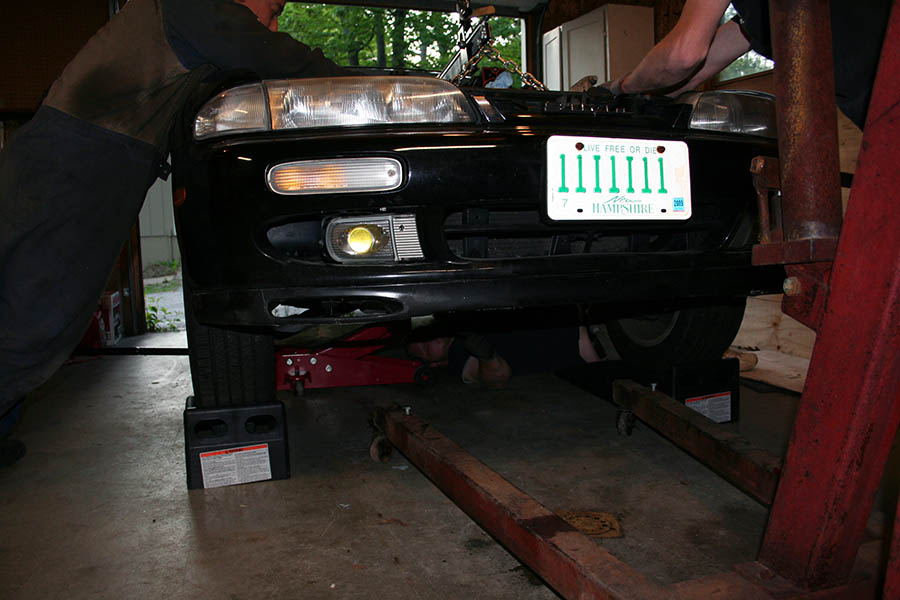
We’ll likely be dropping the motor out the bottom next time which I’m hoping will allow us to install the headers off of the car and make everything go much more smoothly.

If anyone has any suggestions or advice, please let me know.

the only thing that went off without a hitch were the clutch and bleeder lines.. and I spec-ed out built those myself 🙄

Oil Pan

More work got done over the weekend, Oil oil pan was pulled off.

crankshaft

GM apparently decided it was a good idea to rivet the gasket to the oil pan so those had to be drilled off.

rivit

Windage tray and the new oil pickup tube bolted right up

windage_tray

however now I’m stuck on this… this is the old dip-stick hole which needs to be plugged. On newer GM vehicles they tap it and use a 1/8 NPT pipe plug. Joe and I drove around to every store in Tilton and Lowes was the only place that sold the tap, no one sold the plug. so I ordered the plug off of ebay … after shipping I’m paying essentially $5 for a screw… waiting on that

dip-stick_hole

old cross member was pulled out too, here it is next to the new one. you can see the cut out center cross section and the engine mount humps are at a different angle (the new one is a modified RB cross member).

x-member

the new cross member is back in the car but the steering rack isn’t bolted back in yet, I decided to order some steering rack bushings while it’s off so I’m waiting for those.

I also got into today a bracket for the Clutch Master. This thing is f-ing slick… I don’t know why I’m so excited about this little part but I am. I guess I just think it’s cool that a custom part designed by some random guy looks so pro, and it was dirt cheap too, $25 shipped. I got it from Rigid over on silviav8.

cmc_bracket

I got my long-tube headers in too, I didn’t get a chance to snap any picture of them though…

LS1 and S14 Harness Integration

A minor update on the LS1 swap. I finished removing the LS1 engine harness as well as some other unnecessary stuff. I also got some new tools as well as a proper engine stand (though the motor isn’t up on it yet). The Fujii boys also stopped by briefly last weekend and pulled the starter motor, the Auto flywheel and the headders off… looks like a totally different motor now.

Corvette LS1 Corvette LS1

Next time I have a 2nd set of hands to help me I’ll throw it up on the stand (I don’t trust my ghetto-ass cherry picker to do it myself) then I can swap out the oil pan then drop it back down and throw on the new LS6 clutch… yummy

LS6 Clutch

I also spent some time pulling off a bunch of unneeded brackets and other crap from the transmission and cleaned it up a bit while I was at it and mocked up the new transmission cross member.

T-56 with Daft Innovations Transmission Mount and Crossmember

My main attention now will be on the harness, I dumped all of the harnesses that I need to tie together into a big box and brought it into my office… looks kind of overwhelming.

LS1 engine and tramssion Harness and S14 Engine Control Harness

Though spreading the KA harness out on the floor so you can see the whole thing all at once it doesn’t look so bad. Trimming off the KA bits will be the easy part… the hard part will be weeding through what is and isn’t needed on the LS1 harness.

Nissan 240sx S14 Engine Control Harness

Nissan 240sx S14 Engine Control Harness