… finished building a Tube Based Headphone amp for Jeff

Twistedsymphony's Projects
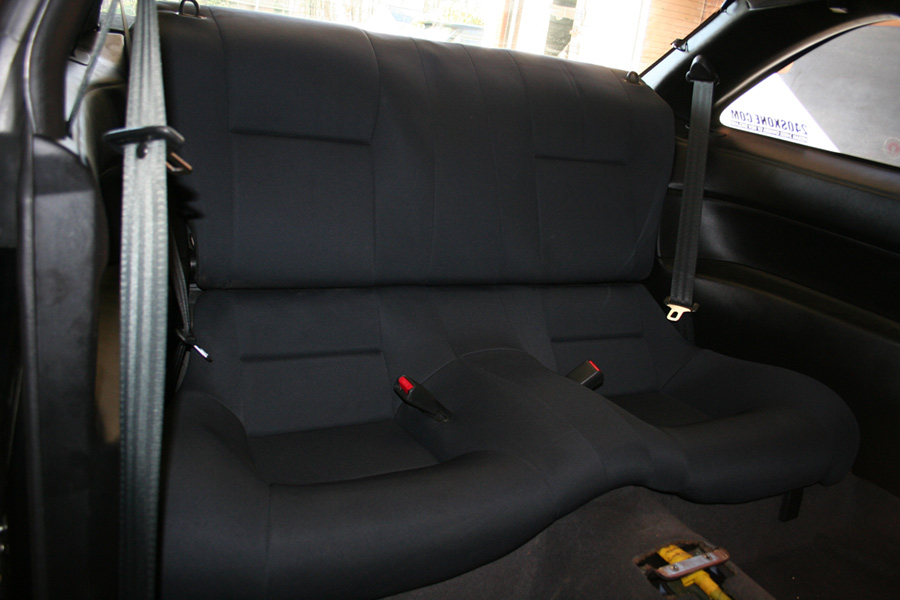
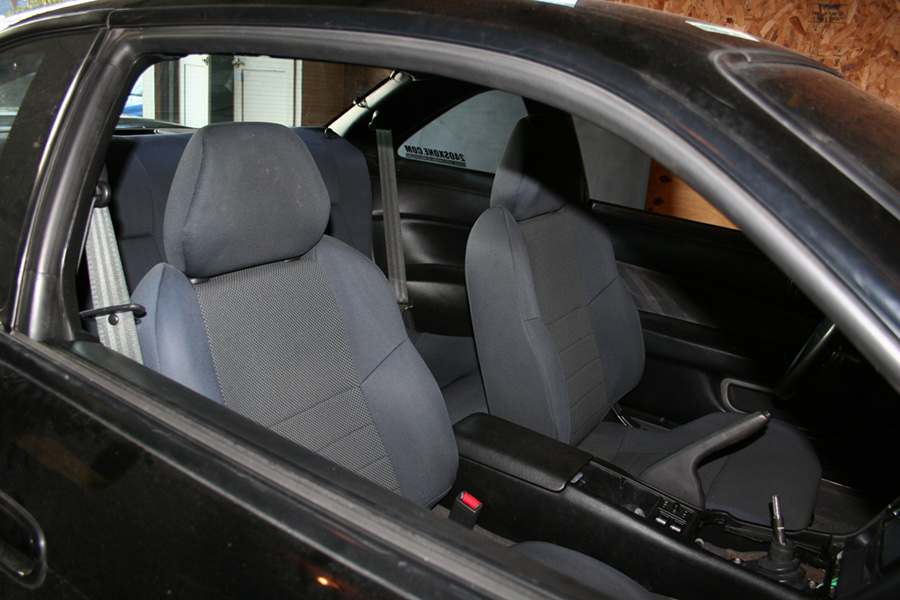
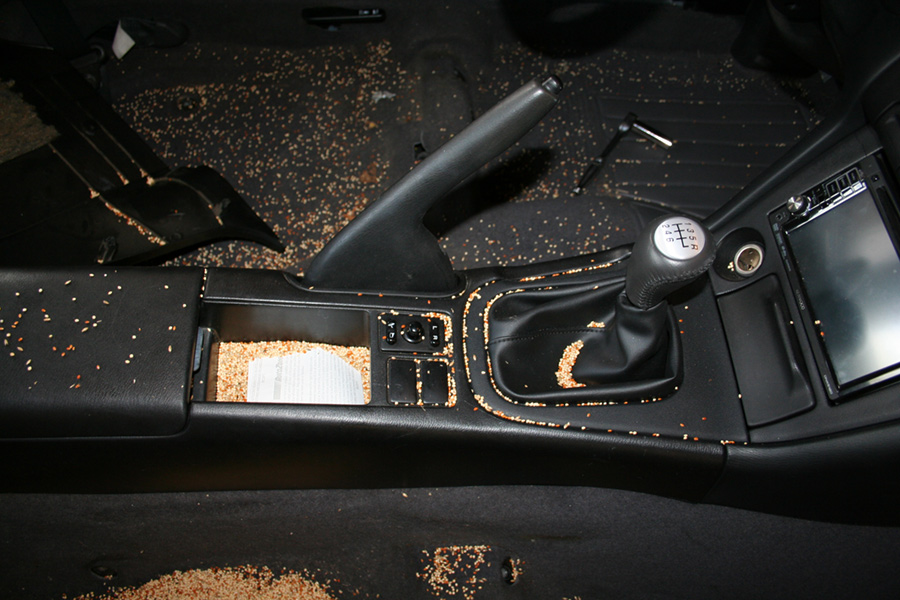
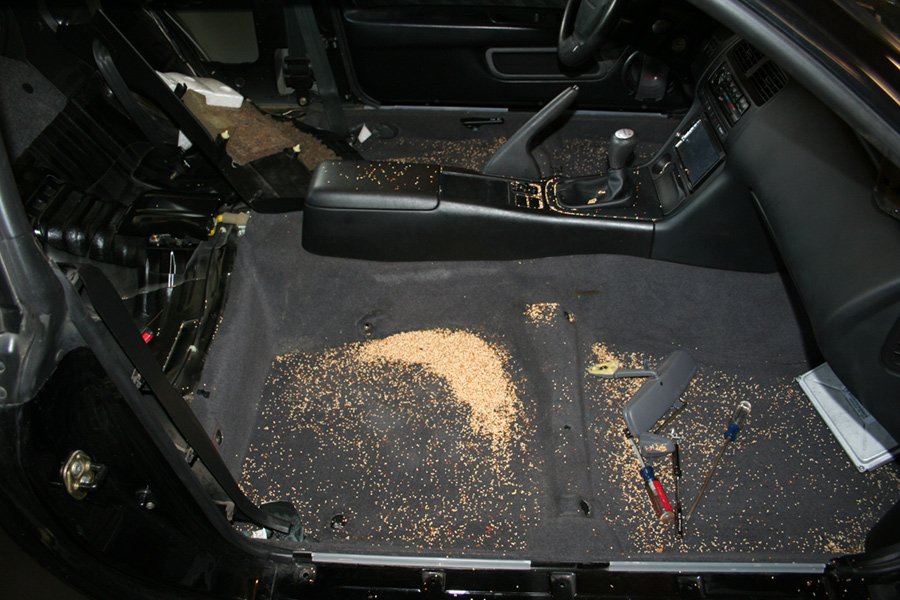
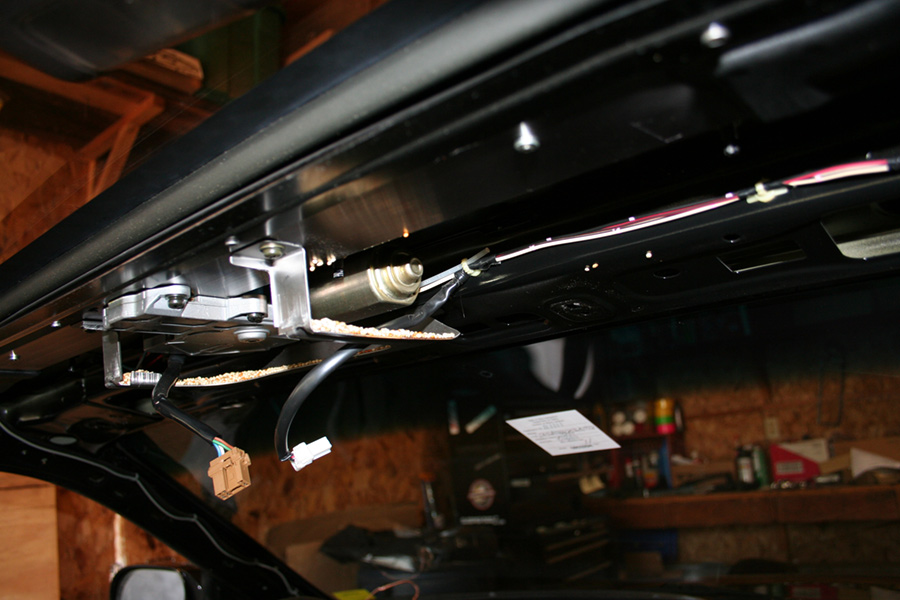
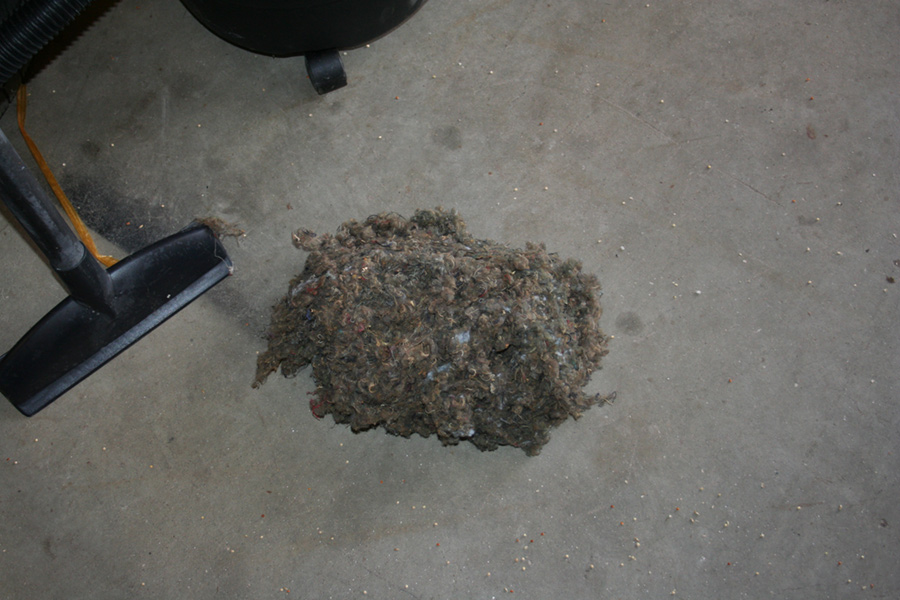
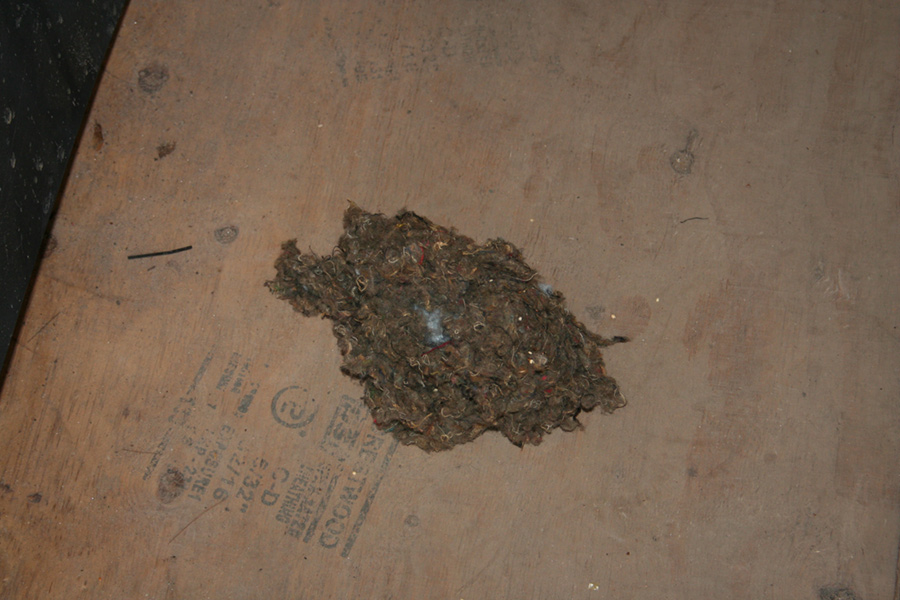
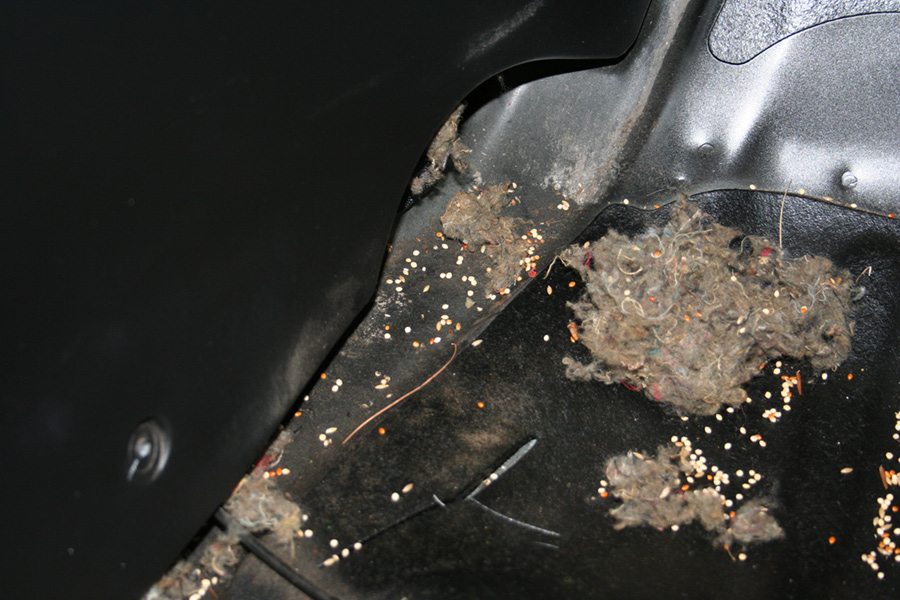
This is the bird seed and insulation “nests” I pulled out of the headliner and side panels of my car today…
at least I had new seats to put in front and rear.
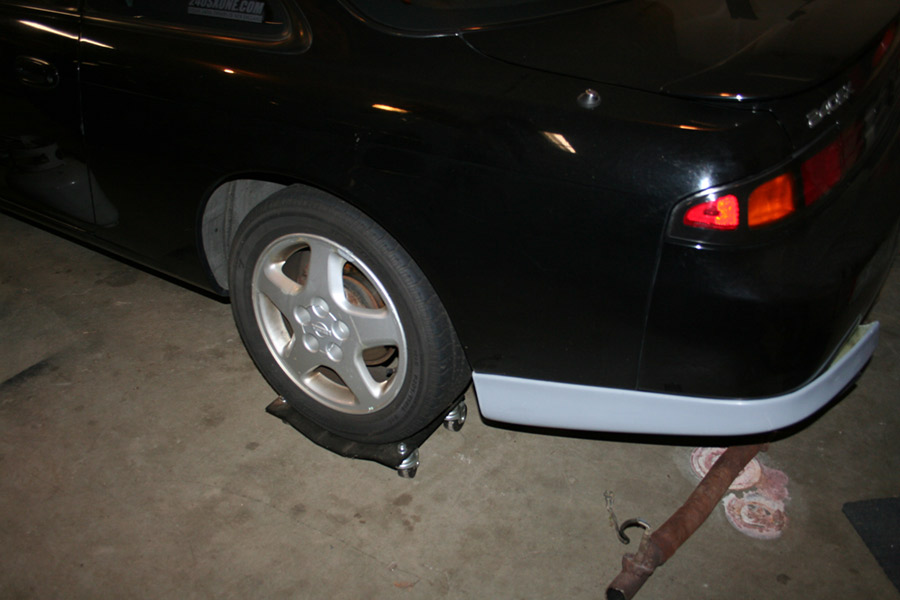
The conversion is nearly complete, I’m waiting for a couple of brackets (which will hopefully arrive by Thursday). then I can install the bumper. The only other thing I’ll need to do is convert the headlight wiring

if you’re wondering, this is what the car used to look like:


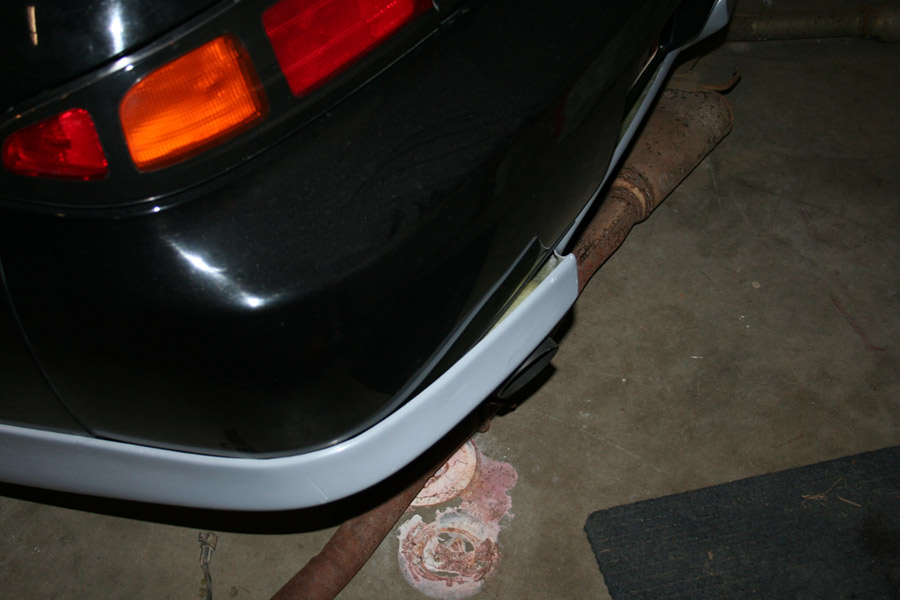
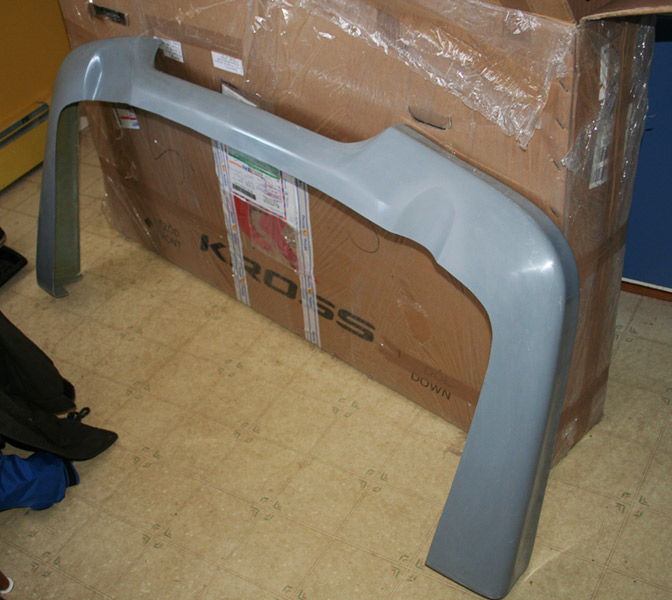
I picked up a replica Z-Edition Rear Lip for the S14, it’s designed for the European bumper so it will need to be modified. Anyone have experience with fiberglass that would be willing to help modify it?
I’ve wanted to add an oscilloscope to my electronics toolbox for years. I’ve passed on a few projects simply because I wouldn’t be able to complete them without one. Well there are a few electrical loose ends to tie up with my LS1 swap so I finally bit the bullet and bought a DSO Nano. Much to my surprise they’ve releases a V2 of the hardware that’s even prettier than the original.

My two biggest apprehensions to buying this were that it only supports up to 1MHz frequencies and that it only has 1 channel. Ideally I like 100MHz and 2 channels at minimum but it was only $90 including shipping, which is a friggin STEAL for a digital capture scope, never-mind one that’s hand-held.
I was almost persuaded to belay the purchase again when I saw on SeeedStuio’s website that they’re taking pre-orders for the Beta version of the DSO Quad.

The Quad has 4 channels and supports up to 36MHz which makes it a huge improvement over the Nano and the pre-order price for the beta test is only $150, but the “estimated” release date is late March. Having the Nano will be an enormous improvement over not having a scope at all, and the Quad is cheap enough that I’ll wait until it’s out of Beta to buy one. Either way, I’m stoked to finally have an oscilloscope at my disposal again, since I haven’t had access to one since college.
So recently it was announced that they’re releasing a Tournament Edition of the new Mortal Kombat game due out next year.
As a long time Mortal Kombat fan this is obviously something I’m excited for, I’m even more excited since it’s an all new developer making the game and they seem to be making it a true sequel to the original 2D trilogy as opposed to continuing with the 3D mess that the MK series had become.
The Tournament Edition has me really excited because, well it’s a CE, which I love, but it’s also going to be limited to only 20,000 copies. The biggest thing about this CE is that it includes a Joystick as the main bonus item. I’m making this post because it seems that a lot of people fail to realize how much of the “real deal” this included joystick is. Allow me to demonstrate.
Here is a photograph showing the joystick included with the Tournament Edition:

Take a close look at the controls, that is a Happ Ultimate Joystick and Happ arcade buttons with Cherry micro-switches. I worked in arcade repair for several years, nearly ever arcade machine from the 2D Mortal Kombat era uses these joysticks and these buttons…
Need further proof? Take a look at these pictures:
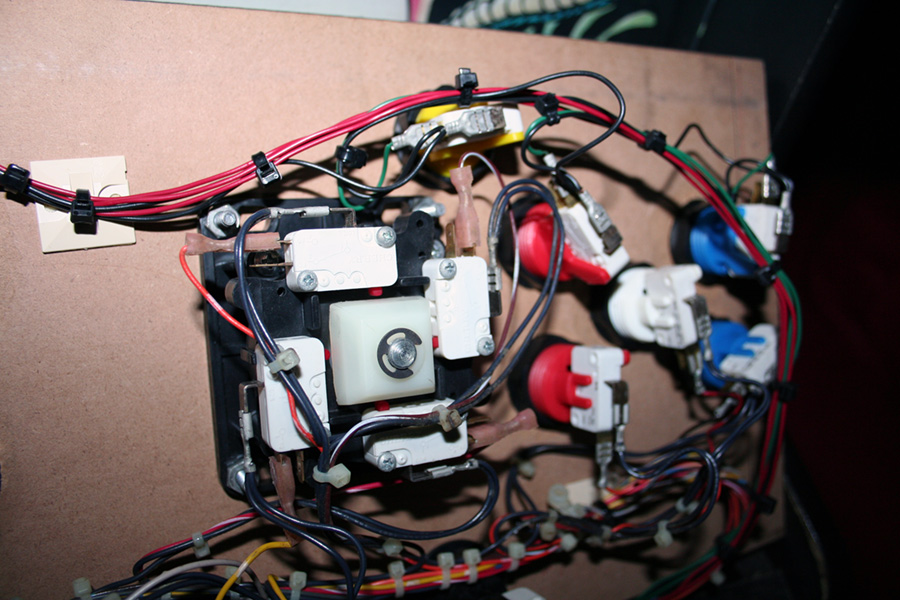


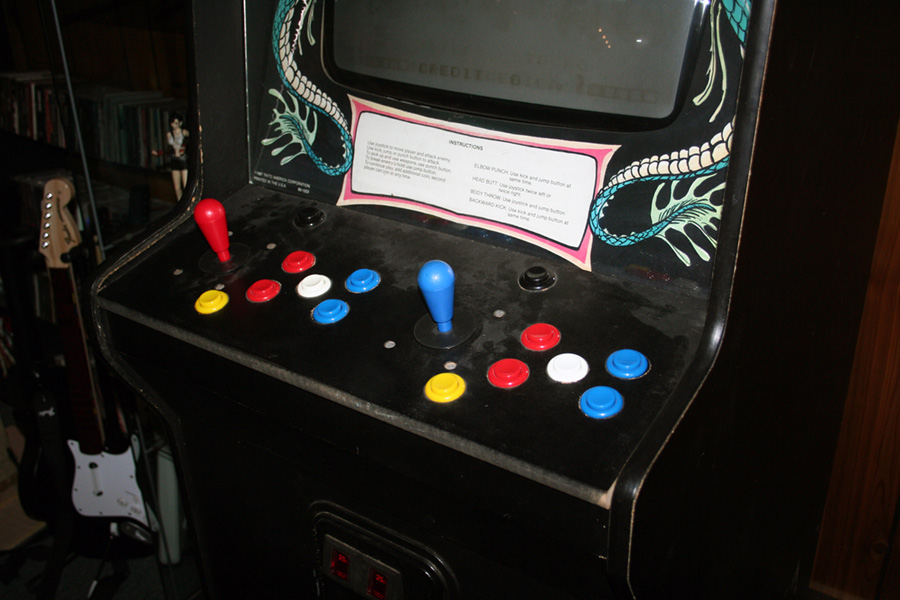
That is an actual Ultimate Mortal Kombat 3 arcade control panel, it’s a conversion machine but those are the buttons and sticks included with the kit from Midway. I wired this control panel myself, and this machine is sitting in my game room, and those are two Happ Ultimate joysticks and Happ buttons with cherry microswitches way back from 1995.
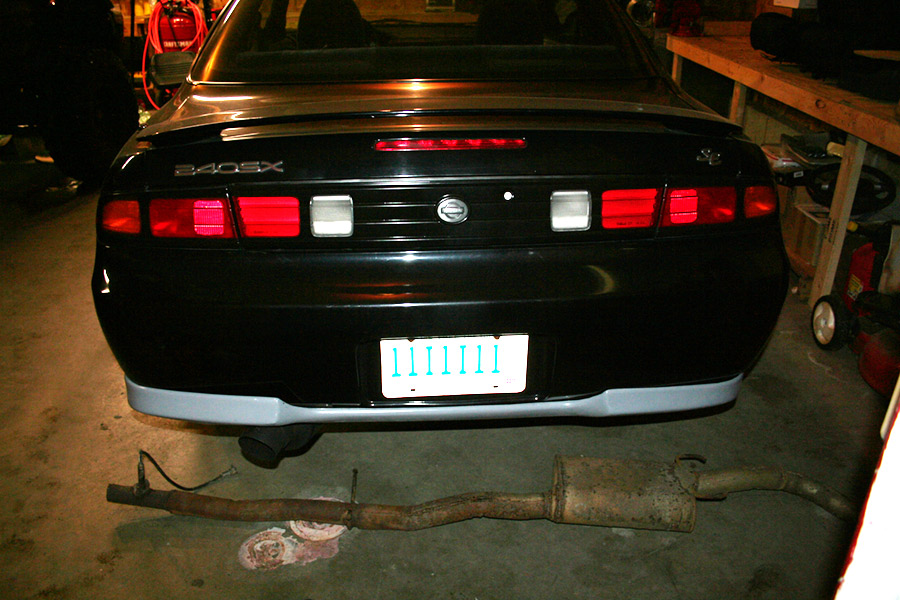
I never uploaded this pics of the LS1 S14 exhaust. I think Fujii did an awesome job!
The exhaust is painted with high temp paint, the heatshield and tip look gray only because of the flash, in person you can’t even tell that the heat-shield is there.


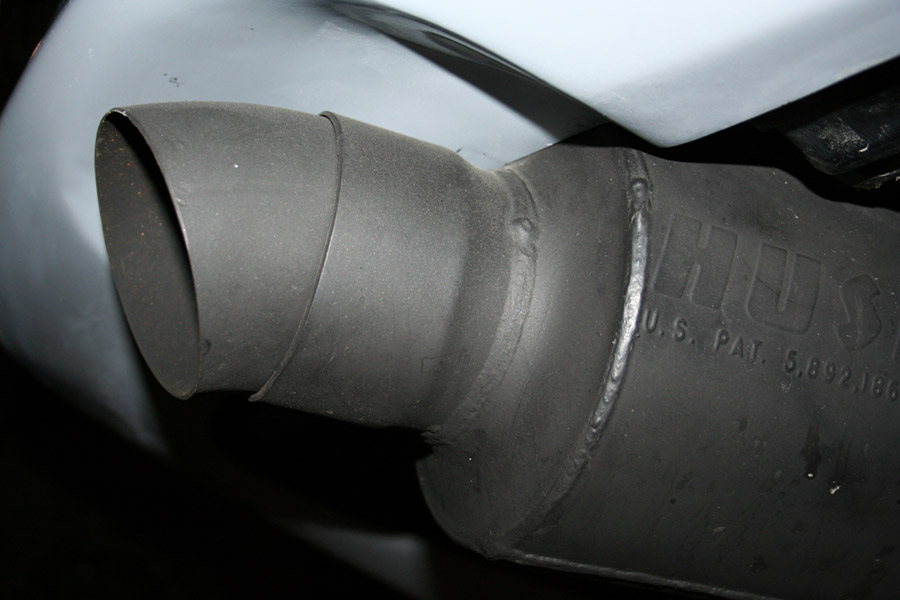
Long Tube Headers with 4-1 3″ collector’s, slip fit to 3″ hi-flow cats, to triple weave flex-joints, into a Flowmaster dual 3″ to 3.5″ Y-pipe, into a 3.5″ Flomaster Hushpower Pro short Muffler with a custom tip.
…built by Fuji SPL


So I got my PCM back from Pinocio Joe on Tuesday Night. (I can’t say enough good things about this guy for PCM re-flashing). Last night I went down to Fujii SPL with the new PCM in tow with plans to start the car up for the first time… and hopefully have it run more than 5 seconds.
We pushed the car out of the garage, bolted up the PCM, turn the key and it fired right up and ran… and didn’t shut off. Success!
Have no brake fluid in the car since it’s got a brake leak, but the clutch master was full so I decided to drive it a little bit… taking it slow since I only had the e-brake to stop me. At first I thought maybe the clutch was slipping, then I realized for whatever reason it wouldn’t rev past 1000RPM, the car just limped around and after doing a lap around the building I parked it back where I started.
I popped the hood and we poked around, there was a small leak on one of the heater hoses where the clamp wasn’t tight enough but everything else seemed in order. We unplugged the MAF and it made no difference, plugged it back in and unplugged the MAP and the idle got rought but it stayed running, then we unplugged MAF again (so both the MAP and MAF were unplugged) and the engine died… which is good because it meant both sensors were running.
Plugging them back in and trying to start it just cranked without firing… James decided to disconnect and reconnect the battery to reset the PCM, doing this worked and the car started again, but still wasn’t revving.
While running we pulled off the intake (and disconnected the MAF and IAT) and discovered that the throttle wasn’t opening when we pushed on the gas (it’s an electronic throttle not cable). Pushing the throttle open by hand the engine revved up no problem… we did this a couple of times but it still wouldn’t work with the pedal.
With the intake still off we shut the car off, disconnected and reconnected the battery and started it again, it was idling MUCH better this time. So Joe got in and stepped on the pedal and the engine roared to life… The thing ran flawlessly after that. We put the intake back on, hooked up the MAF shut it off and restarted a few more times without any issue.
After all that I drove it back into the garage under it’s own power.
I was a little worried when it wasn’t revving but I’m guessing it was just a stuck throttle or the PCM needed to relearn some of the sensors, or both.
Tony shot a video of the whole thing but it doesn’t seem to be up on youtube yet. I’ll post a link once it’s up.
