In 1997 Sega released Jurassic Park The Lost World Arcade; a Light Gun Shooter on the Model 3 Arcade hardware. This was the first game to use Sega’s new IR gun technology, a system that they’ve used for nearly every light gun game they’ve produced since.
Archive for the 'Video Games' Category
Page 2 of 3
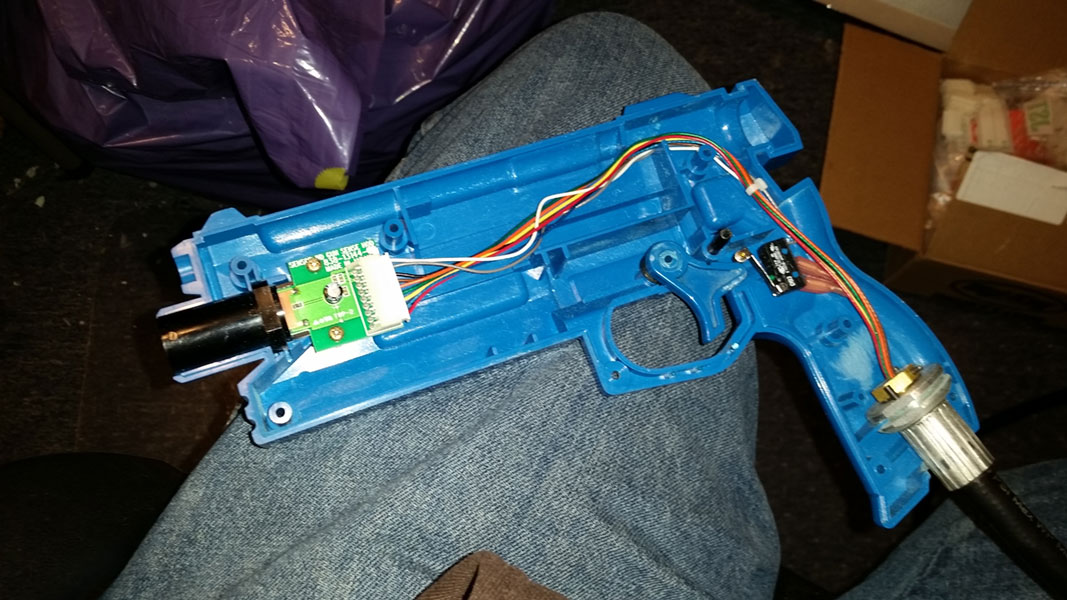
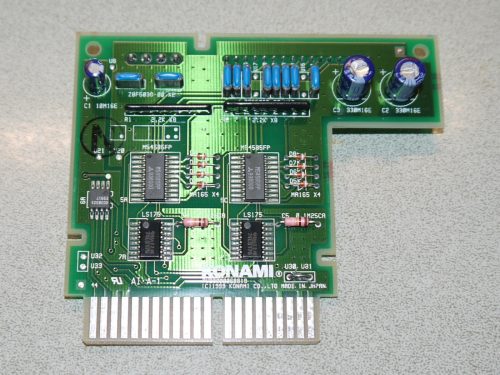
Last week I posted an article on getting light output from Salary Man Champ on Konami System 573, I suggest you read that first. Much to my chagrin the shift-register circuit I used there didn’t work with Hyper Bishi Bashi Champ. Through pictures I found online it seems that the 2 Player Hyper Bishi Bashi champ cart, while using the same light output pinout and having the same outward appearance and a very similar looking cartridge PCB actually used a very different light output circuit. Rather than a pair of shift-Registers it uses a pair of 74LS175 D-Type Flip Flops.
Here are some photos of the HBBC 2P cart (courtesy of nem on Arcade-Projects.com)
Continue reading ‘Light Output on Hyper Bishi Bashi Champ for Konami System 573’
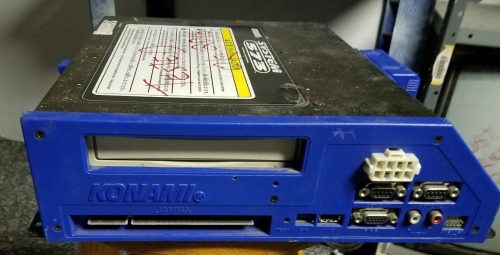
I’ve been playing around with a non-rhythm game version of the Konami System 573 hardware, namely I’m interested in the various “Champ” games, these are collections of manic versus mini-games where you smack buttons and hilarity ensues. The most popular is Hyper Bishi Bashi Champ and Salary Man Champ. If you’re unfamiliar with the game each player has just 3 colored buttons (no joystick) and the buttons also light up corresponding to what’s happening in game.
 Continue reading ‘Light output for Salary Man Champ on Konami System 573’
What is ROMIDENT and why should you care?
When troubleshooting an an arcade PCB it can sometimes be helpful to compare the ROM data on your PCB to the ROM data within MAME. MAME is more than just a way to play classic games, the documentation within the source code is invaluable to understanding how the hardware works, and the ROMs themselves can serve as a tool to compare and verify the ROMs on your original arcade hardware.
To this end MAME has a great feature called “romident”. You’ll first need to use a EPROM reader/writer to read the data off of you EPROM or mask ROM and save it to a file, then you can check to see if that file exists in MAME by running this command: Continue reading ‘ROMIDENT Drag and Drop Tool’
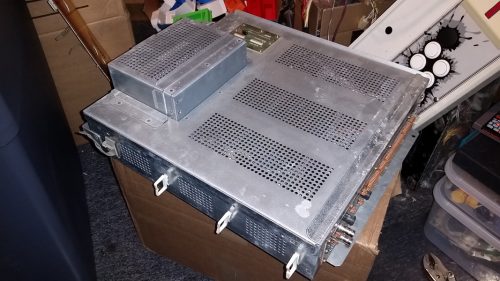
I’m a big fan of metal cages over my Arcade PCBs. They’re the best way to protect the PCB and they help cut down on electrical interference so the game runs at it’s best. I own an ST-V (“Sega Titan-Video”) PCB (which is the arcade equivalent to a Sega Saturn) and I knew it had an optional Video board used in the “Print Club” machines. While trying to find info on that optional board I discovered that in the Print Club machines also had a cage around the whole ST-V Board setup! I found a complete setup for a reasonable price (less than that of a spare ST-V board alone, so worst case I break even) so I bought it.
A number of people have expressed interest in the size of this cage and others in seeing what the guts of this thing looks like so here’s a quick photo dump.
 Continue reading ‘Sega ST-V “Titan” Metal Cage (Atlus Print Club 2 PCB)’
I’ve heard a lot of people talking about Dreamcast cooling related to the GDEMU and USB GD-ROM devices. People claiming that by removing the GD-ROM drive the fan is unable to pull cool air across the power supply and other internal components and instead just pulls air through the large opening where the GD-ROM used to be; causing the console to run overall hotter than it did before. A lot of people have asked me if my GDEMU Tray or my USB-GDROM Tray helps with cooling. Without a good answer I decided to test.
If you have or want to build an arcade machine that displays and plays emulated games as authentically as possible then there are a number of things to consider that are quite different when compared to building a normal gaming PC. This guide assumes that you have a functioning arcade machine already and that you’re simply looking to install a PC in it to use along side your arcade PCBs.
Continue reading ‘Building an Emulation PC for an Arcade Machine’
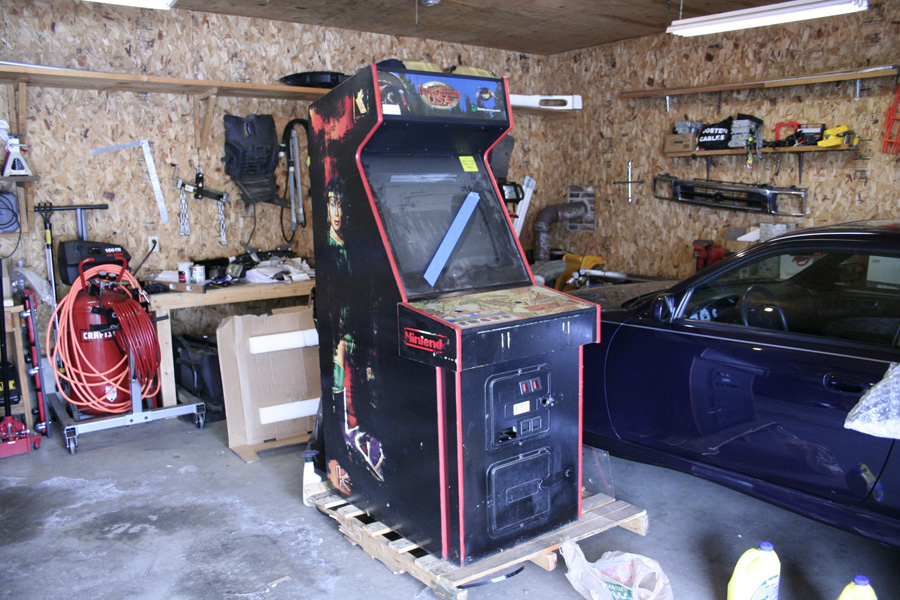
I’ve done a brief video tour of my Game Room for those that are interested.
If you want to know what it looked like before I got back into arcades, or a more detailed look at some of the Collectors edition console games on the shelves I have a similar video from 2012
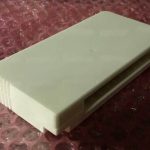
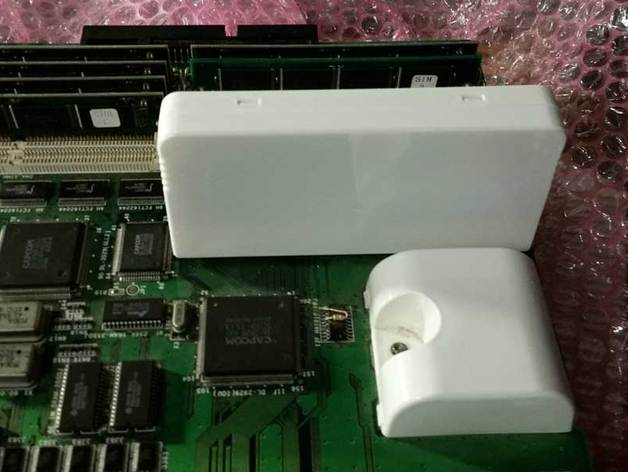
This is a replacement cartridge housing for Security carts used on Capcom System 3 (aka CPS3) arcade hardware. This is the hardware used for Street Fighter III and a few other Capcom games from that era. What prompted this housing creation was that the Security carts on the CPS3 are prone to failure, they have a backup battery that once dead will kill the rest of the cart with it. Darksoft developed a “Super Bios” that allows you to remove the battery and use a single cart with any game for the system. And later he developed a reproduction cartridge to replace any that may have been thrown out once they died. Since these reproduction carts have no housings I designed one that could be used to hopefully spare any original cartridge housings from being stolen for this purpose.
There are essentially 3 configurations of the files here each with a unique purpose.
- The standard front and back housing are designed to be used with reproduction security cartridges or modified “Super Bios” cartridges that do not have a battery. Since the reproduction cartridges don’t have a housing to go with them hopefully this 3D printed housing will serve as a useful alternative to stealing one from an original cartridge.

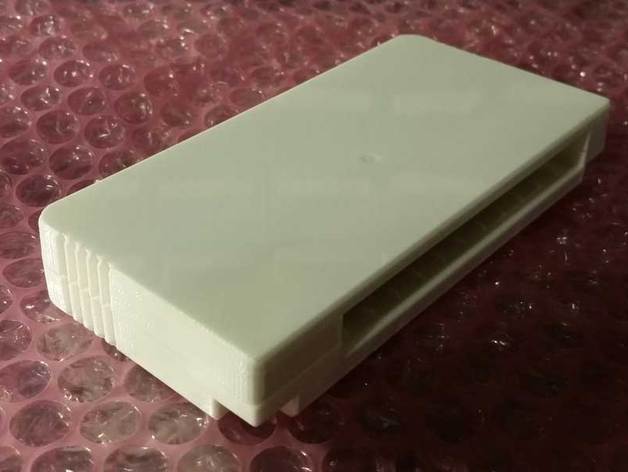
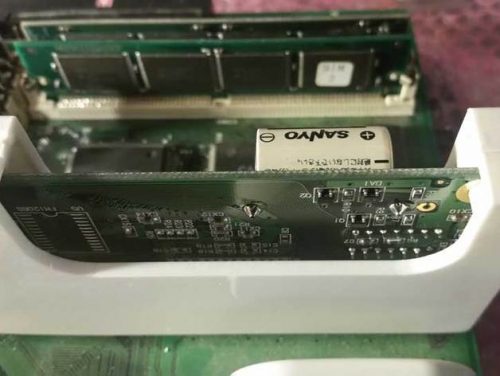
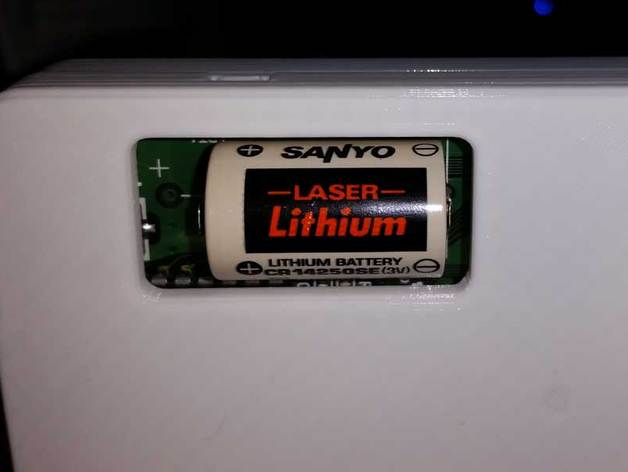
- The back housing with a “Battery window” includes a cut out designed to accommodate the large battery that sticks out the back of an original, un-modifed security cart. the window is elongated to the left to accommodate a larger replacement battery that may use the larger foot-print solder points. this also allows you to easily see the production month/year of the battery for easily determining when a replacement might be needed.

- The “battery replacement jig” variants of these parts are to help facilitate a live (powered) battery swap, by providing stabilization to the cartridge PCB and reduce the risk of power loss during a battery replacement which could kill the cartridge.*

*NOTE: please test the stability your printed jig provides before attempting a battery swap, not all 3D printers will provide results consistent with my own. As such I assume no responsibility if a jig printed using these files does not hold the cartridge tight enough to prevent power loss during battery replacement. Use this at your own discretion.
As always these designs are provided free of charge.
The files for this and suggested print settings can be found on thingiverse.
If you don’t have a printer and would like to buy a MultiBIOS Cart Housing or a Battery Replacment Jig you can purchase them at bit-district.com
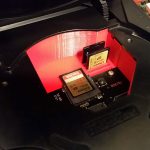
The GD-EMU is an SD card adapter that replace the ever failing GD-ROM drives in Sega Dreamcast consoles. These are great devices but they leave a very large space open inside the console meaning you can easily, accidentally drop your SD card inside the console and be forced to disassemble it to get the card back. These files are to print a tray or finisher pieces that wall off the insides of the console making it not just more professional looking and visually pleasing but also making it impossible to lose a card inside the console. This also makes it easier to insert and remove cards and there are optional spaces provided for additional card storage; making it more versatile as well.
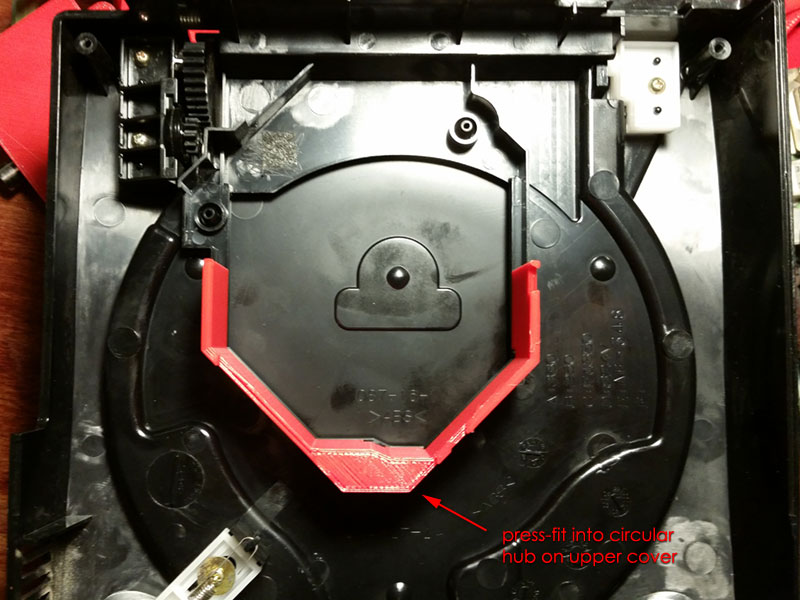
This SD card Tray comes in two pieces. The base bolts to the console in place of the GD-ROM drive and supports the GD-EMU. The shield is press-fit into the lid to finish enclosing off the area making it impossible to drop your SD card inside through an open lid.
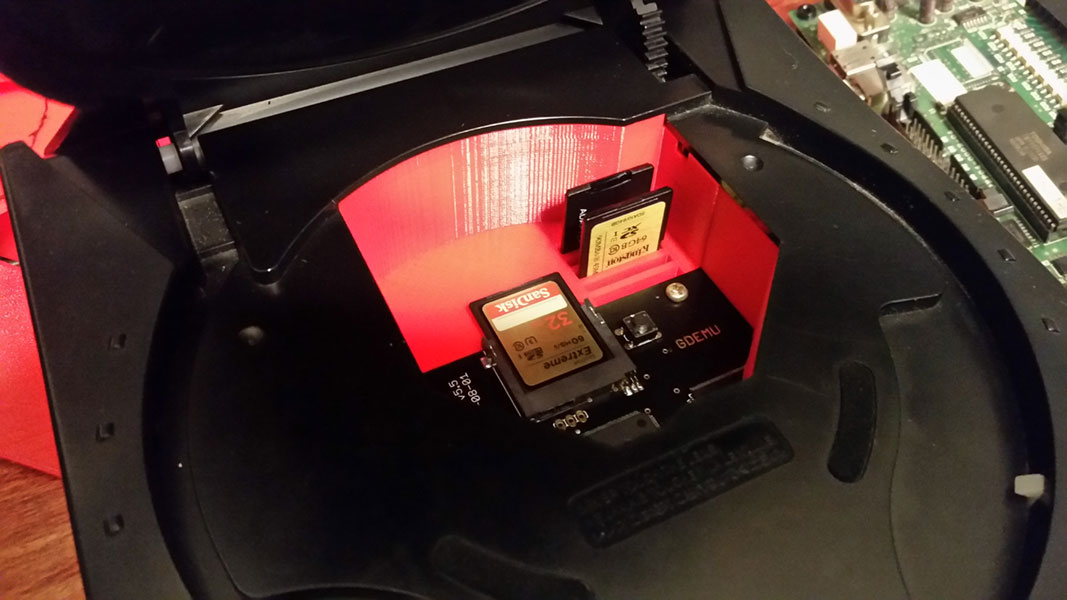

There are three different STL files for the base, one includes a set of 4 slots on the left to allow you to store additional SD cards (the slots are staggered to allow easier gripping), another with 5 SD card slots on the right (these are not staggered).. and the third file with no card slots is simply for people who are not interested in this feature.

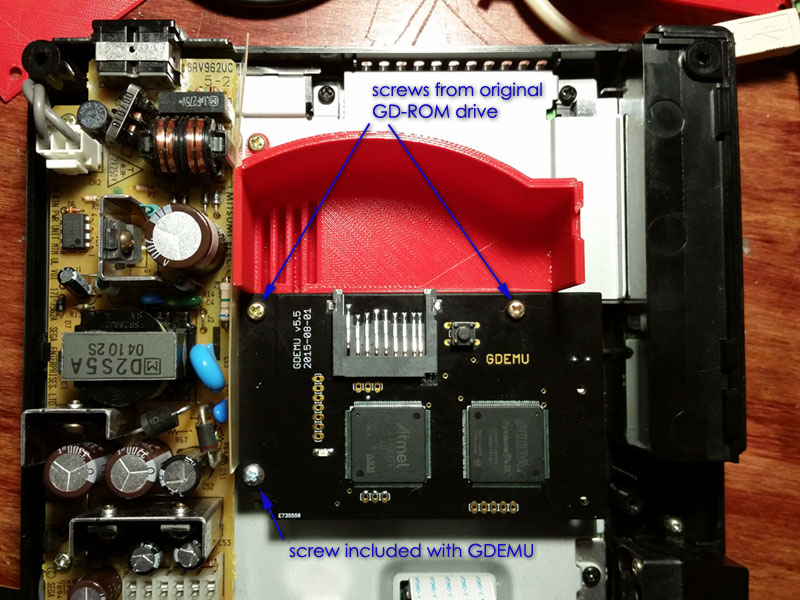
Fitment has been tested on GDEMU Version 5.5. It should work on GD-EMUs version 5.x but will not fit on Version 4.x or older GDEMUs. UPDATE: Files have been added that support version 5.0 GDEMUs (without any screw holes). The originally posted files should work with version 5.1 and newer GDEMUs. It installs using the original hardware that held the GD-ROM drive into the Dreamcast as well as the screw that is included with the GD-EMU So once you print it you should have all the parts you need to install. The only tool you’ll need is a screw driver.
You can download the STL files and on Thingiverse.
If you don’t have a printer and would like to buy an SD Card Tray for a newer style GDEMU or an SD Card Tray for an older style GDEMU you can purchase them at bit-district.com.