


Twistedsymphony's Projects
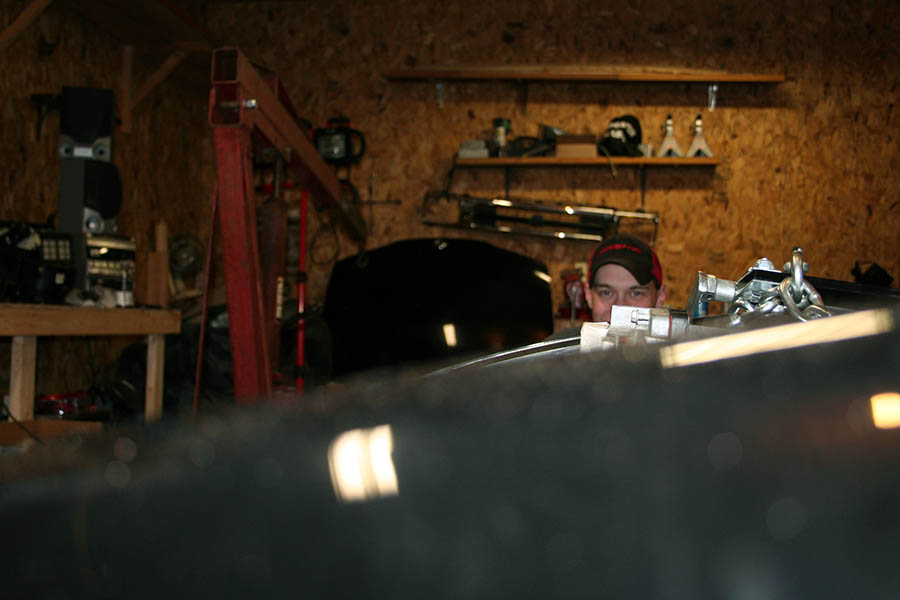
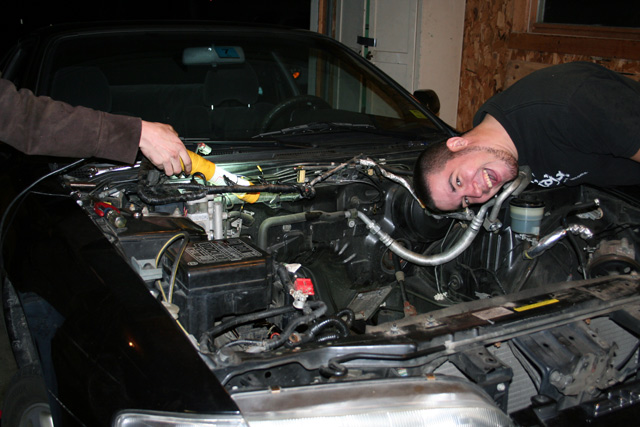
Ok so after waiting half a day for the mounts to arrive and having a little scare when they didn’t arrive with the mail I texted everyone I knew to come over and help me drop the motor in for hopefully one last time.
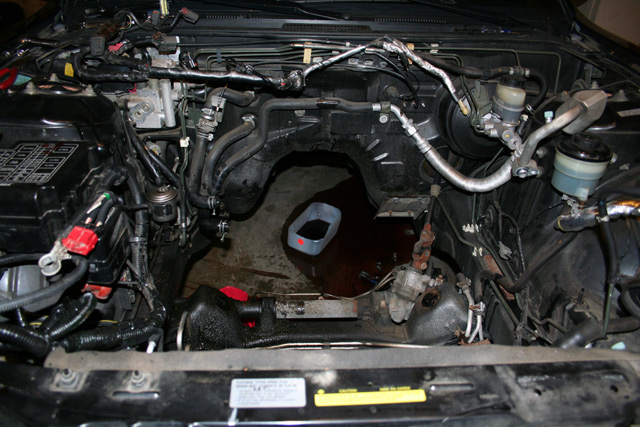
Before putting in the motor I was super jealous of how Randall’s tunnel looked and while the last time everything cleared I felt better with a little more breathing room. so we hammered out EVERYTHING forward of the pinch-weld up to the firewall and make it mostly smooth.

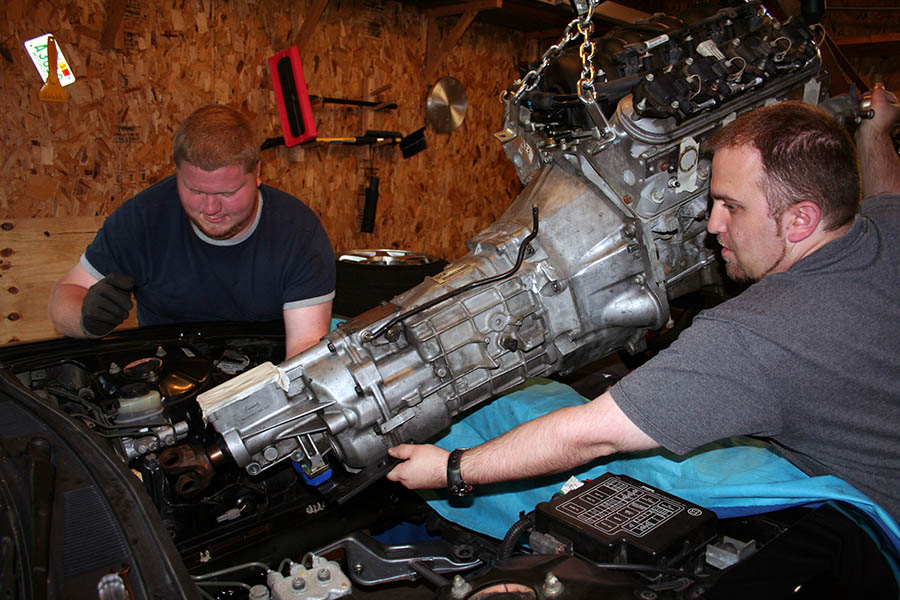
Not as Nice as Randall’s job but after this photo was taken I think we hammered it smooth a little more before sanding and painting it. Much better looking than it was before.
Also before dropping in the motor I checked the transmission cross-member. Previously the cross-member was too narrow such that if one side was bolted in it wouldn’t line up on the other. Also previously the cross-members were not square. This time the cross-member WAS square. it sat flush against the mounting surface and the bottom beam that held the transmission was level with the car. the mounting holes were still a hair off though. Previously the holes were off by about half a bolt width, now they were off by about a thread. We took a milling bit and widened the holes on one side just enough, and then repainted it.

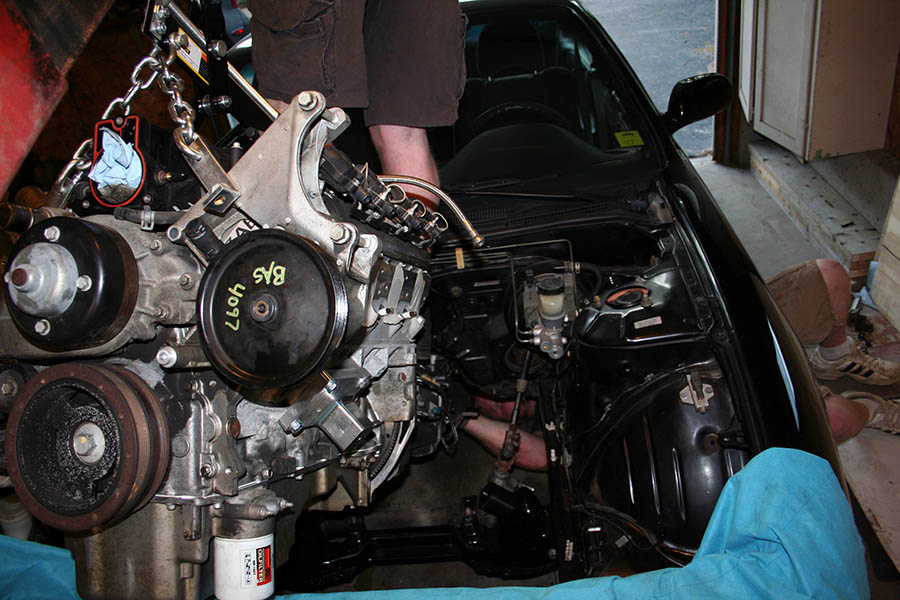
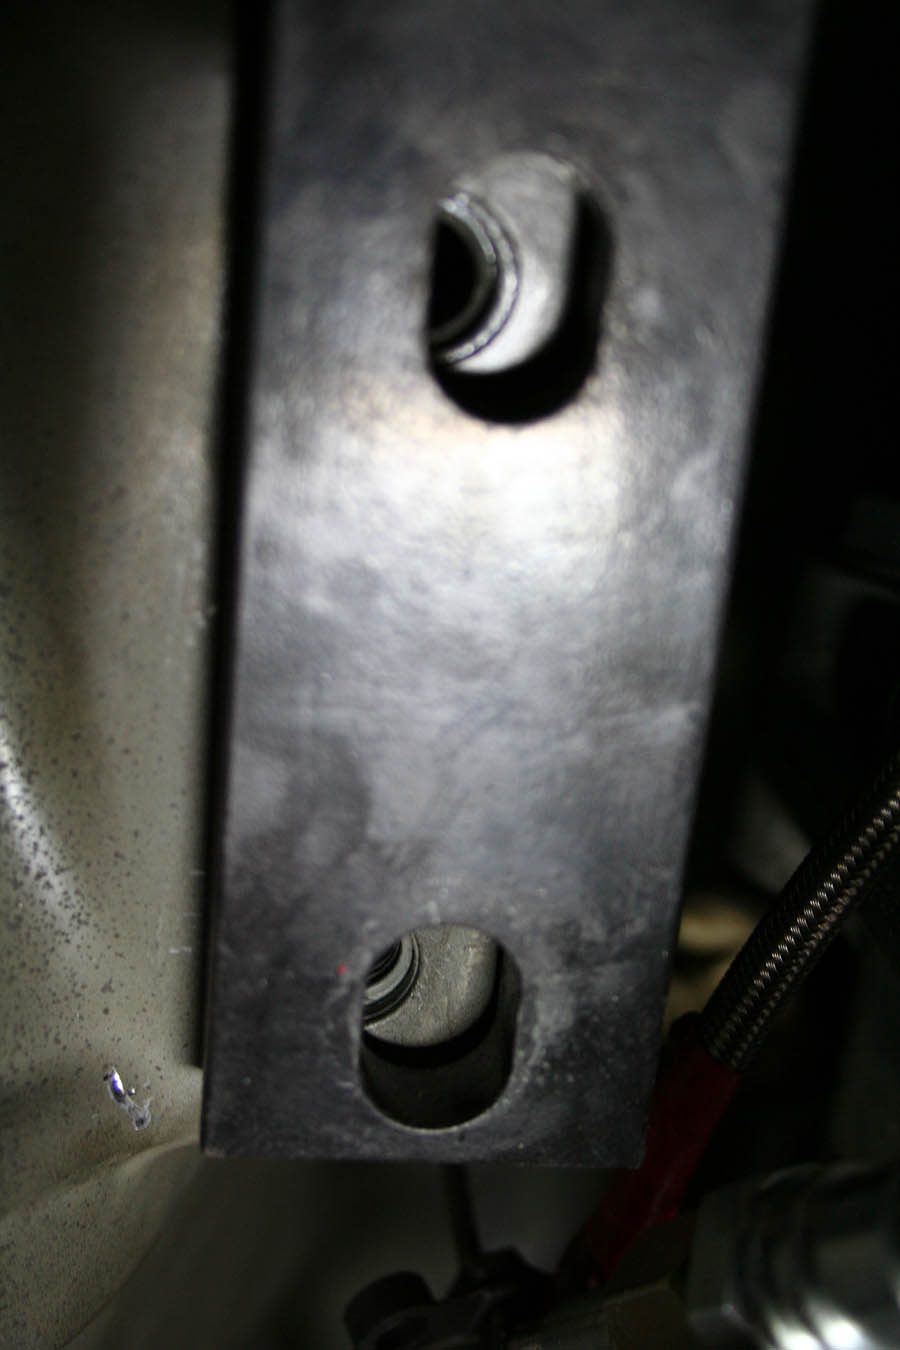
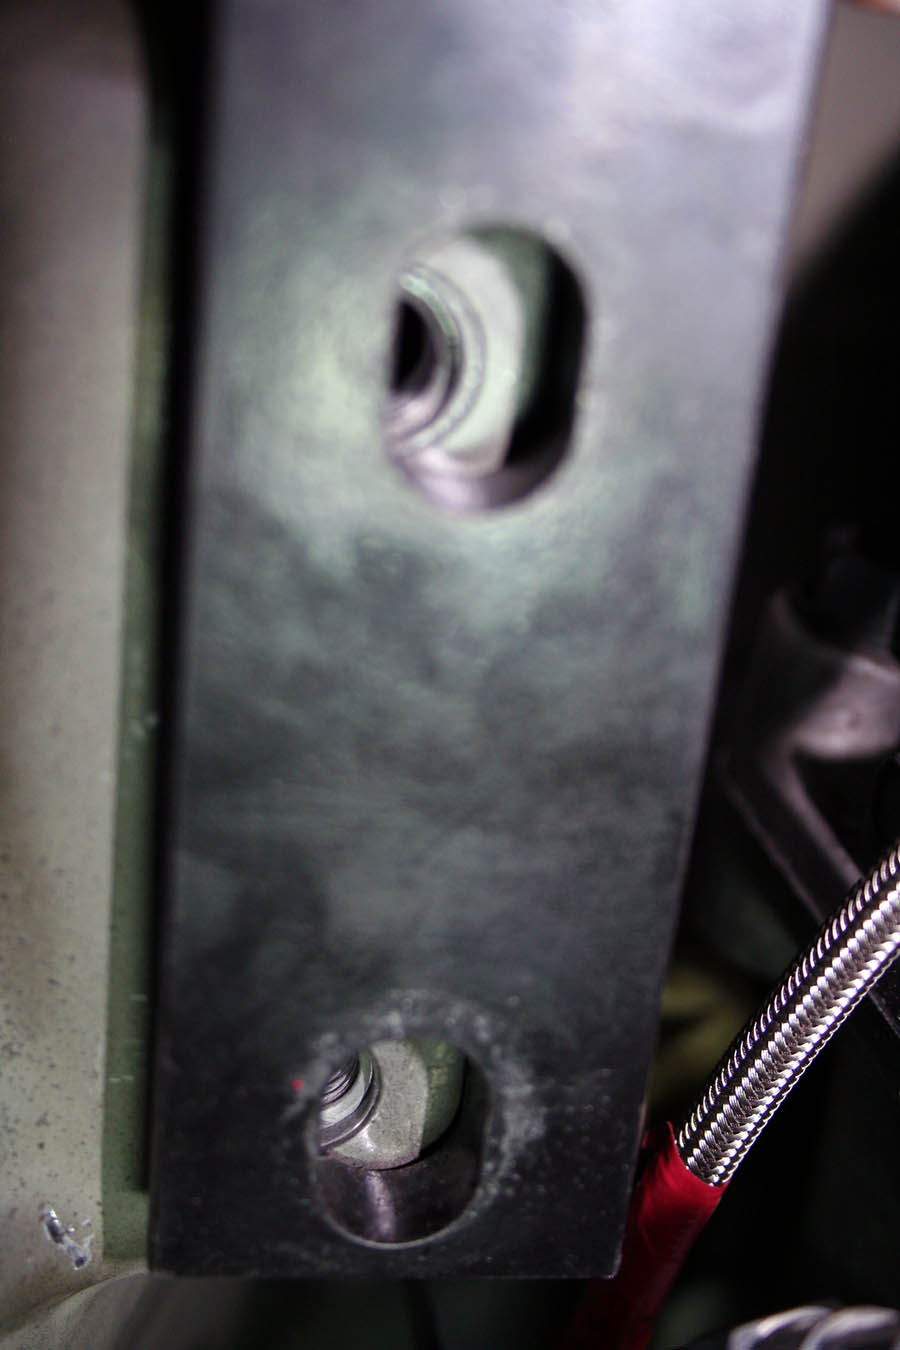
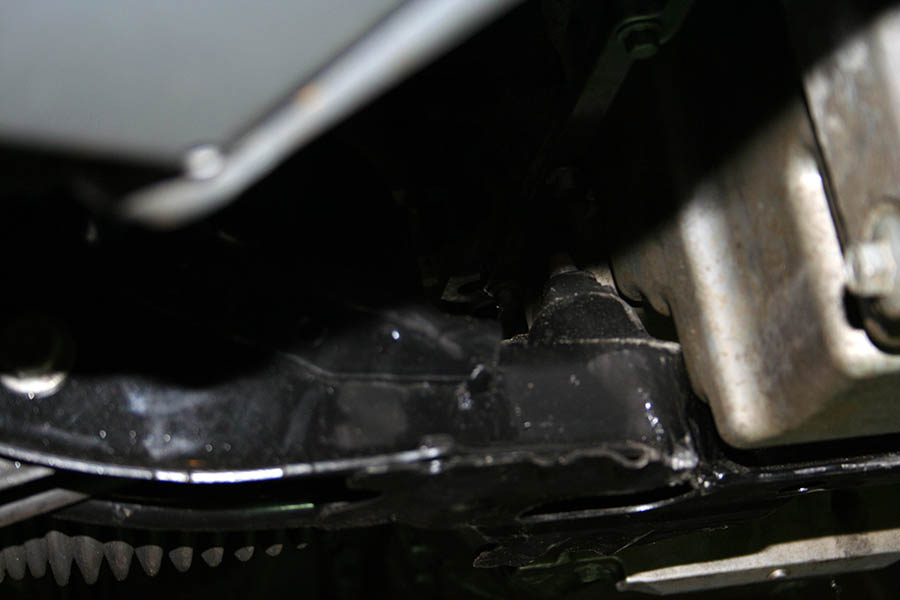
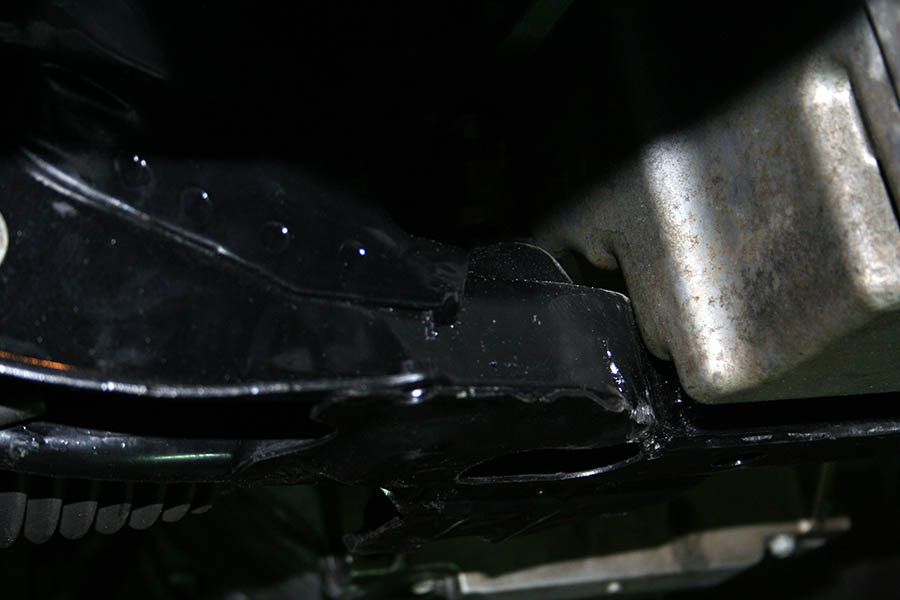
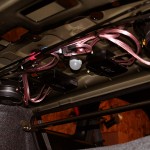
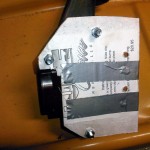
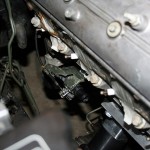
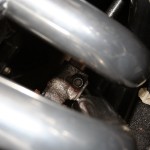
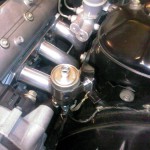
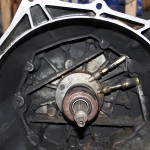
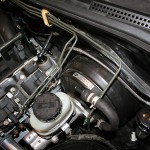
Also previously the threaded rods that go through the mount were exceptionally long. with the rod threaded all the way into the mount it stuck out the other side of the engine cross member quite a bit. Enough such that previously we couldn’t have the mounts attached to the engine when dropping it in as it wouldn’t slide into the cross-member.

Above you can see how much it stuck out after being bolted up to a cross member. I cut off 6 threads from the rod which made dropping the motor own with the mounts already attached much MUCH easier. In hindsight I probably could have cut off even MORE threads since the rod doesn’t technically need to be threaded all the way into the mount… that would allow me to screw it in a little while dropping the motor in, sliding the motor into the cross-member slots, then threading the rod out a little to put the nut on.


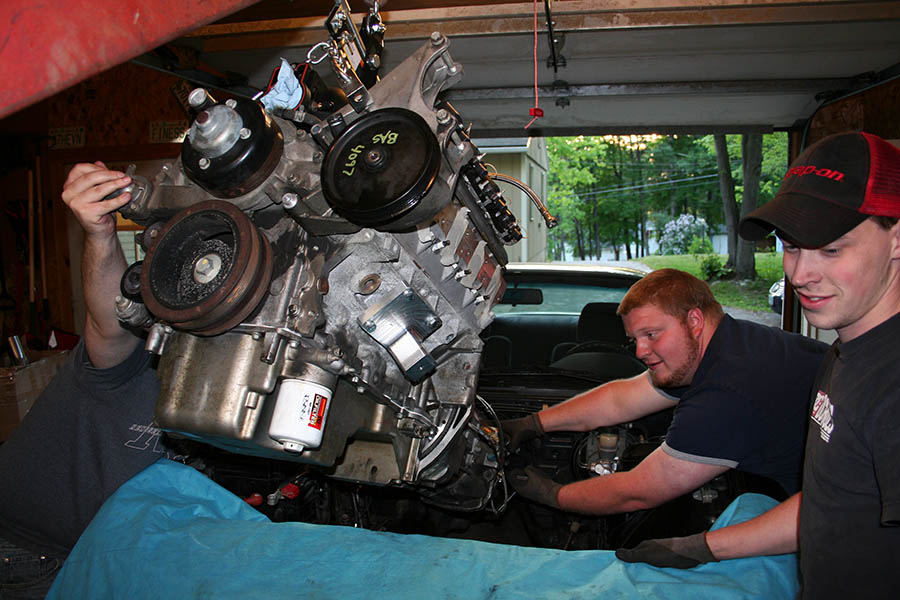
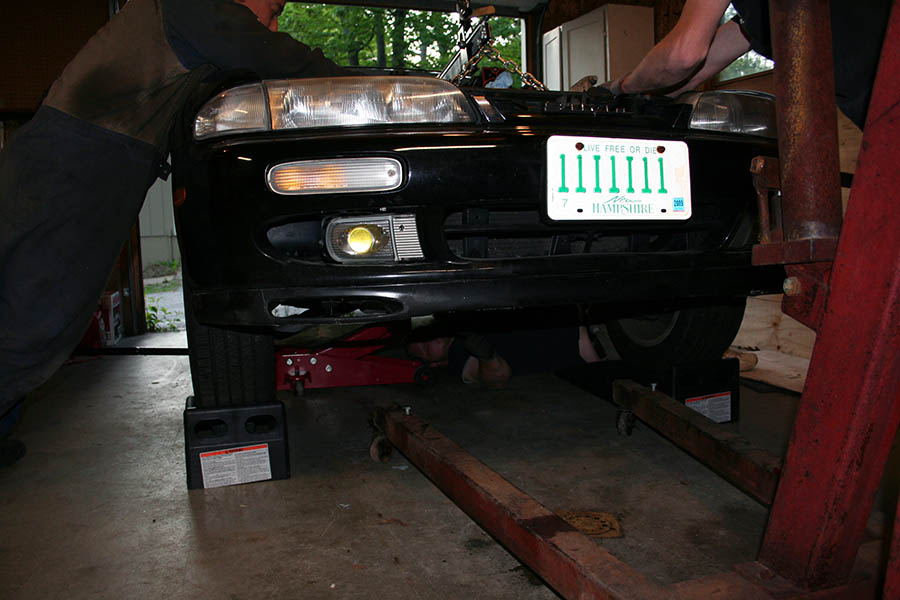
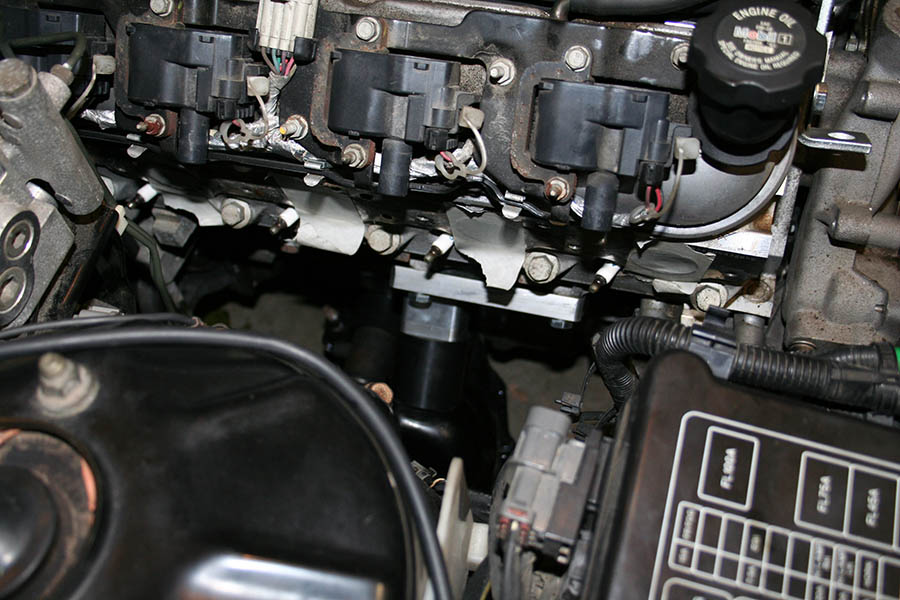
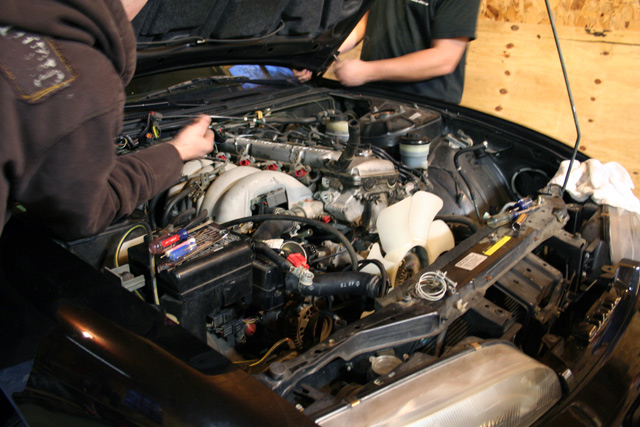
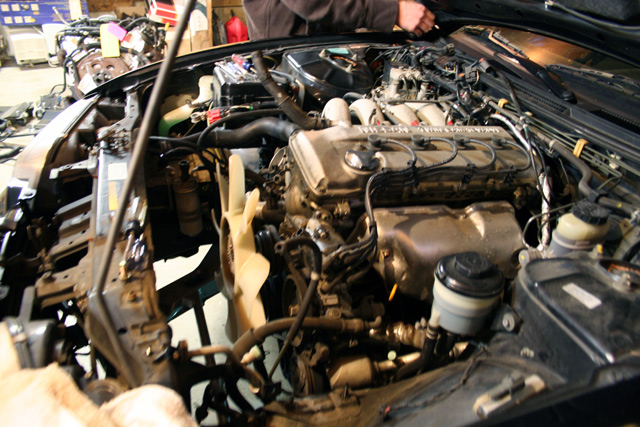
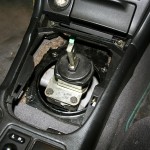
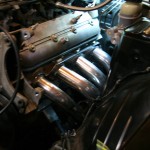
The engine now sits low and level like it should
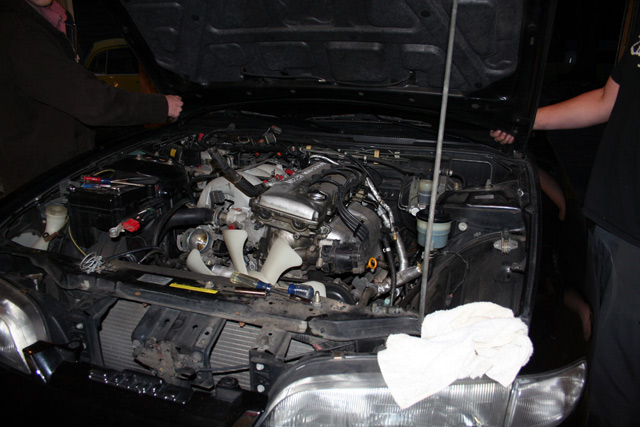
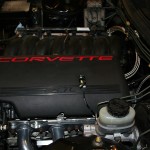
We put some grease on the throttle body and the alternator and test fit the hood. The hood closed without issue and completely clears the throttle body. the top of the alternator bracket rubs just slightly but is nothing to be concerned about.


The engine sits way lower now compared to how it did previously.

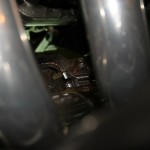
After fitting up the motor we tried for the headers. Drivers Side first, we hat to pull the coil packs, the alternator and the, searing column (Pro-tip: disconnect it at the bottom of the u-joint where it connects to the rack, and remove the pinch bolt completely), we also had to unbolt the master cylinder (the booster can stay where it is) and the header dropped right in no problem, with plenty of clearance around the rack and the frame rails

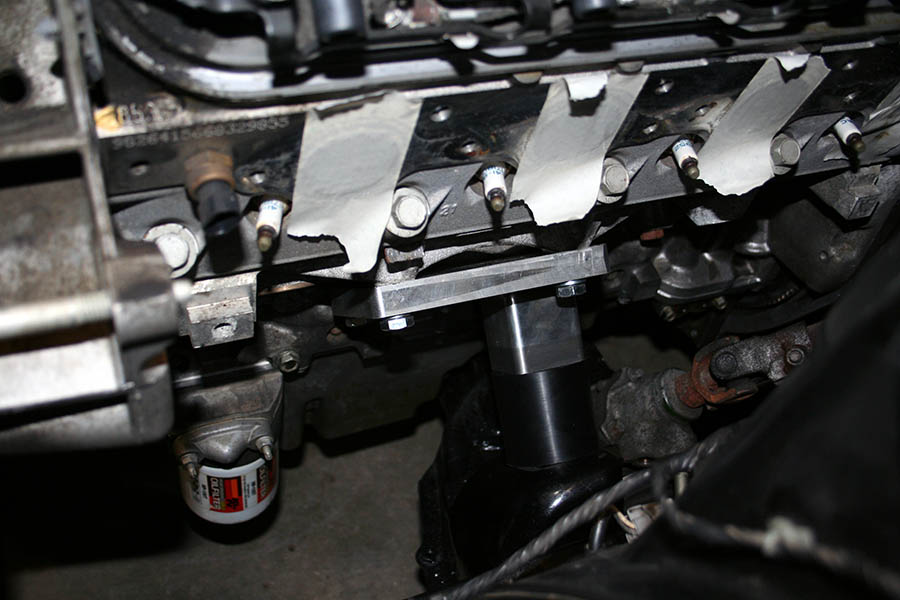
The collector does actually come up a little bit in the back and rub against the floor though, I’m not sure what I’m going to do about that, I might see if I can shift around the motor a little (you’ll see why in moment) or failing that hammer the floor a little)
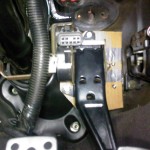
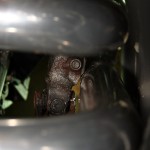
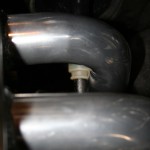
The passenger’s side header was a bitch to get in. Again coil packs had to be removed, the starter motor had to be removed, also everything attached to the side of the fuse box had to be removed, the original S14 fuel filter and lines had to be removed and the huge bracket holding up the ABS module had to be removed too. we loosened the mount and hoisted the engine a little and the header went in after a little coaxing. Once it was in the clearance to the bell housing by where the starter goes is really tight but it clears, it also clears the floor unlike the driver’s side. however it hits the engine cross member.


We marked it with a sharpie where it hits the cross-member. I’d like to see if I can shift the passenger’s side UP slightly and the driver’s side down slightly, that might fix this collision issue, as well as the floor board header collision on the drivers side, and clear up a tiny bit of space where the alternator bracket rubs the hood. Failing that I’m going to either hammer or slightly grind the top of the engine cross-member.
A note about the fitment of stuff, the ABS bracket will have to have the long arm that bolts to the frame rail removed completely, this shouldn’t effect it too badly since it bolts to the chassis in three other places. Also the two brakes lines that go directly down from the module (rear brakes, and front right brake) will need to be bent back a little since they rub on the header as it is. I will take pictures of these changes when I make them.
On a whole I’m very happy with how today worked out, a few tweaks here and there but this is about what I had expected the first time I attempted this. I appreciate that Rich made the effort to make this right and send me new parts that worked and got them here when I needed them.
One last pic… I’m totally 4x4ing even with the LS1 in… and the car sat much lower with the KA.

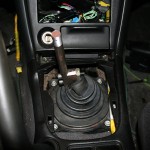
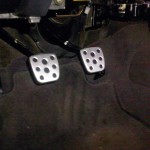
wooo… got my 5 speed brake pedal in today.
I must have found the only person on the planet doing an AUTO swap and he traded me all of my auto parts for all of his S15 5-speed parts… the only thing I still needed at this point was the brake pedal but the rest of it is handy to have around.
I spent time time bolting up the new brake pedal, and the swapping the push-rod on the master cylinder and bolting up the clutch pedal.
it’s small but it’s something
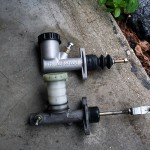
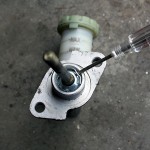
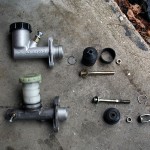
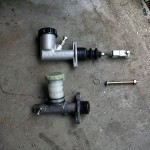
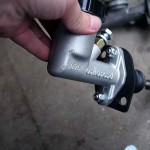
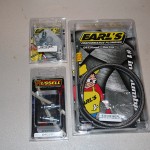
I took some pictures documenting how I prepped the Willwood CMC
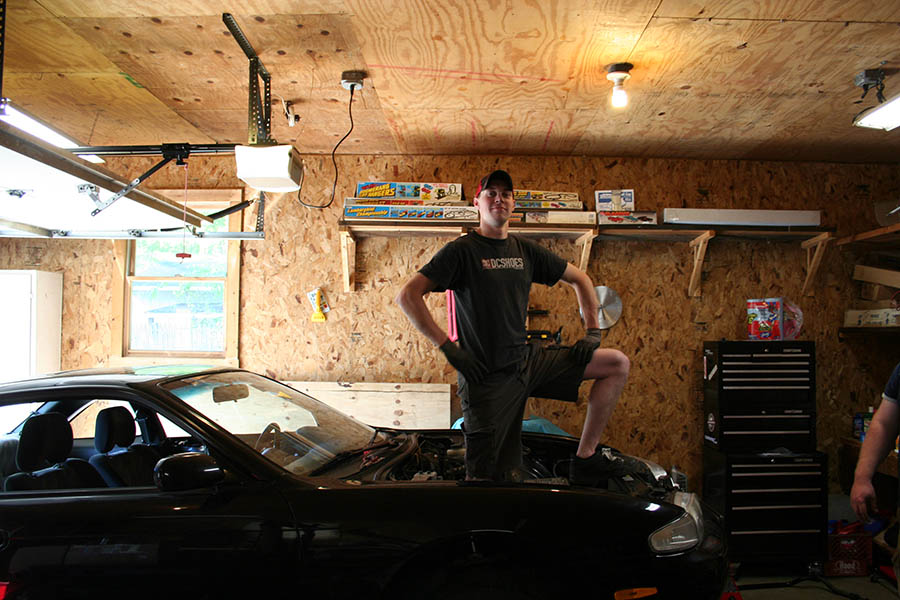
So Monday I finally got everything ready to drop the engine in: engine prepped, engine bay stripped, transmission tunnel hammered out, oil pan swapped, notched engine cross member installed, transmission installed on the engine,etc. The friends I had come over own a well respected local shop called [url=http://fujiispl.com/]Fujii SPL[/url], one of the guys we had here is from Japan and has at dozens of s-chassis engine swaps under his belt, at least 2 of them own swapped S13s.
engine bay cleared out
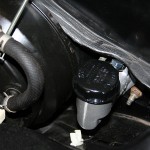
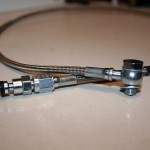
clutch lines installed and all unnecessary hardware removed
The torque wrench wasn’t working right so we had to use an old-school torque wrench to install the clutch hardware. Also the bolts for the the flywheel that I bought were the wrong size (and I somehow got 2 bags of those) we were also short 2 bell housing bolts… Aggravating. Thankfully the flywheel bolts from the original automatic flywheel worked on the new flywheel and we found some bolts that worked with the bell housing for the time being… placed those on the bottom so they can be swapped out later.
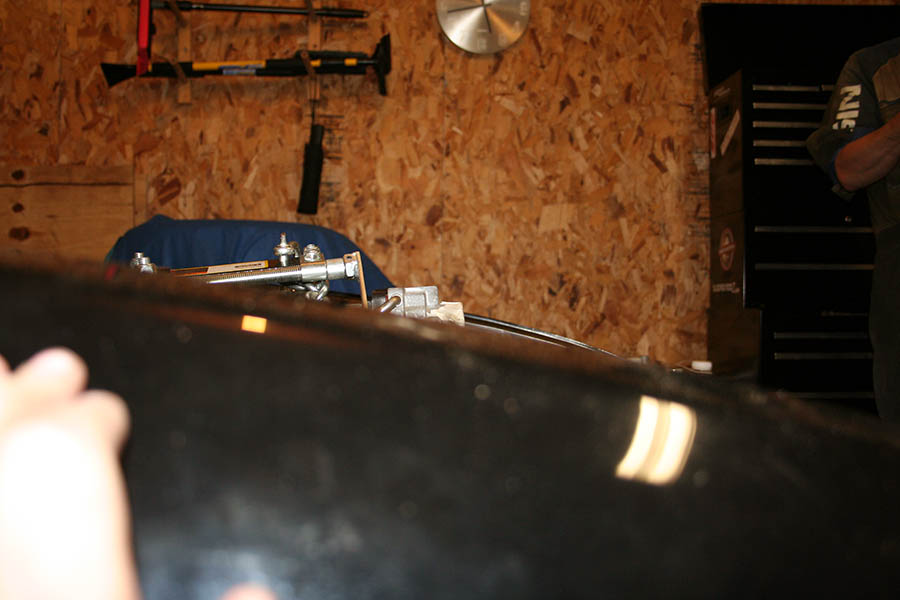
once the transmission was mounted up we set the clutch master in a vice and tested the lines for leaks… I didn’t want to have to pull the whole thing back out of the car to fix the lines if there was a problem. It was kind of ridiculous but it worked well and the lines held up beautifully
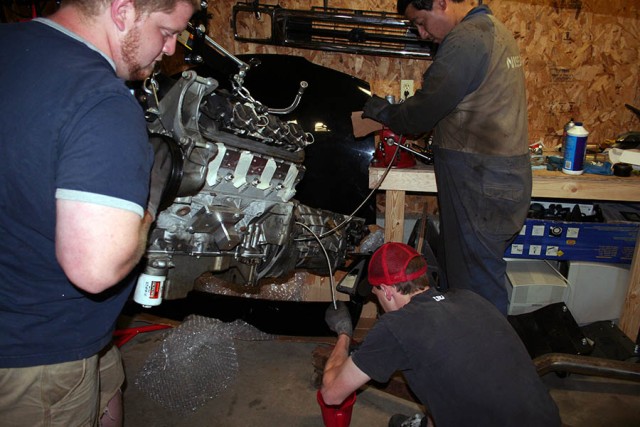
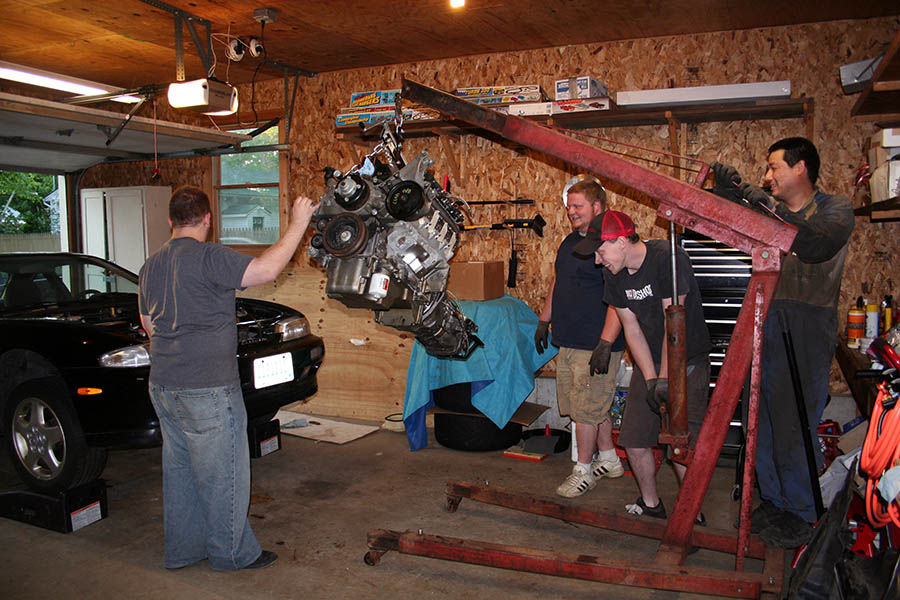
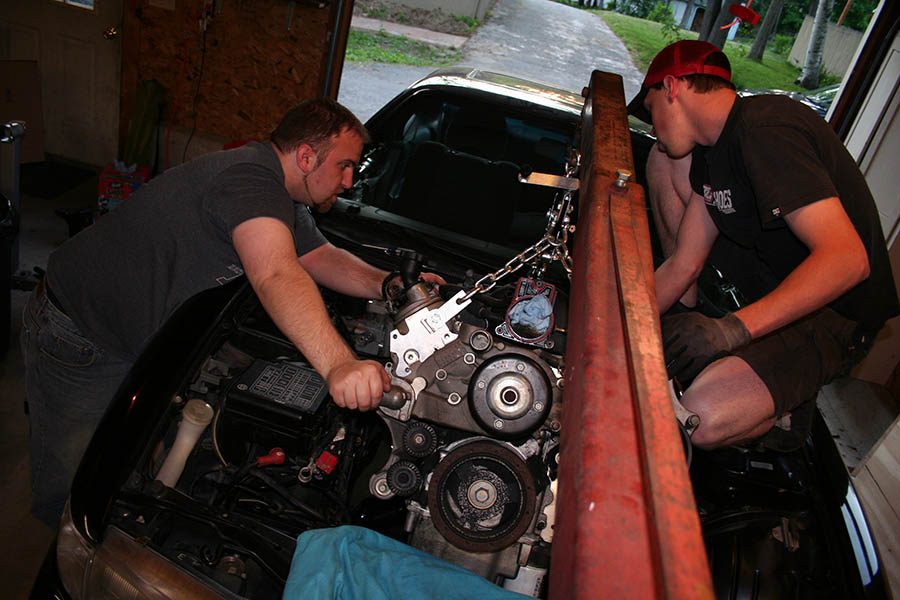
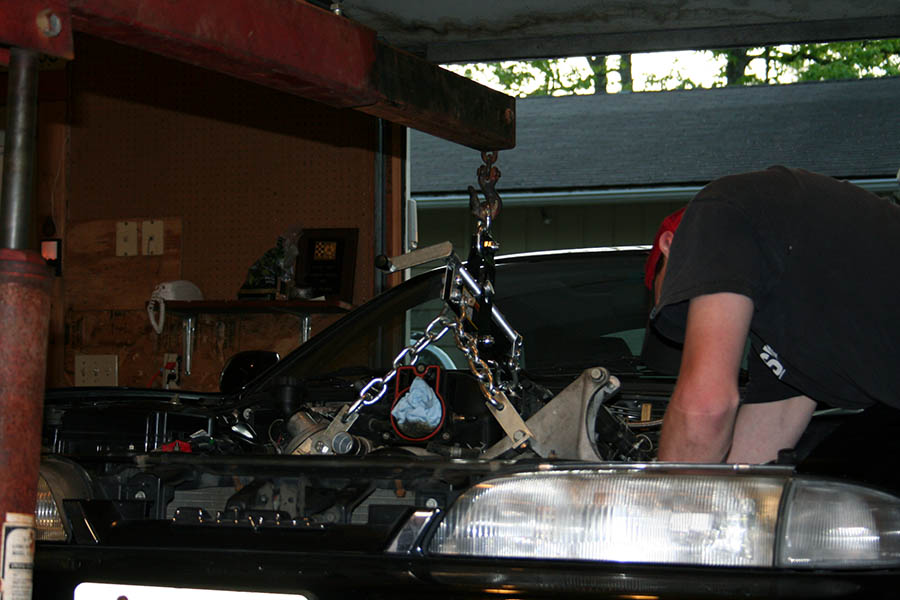
dropping in the engine:

Once the engine was in and we attempted to bold it up we ran into some major fitment issues. It’s sitting in the car right now but we’re going to have to pull it back out to figure out how to get everything to fit. We didn’t have time to test-fit the headers but a quick attempt showed that it wouldn’t be easy and I’m concerned about their fitment as well.
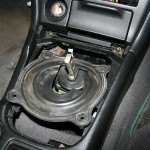
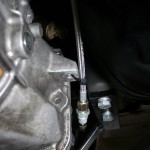
First thing we noticed was that the transmission cross member didn’t fit, we had major alignment issue with it but after we took out the mount and tried to bolt in the cross member alone (without it even touching the transmission) the bolt holes didn’t even line up… with the passenger side bolts lightly threaded in, this is what the driver’s side looked like:
The engine was IN and the mounts were bolted up and sitting flush the trans x-member was only bolted in on one side but sitting flush against the bottom of the car.
…but even still the engine sits slightly towards the passenger’s side, and it’s tilted slightly with the passenger’s side HIGHER than the driver’s side.
Checking the bottom we noticed that there seemed to be plenty of clearance of the driver’s side but the oil pan was actually rubbing on the x-member in 2 spots on the passenger’s side:
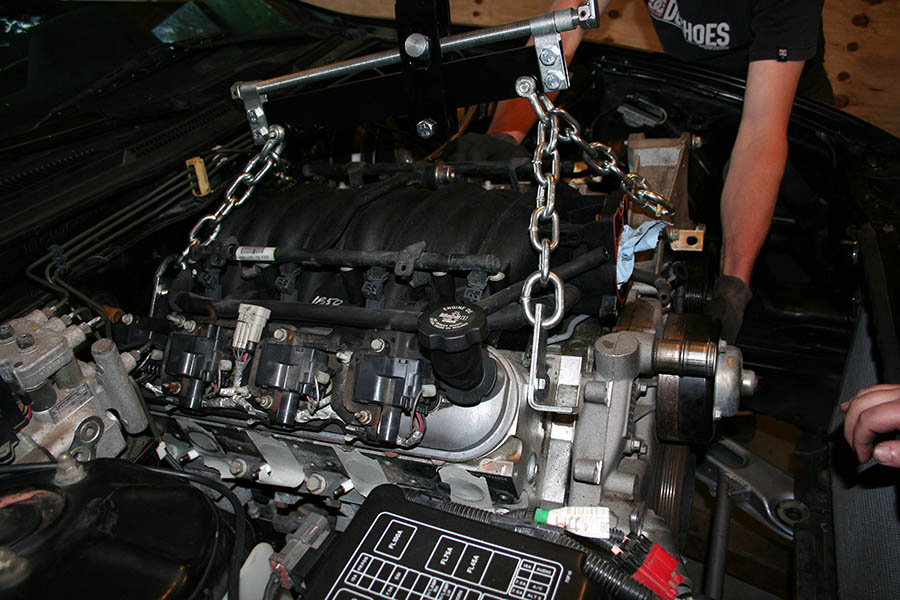
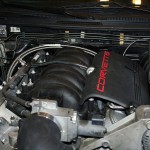
Also the hood clearance isn’t happening either: as you can see the hood wont even be close to clearing the throttle body, not to mention the engine is tilted with the front way higher than the rear, which I’m worried will cause issues with the drive shaft.
The alternator isn’t bolted on at the moment but it sits parallel with the throttle body and where it’s off to the side I would imagine there will be clearance issues with that also.
the S14 heater valve was removed before we put the engine in, but attempted to test fit showed that the engine is tilted far enough back that it passenger’s side rear coil pack will collide with the heater valve making it impossible to re-install. I’d considered trying to modify the system to use an in-cabin valve like the S13 but I’d rather not do that if I don’t have to, and there are plenty of people with S14s using the external valve (sikky’s kit even has you leave it on the firewall when doing the swap)
The Fujii SPL guys had some suggestions for modifying the kit for better fitment but if it came down to that I would rather have them fabricate completely custom mounts and not use the kit I bought at all.
It’s daft innovations “new” kit with CNC mounts, and a notched S14 cross member. the header I have are daft innovations as well (cnc bent) and I’m worried how they’ll fit.
I’ve sent an email to rich and hopefully he’ll get back to me soon so I can figure out what to do next.
We’ll likely be dropping the motor out the bottom next time which I’m hoping will allow us to install the headers off of the car and make everything go much more smoothly.
If anyone has any suggestions or advice, please let me know.
the only thing that went off without a hitch were the clutch and bleeder lines.. and I spec-ed out built those myself 🙄
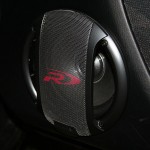
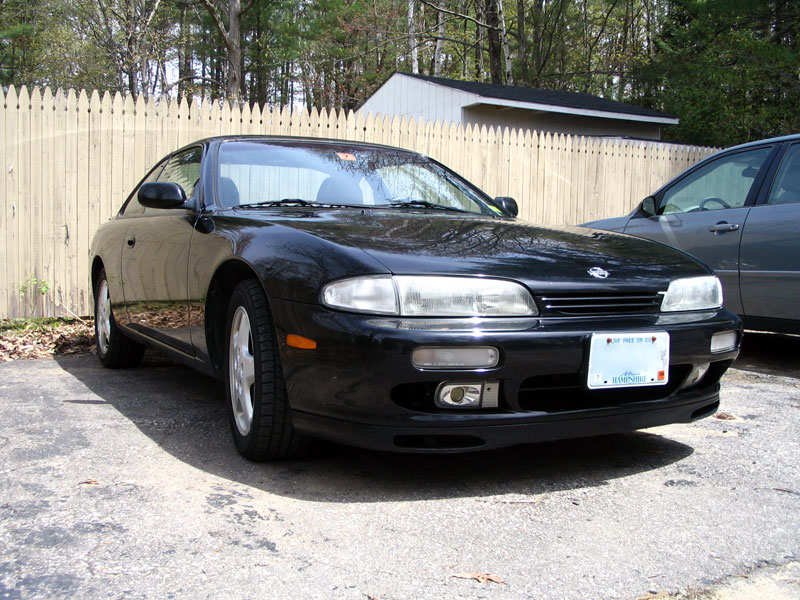
I saw this parked right next to the employee entrance at my work Friday afternoon.


I see this car daily, it’s owned by someone who works a my company, friday it apparently showed up with some extra power.
It’s a 2.5RS and I never paid it much mind since it got ding and dents all over it and it looks like it’s been through a few fender benders (which says to me it was owned by someone who just commuted it and didn’t care) kind of surprising to see this turn of events.
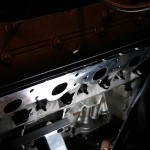
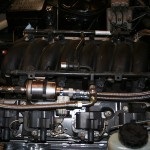
More work got done over the weekend, Oil oil pan was pulled off.

GM apparently decided it was a good idea to rivet the gasket to the oil pan so those had to be drilled off.

Windage tray and the new oil pickup tube bolted right up

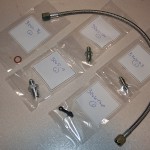
however now I’m stuck on this… this is the old dip-stick hole which needs to be plugged. On newer GM vehicles they tap it and use a 1/8 NPT pipe plug. Joe and I drove around to every store in Tilton and Lowes was the only place that sold the tap, no one sold the plug. so I ordered the plug off of ebay … after shipping I’m paying essentially $5 for a screw… waiting on that

old cross member was pulled out too, here it is next to the new one. you can see the cut out center cross section and the engine mount humps are at a different angle (the new one is a modified RB cross member).

the new cross member is back in the car but the steering rack isn’t bolted back in yet, I decided to order some steering rack bushings while it’s off so I’m waiting for those.
I also got into today a bracket for the Clutch Master. This thing is f-ing slick… I don’t know why I’m so excited about this little part but I am. I guess I just think it’s cool that a custom part designed by some random guy looks so pro, and it was dirt cheap too, $25 shipped. I got it from Rigid over on silviav8.

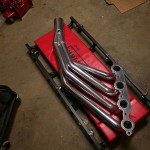
I got my long-tube headers in too, I didn’t get a chance to snap any picture of them though…
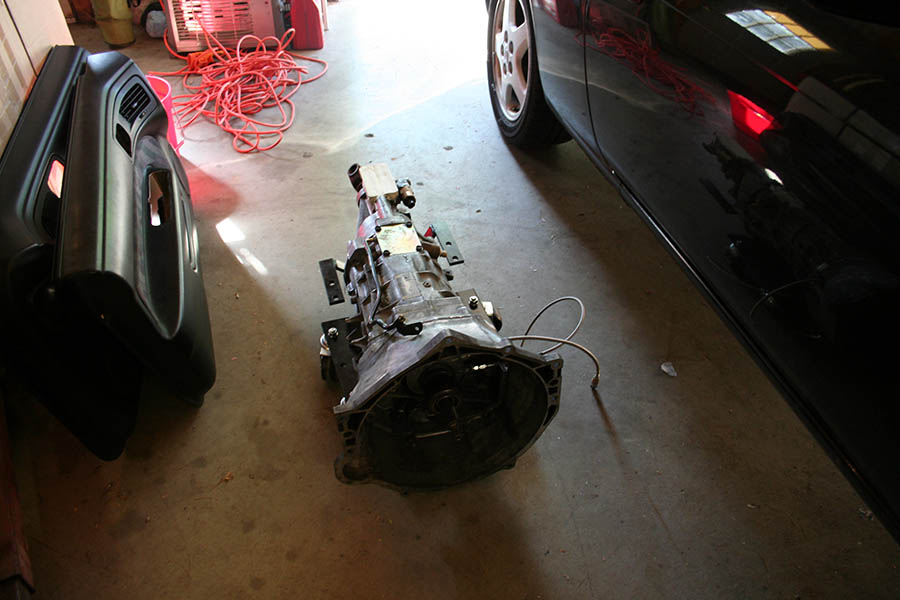
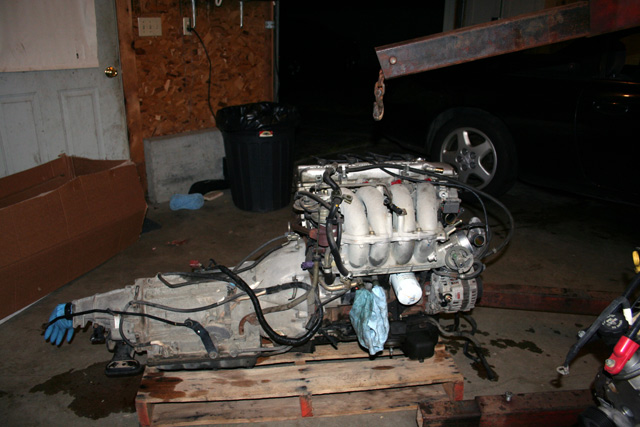
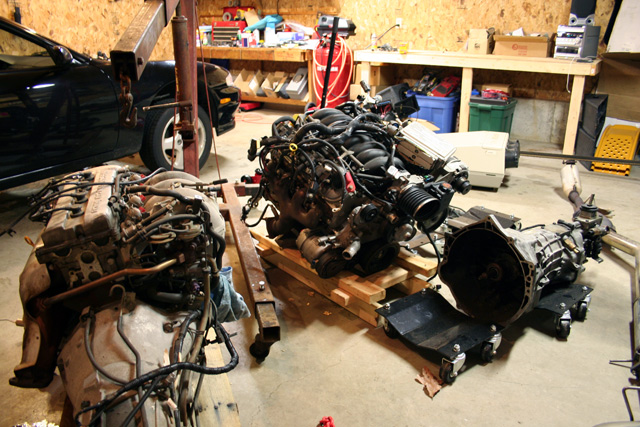
A minor update on the LS1 swap. I finished removing the LS1 engine harness as well as some other unnecessary stuff. I also got some new tools as well as a proper engine stand (though the motor isn’t up on it yet). The Fujii boys also stopped by briefly last weekend and pulled the starter motor, the Auto flywheel and the headders off… looks like a totally different motor now.


Next time I have a 2nd set of hands to help me I’ll throw it up on the stand (I don’t trust my ghetto-ass cherry picker to do it myself) then I can swap out the oil pan then drop it back down and throw on the new LS6 clutch… yummy

I also spent some time pulling off a bunch of unneeded brackets and other crap from the transmission and cleaned it up a bit while I was at it and mocked up the new transmission cross member.

My main attention now will be on the harness, I dumped all of the harnesses that I need to tie together into a big box and brought it into my office… looks kind of overwhelming.

Though spreading the KA harness out on the floor so you can see the whole thing all at once it doesn’t look so bad. Trimming off the KA bits will be the easy part… the hard part will be weeding through what is and isn’t needed on the LS1 harness.


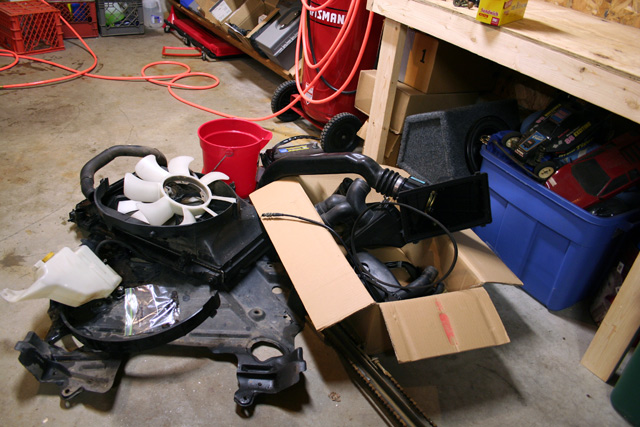
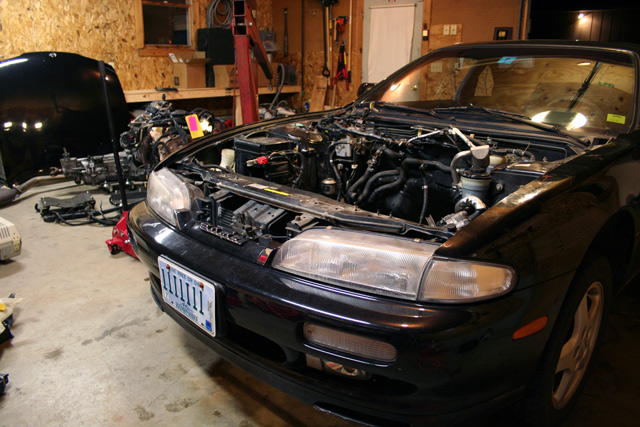
So Joe, Dan, and James stopped by tonight and pulled my KA.
Even taking their time, and taking frequent breaks to make fun of my lacking toolbox (I believe “even MacGyver had more to work with than this” was stated by Joe at some point) they still managed to get the thing out in about 2 hours time… I’ve even got ABS and AC and they managed to pull the motor leaving all of that equipment in place.
Quite impressive, and now the seal is broken so it’s time to start cleaning the engine bay and prepping the LS1…

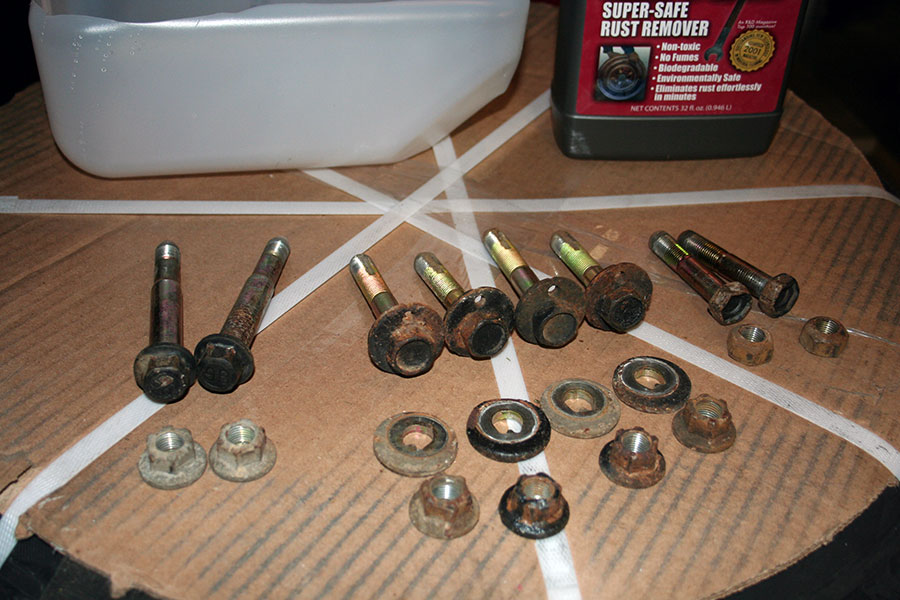
So I had these bolts and eccentric washers that I took off my car and replaced and really I didn’t even need to. The old ones were coated in surface rust so I decided to try some stuff to take it off.
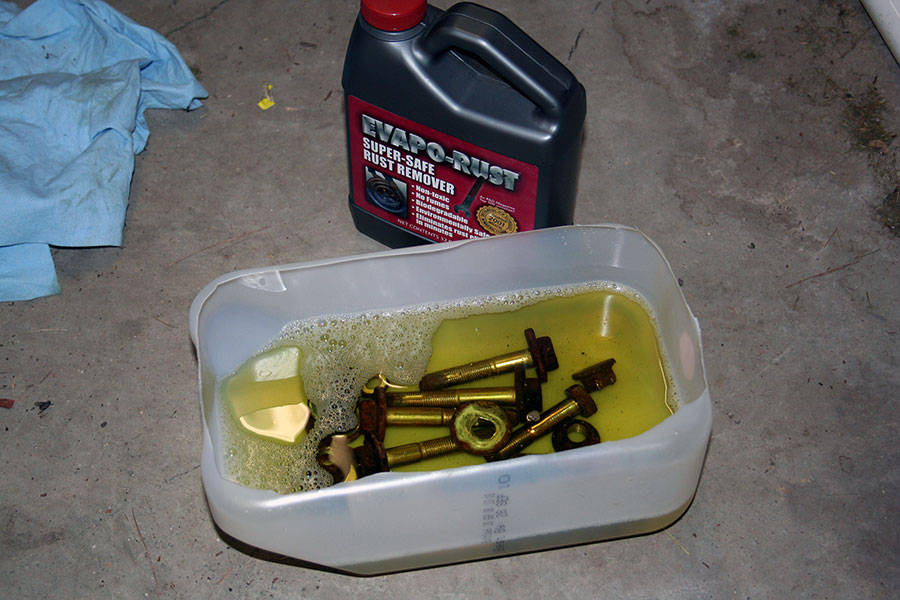
I had read a few raving reviews about Evapo-Rust and seen some videos so I decided to give it a shot. The stuff looks like anti-freeze but it feels slippery like dish-soap on your fingers. It’s pretty expensive too this bottle cost just under $9 and it was barely enough to do the hardware I was cleaning. Though it’s supposedly reusable so I dumped it back in the bottle once I was done.
Here’s a picture of my hardware beforeI did anything.
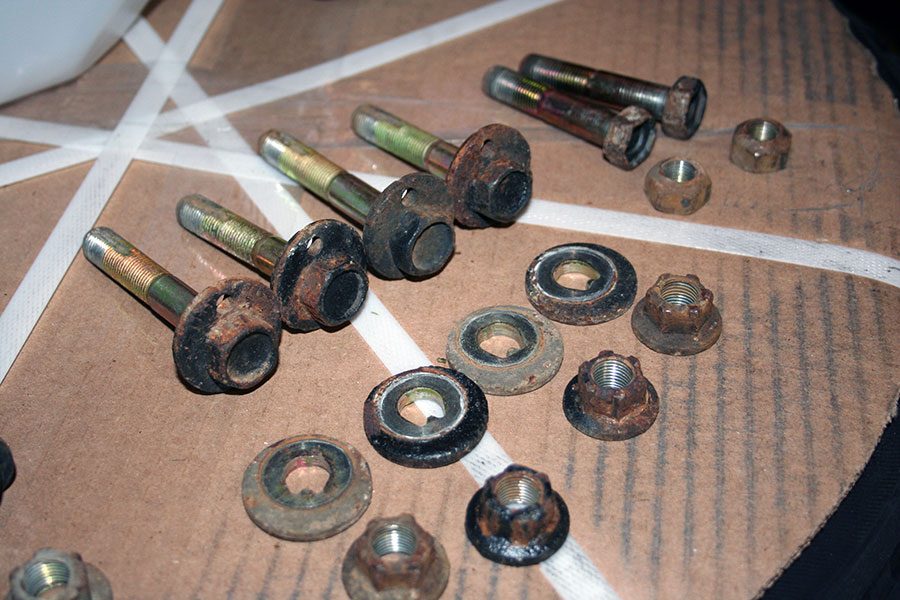
Notice there is both surface rust as wella as this thick black stuff. That thick black stuff is rubberized undercoating because the previous owner of the car had it coated to prevent rusting and it got on some of the bolts. It looks really nasty but it doesn’t harm anything. Apparently Evapo-Rust doesn’t harm plastic or rubber so I went into this assuming that it would leave theundercoating stuff (which kind of sucks becaus it looks ugly).
I dumped the whole bottle of of the stuff in the bottom of a cut-up water jug and just dumped all my hardware in there. Supposidly it does it’s work in a matter of minutes but I was on my way out so i just left it for the night.
The next morning after rincing off the hardware it looked like this:
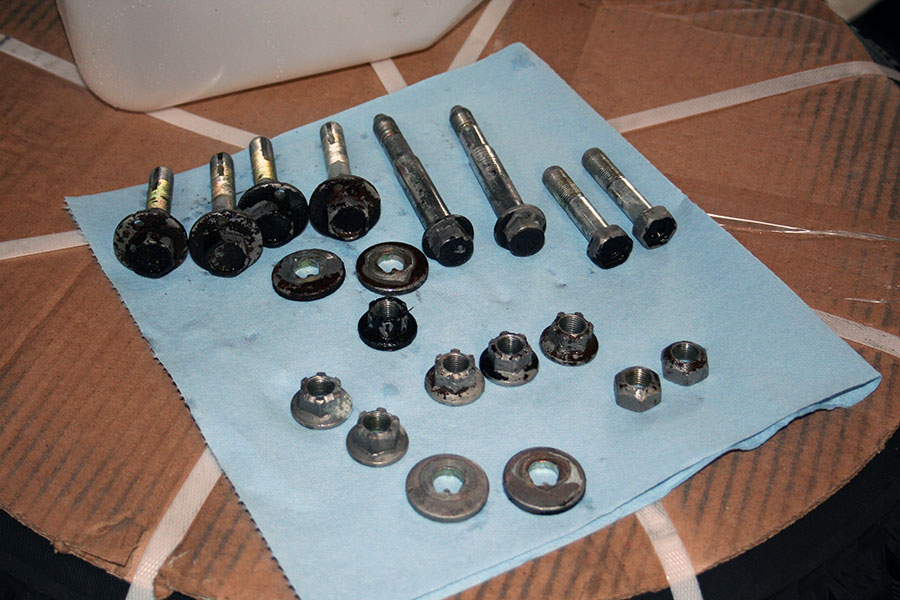
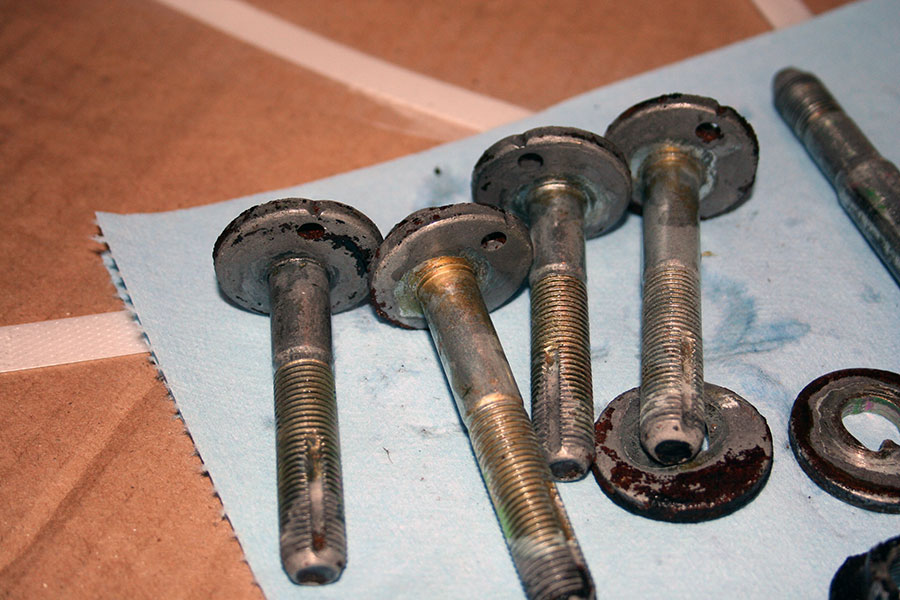
Some patches of rust still remained but it was mostly cosmetic as the parts were all smooth to the touch. As suspected the undercoated parts were still narly. I decided to try a 2nd application to see if it could get rid of the rest of the crap to make them completely clean.

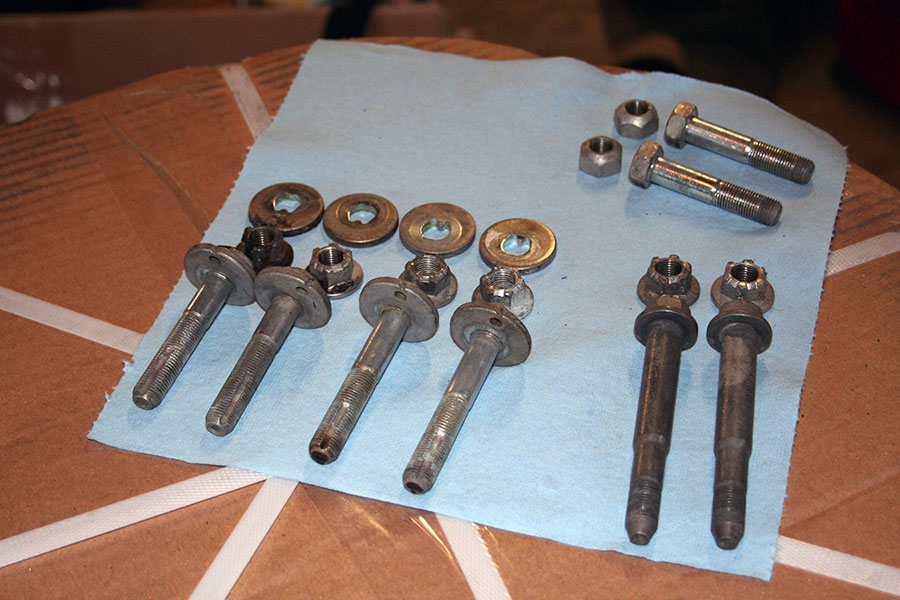
I’m pretty happy with the outcome, if I want to remove the undercoated parts I’ll have to use paint stripper or a wire brush but on a whole the Evapo-Rust did it’s job. $9 might be a bit much but considering that all of this hardware NEW from Nissan cost nearly $100 to replace, I’m fairly certain that next time I take off some bolts I’ll clean them with this stuff before deciding to replace them. At least now the parts are clean enough that I’ll be able more easily sell them and recoup some of the money I spent on the new parts.
